
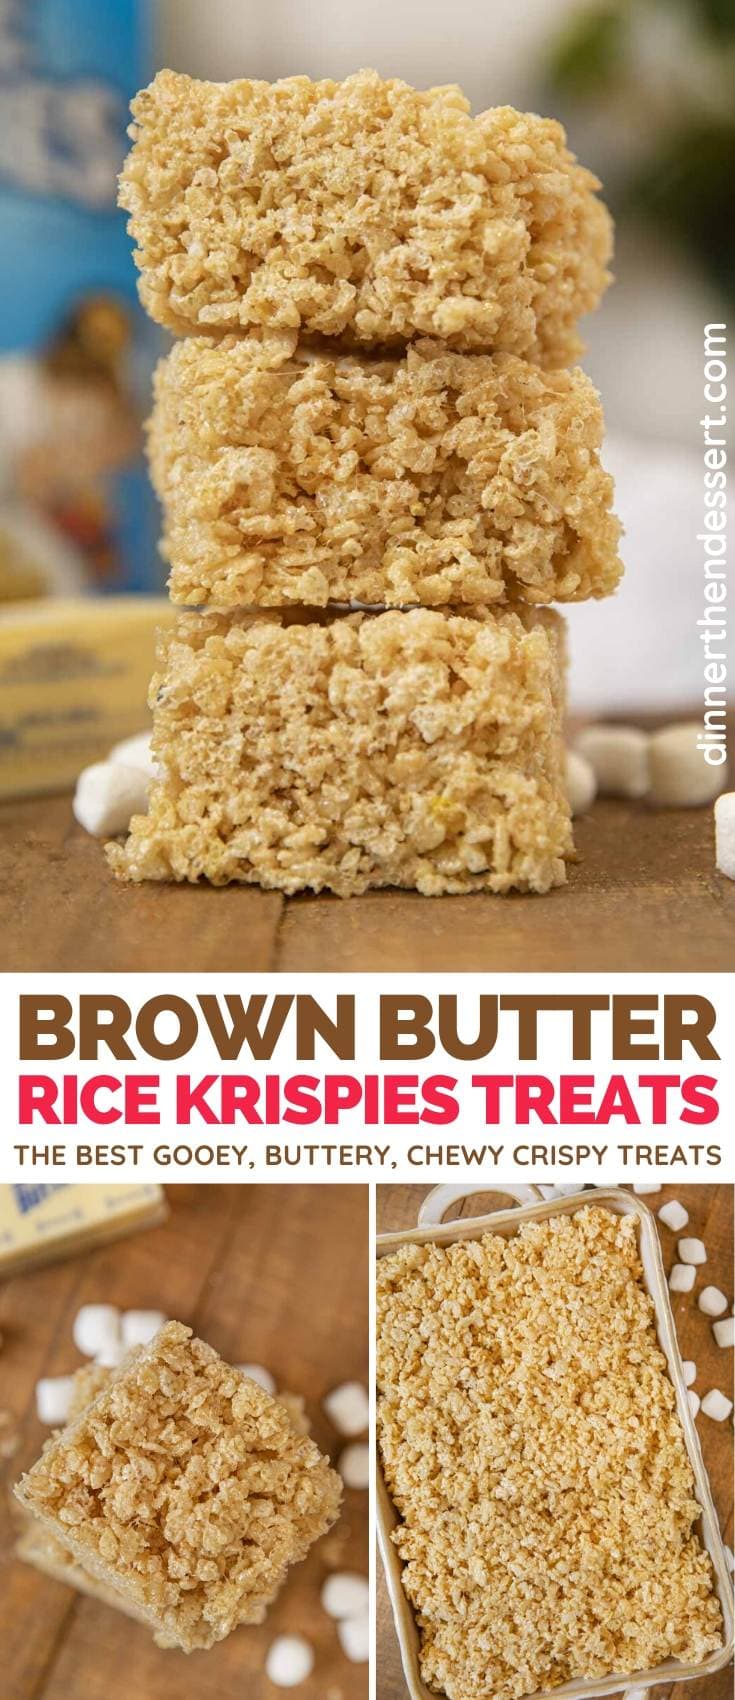
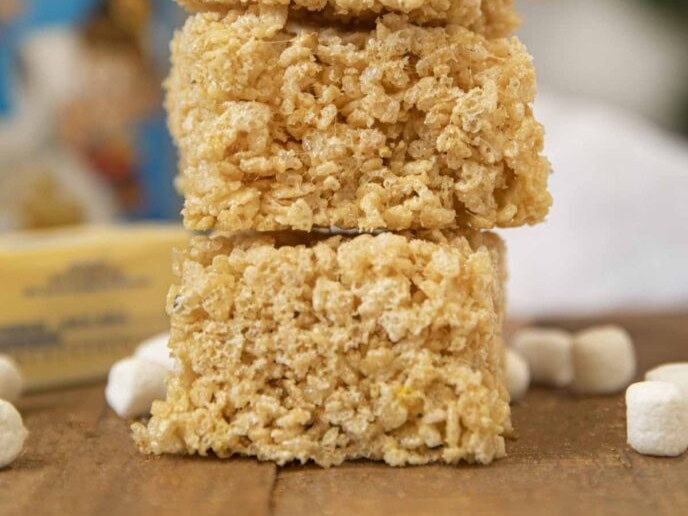
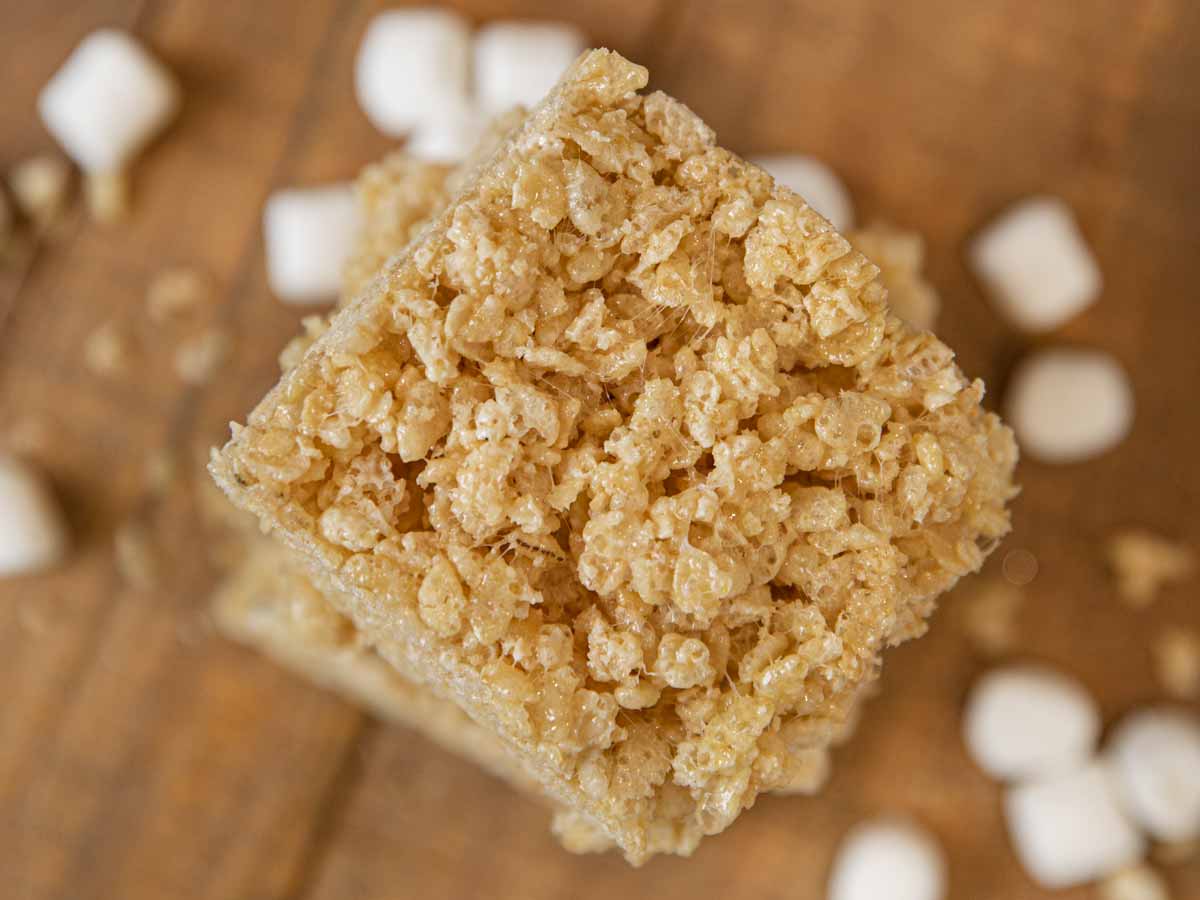
Brown Butter Rice Krispies are the best gooey, buttery, crispy treats! Classic bars but with brown butter flavor that takes them next-level!
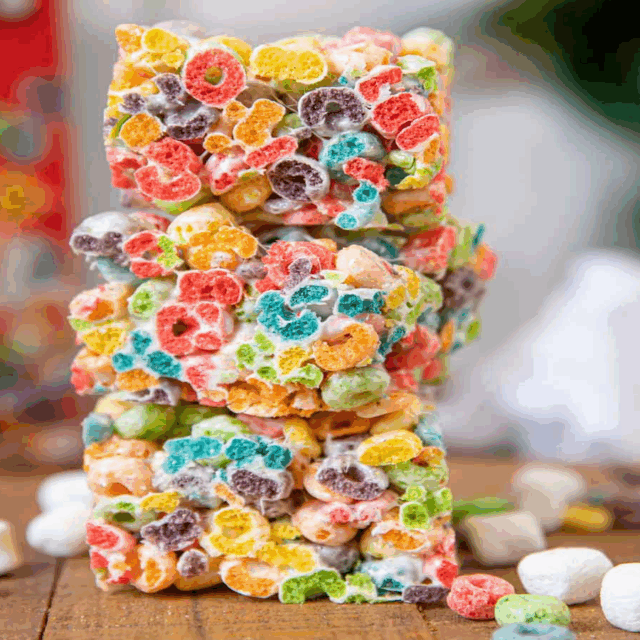
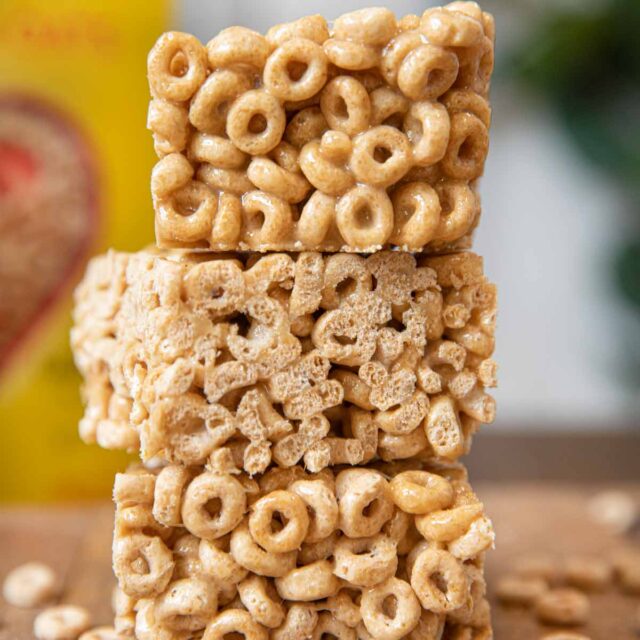
Rice Krispie Treats are one of the easiest Snack Bar Recipes you can make! This twist on classic rice cereal bars is simple but adds so much depth of flavor! You can make them fun with twists like my Oreo Rice Krispie treats or Chocolate Rice Krispies!
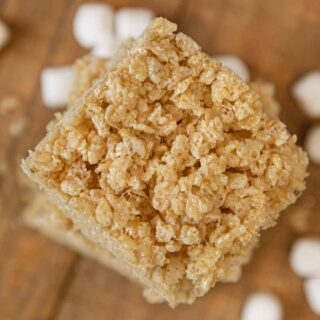
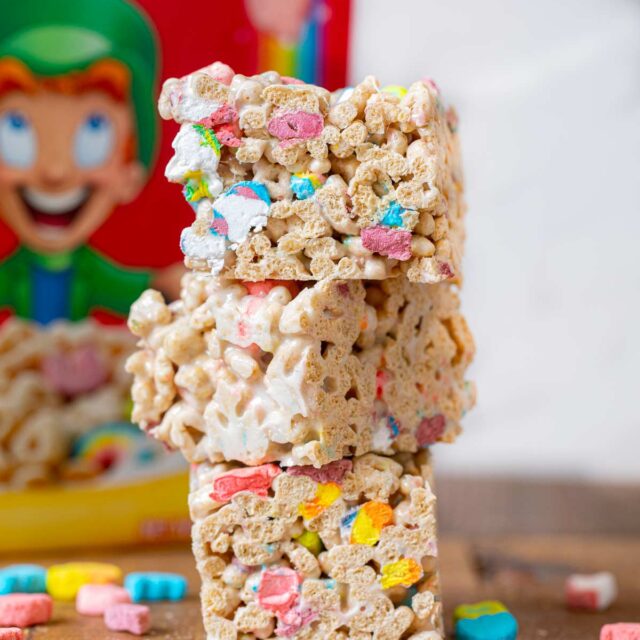
Sabrina’s Brown Butter Rice Krispies Treats
When you start with such a simple, easy treat like Rice Krispies, you only need slight adjustments to make them out of this world. This toasty browned butter upgrade only takes a few extra minutes and you get gooeiest, most buttery treats. You may never go back to plain Rice Krispie Treats again.
Recipe Card
Ingredients
- 1/2 cup unsalted butter
- 1/4 teaspoon kosher salt
- 10 ounces marshmallows
- 6 cups Rice Krispies cereal
Instructions
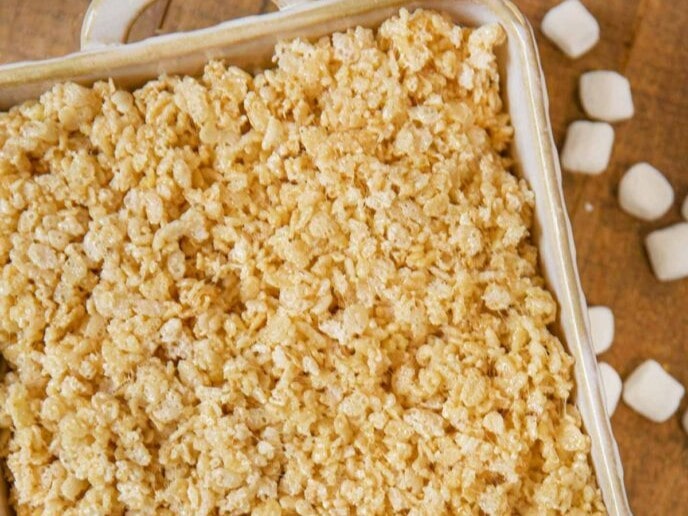
- Grease a 9×13-inch pan, or line with parchment paper. Set aside.
- In a dutch oven or large pot, melt butter over medium low heat, stirring continuously. Keep stirring until butter foams, turns golden brown, and has a nutty aroma.
- Once the butter begins to brown, remove from heat and stir for 1 minute. Stir salt into melted butter.
- Add the marshmallows and mix until completely melted.
- Mix in the Rice Krispies Treats until completely coated.
- Press the mixture into the prepared pan and let cool completely before serving.
Nutrition
Want to save this recipe? Create a free account to easily save your favorite recipes
Table of contents
About this Recipe
So why brown butter? Simply put it adds so much depth of flavor to the unsalted butter. Brown butter adds a nutty flavor to any dish (try it in savory dishes too!) and only takes about 5 minutes to get foamy and golden brown. When making brown butter, be sure to use unsalted butter so you can control how much salt is added.
Brown Butter Rice Krispie Treats are best enjoyed the same day you make them. The less air in whatever airtight container you use, the longer they will last. The best way store them is in a large storage bag. Lay the bag flat on its side, arrange the rice krispies in a single layer, and push as much air out as possible before sealing.
Chef’s Note
The star of Brown Butter Rice Krispie Treats is, of course, the browned butter. While it definitely sounds fancy, it’s actually a fairly easy technique. The key to making brown butter is to keep stirring and remove from heat as soon as it begins to brown and has a nutty aroma.
How to Store
- Serve: Keep Rice Krispies at room temperature for up to 3 days in an airtight container or storage bag.
- Store: For fresh, crispy treats, don’t refrigerate. Make sure there is little to no air in the container or bag. Use parchment paper to separate layers if stacking in an airtight container.
- Freeze: You can freeze Brown Butter Rice Krispie Treats for up to 6 weeks in a sealed container. Thaw at room temperature for about 15 minutes before eating.
Variations
- Chocolate Chips: Chocolate chips make almost any dessert better. Add 1 cup white chocolate chips, dark chocolate chips, or milk chocolate chips after you add the cereal.
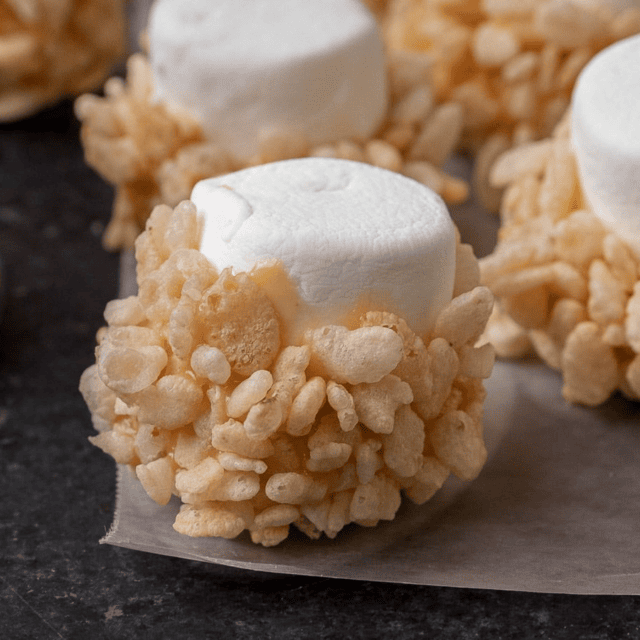
- Marshmallows: Instead of store bought, try Homemade Marshmallows if you have extra time. They are totally worth it! For more marshmallow goodness, stir in ½ cup mini marshmallows after you add the rice cereal so they don’t melt.
- Peanut Butter: For delicious peanut butter Brown Butter Rice Krispies, add ½ cup creamy peanut butter after you add the marshmallows and they begin to soften. You may need to stir over low heat until everything is melted and combined.
- Caramel: These decadent buttery Rice Krispies get even better with caramel. Mix in 1 cup chopped up chewy caramels or caramel baking chips.
- Vanilla Extract: Add a ½ teaspoon of vanilla extract when you stir in the salt for more flavor. You can also use almond extract or bourbon.
Related Posts
More Delicious Treats


These brown butter rice Krispie treats are next level and will be loved by everyone.
Yay!! Thanks for the 5 stars, Kelly.
Everything this is better with browned butter!
Agreed!
Brown butter is the best! I use it in all kinds of recipes and it’s perfect and these rice crispy treats.
Can you imagine I have actually never made rice krispie treats? But wow, it seems so easy – and with added brown butter I will have to try it now!!
You’ll be hooked after your first bite!
Love how delicious and simple this recipe looks! I would love a rise krispie treat right now, saving!
They’re pretty tempting, haha!
To make it just a little bit better, I add another half bag (5 oz) of mini marshmallows to the mixture just before transferring everything to the prepared pan. This provides bites of partially melted marshmallow to your treats.
Sounds lovely! Thanks for the suggestion.