
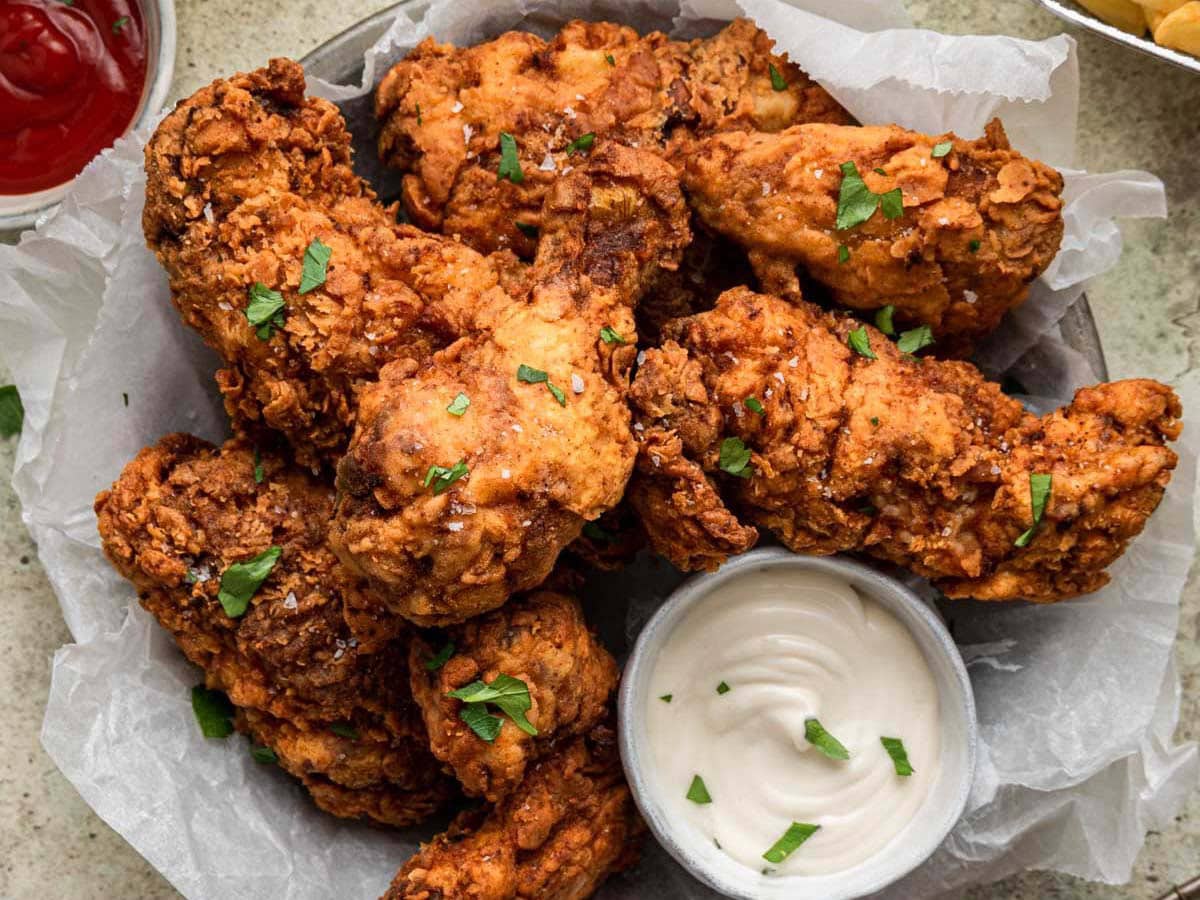
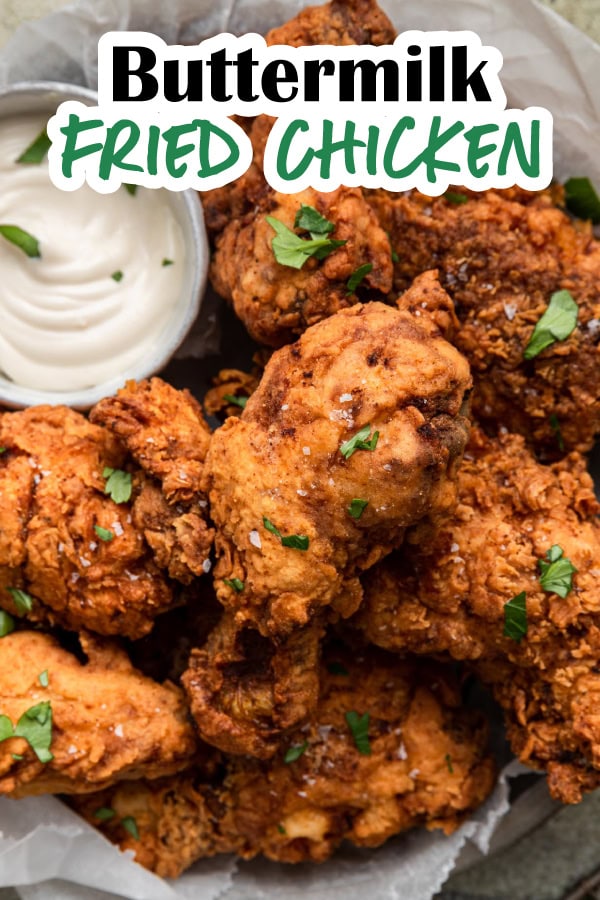
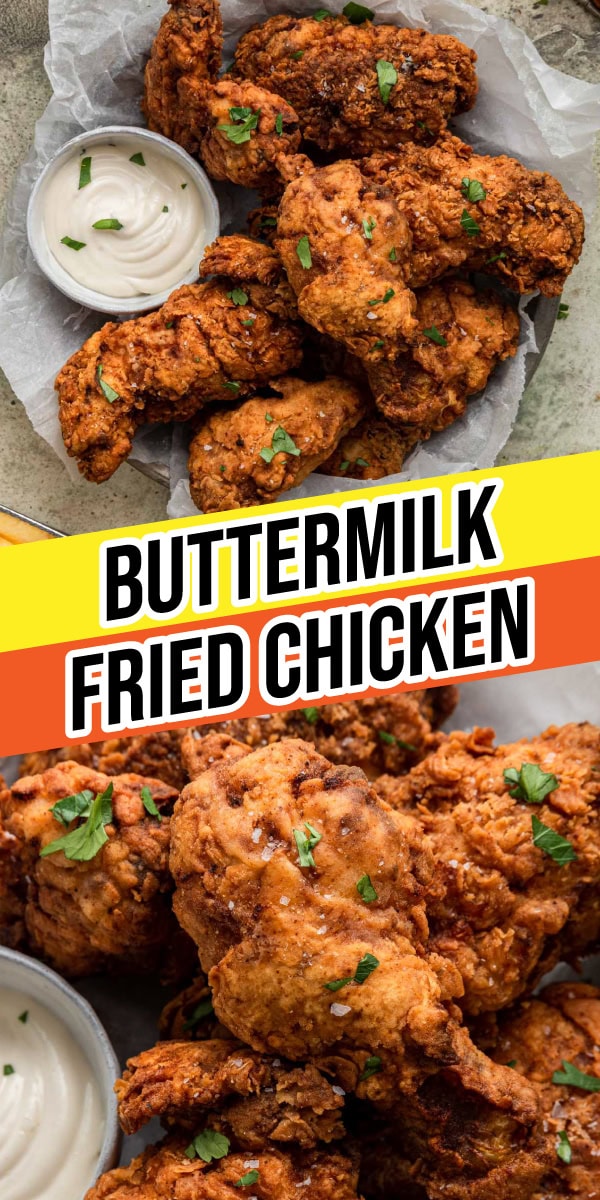
Best Buttermilk Fried Chicken recipe for flavorful, crispy juicy chicken! Learn how to fry it perfectly and serve it up at your next party!
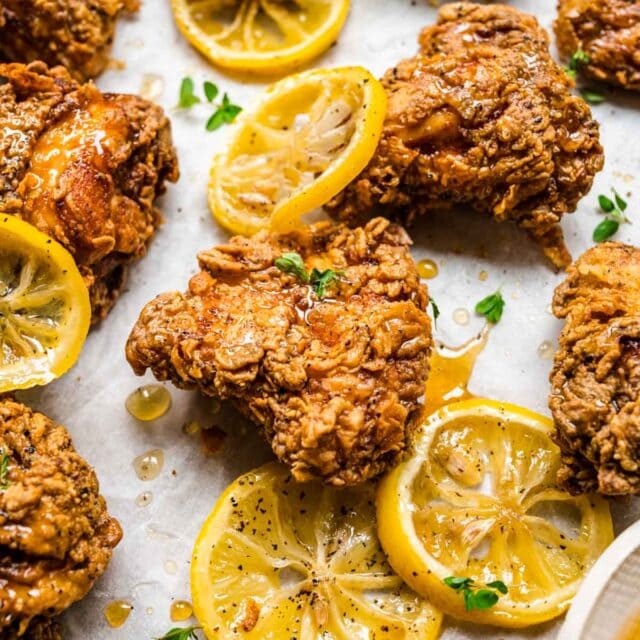
Classic Crispy Fried Chicken gets even better with this amazing buttermilk Chicken recipe with all the crunch factor you love, plus even more tasty seasoning! Try out my Lemon Pepper Honey Fried Chicken too!


Sabrina’s Buttermilk Fried Chicken Recipe
Even if you’re a seasoned cook, frying chicken can be intimidating, which is why this is the ultimate guide to making homemade fried chicken! From easy-to-follow instructions to answering your most asked questions to tips for marinating, breaking down a whole chicken, and creating different variations, this post has everything you need for flavorful chicken with the perfect crispy coating.
Recipe Card
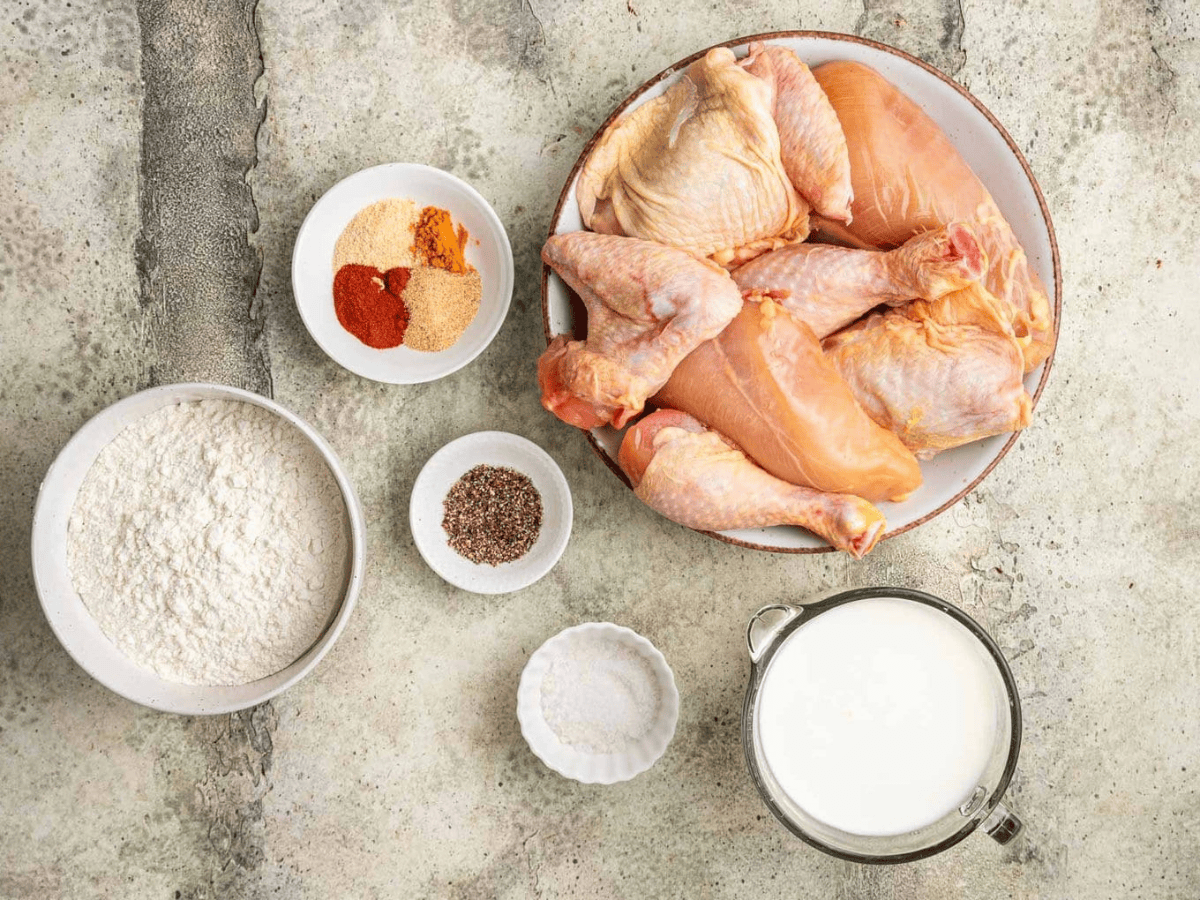
Ingredients
- 4 pound chicken , (cut into 8 pieces with the backbone discarded)
- 2 cups buttermilk
- 1 tablespoon kosher salt
- 2 teaspoons coarse ground black pepper
- 2 cups flour
- 1 teaspoon onion powder
- 1 teaspoon garlic powder
- 1 teaspoon paprika
- 1/2 teaspoon cayenne pepper
- vegetable oil , for frying
Instructions
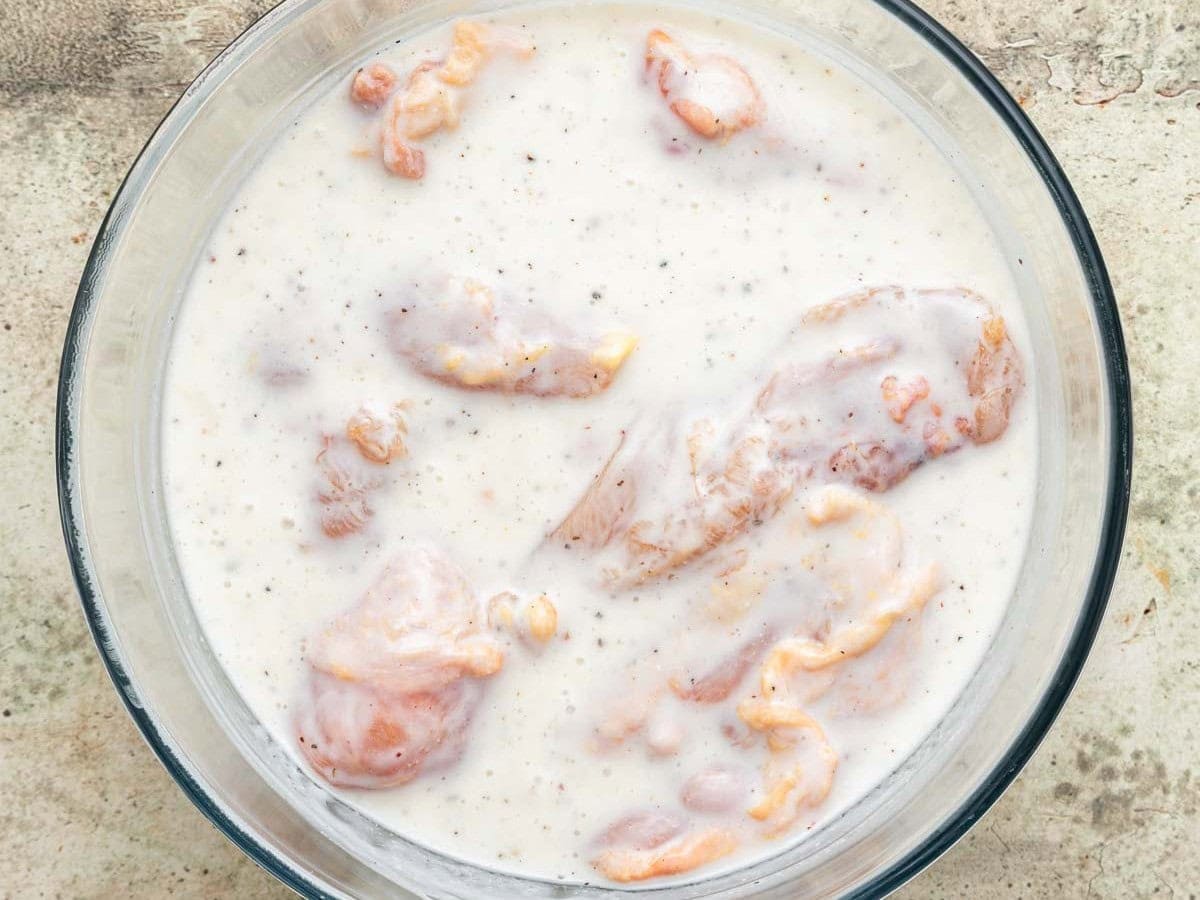
- Mix the chicken pieces, buttermilk, salt and black pepper in a large bowl and refrigerate for at least 4 hours.
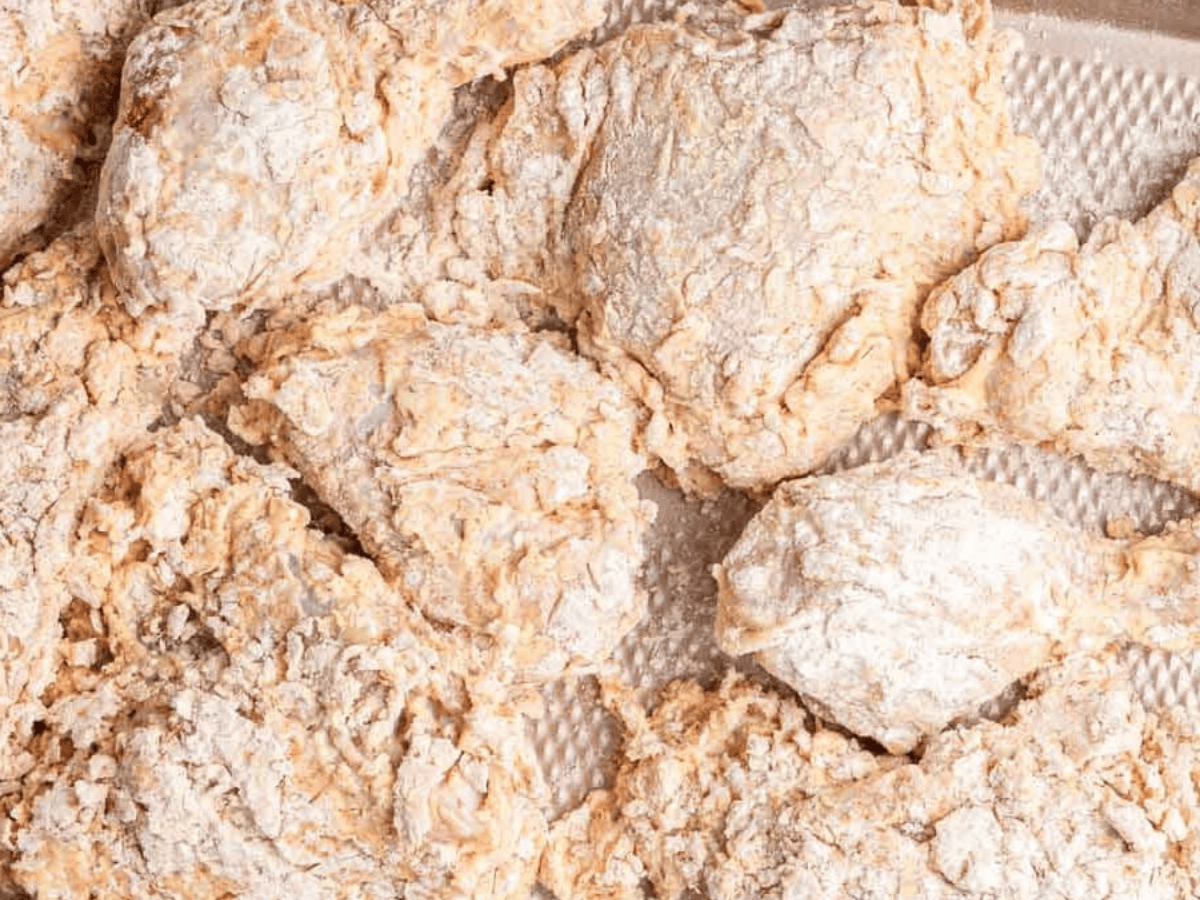
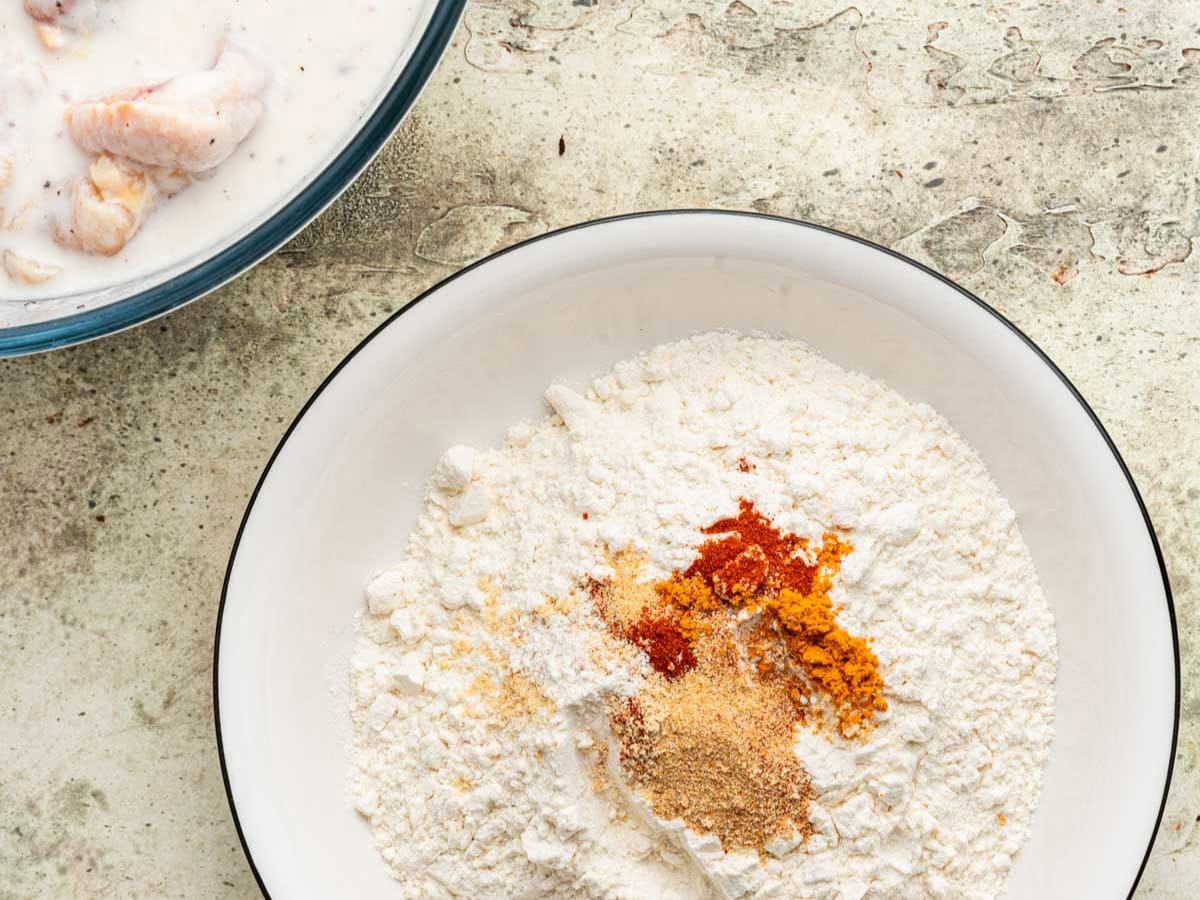
- Mix the flour, onion powder, garlic powder, paprika and cayenne pepper in a medium bowl with a baking sheet set up next to it.
- Remove the chicken from the buttermilk marinade, then add each chicken piece to the flour mixture, coating well, then place onto the baking sheet and let sit for at least 30 minutes (the flour will become paste-like).
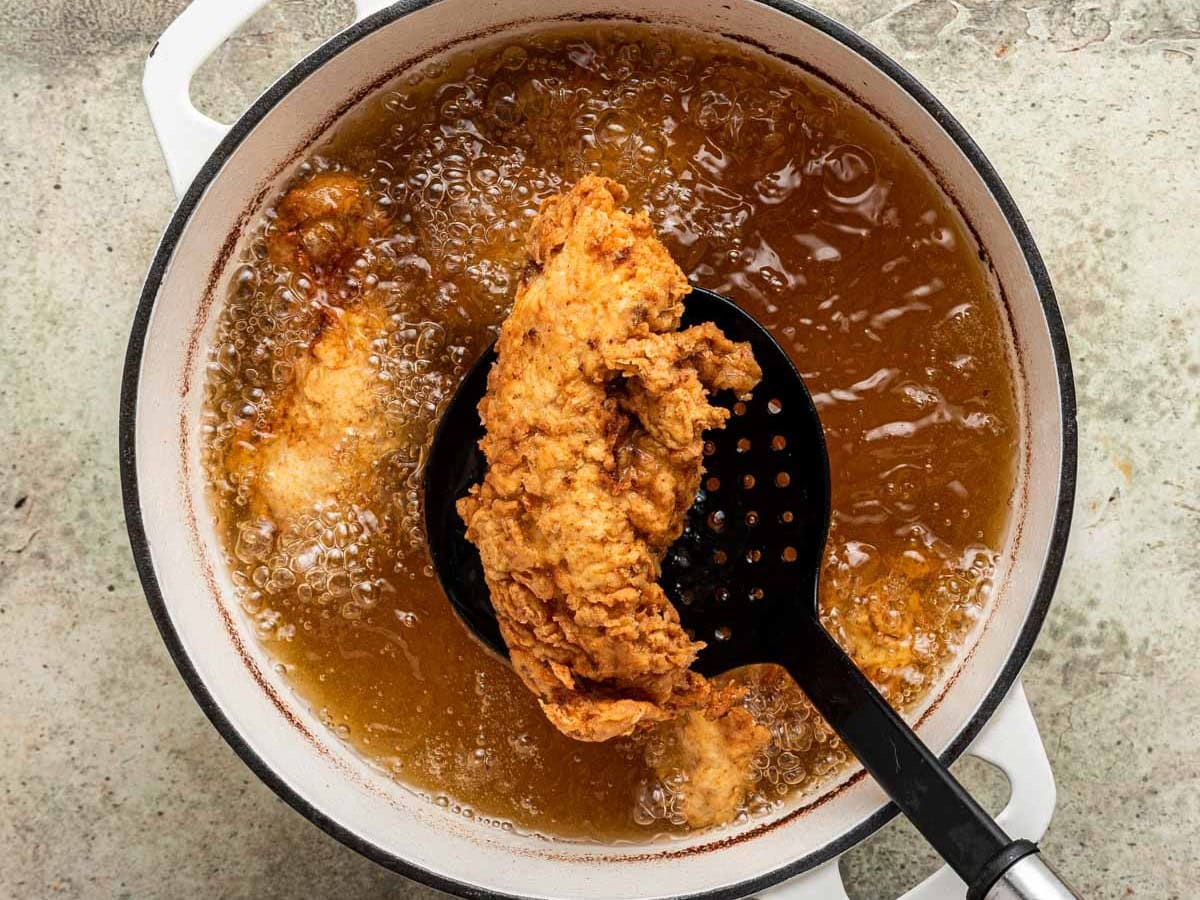
- Add a large dutch oven ½ full with vegetable oil heated to 365 degrees and fry in batches (do not crowd the pan) of 4 pieces, cooking for 10-12 minutes (check for 165 degrees and that the chicken is cooked through).
Notes
Nutrition
Want to save this recipe? Create a free account to easily save your favorite recipes
Chef’s Notes
Cut a whole chicken down by remove any giblets or innards from the cavity of the chicken. Place the chicken breast side up on a cutting board. Use a sharp knife to cut along the breastbone, splitting the chicken into two halves. Cut each half into two pieces by separating the drumstick and thigh from the breast. Use a sharp knife to cut the wings off at the joint, if desired. If you prefer, you can further break down the chicken into smaller pieces, such as drumettes and flats, out of the chicken wings.
Table of contents
About this Recipe
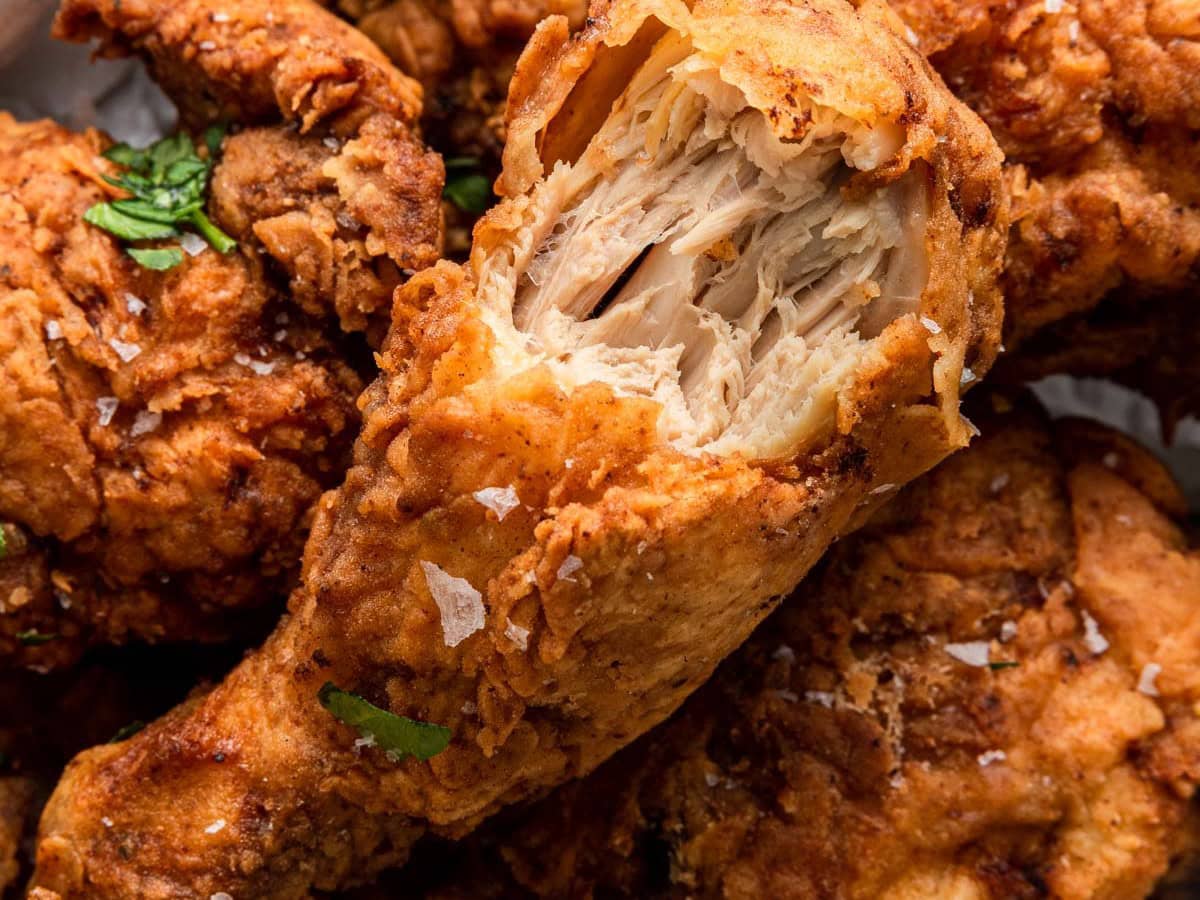
This fried chicken recipe is made with a whole chicken, so whether you like dark meat or light meat, everyone gets the piece of chicken they love best! The freshly cut chicken pieces then take a rich, decadent bath in a buttermilk marinade for a few hours so they get super tender. They get wrapped in another layer of flavor with the seasoned flour coating. From there, they get fried in a neutral oil, so all you taste is the seasoned chicken and that mouthwatering crispy crust. If you aren’t drooling yet, you will be once you take a bite of this amazing chicken!
Ingredients
- Whole Chicken: Breaking down a whole chicken might seem overwhelming if you’ve never done it, but there are instructions in my Chef’s Notes right below the Recipe Card. You could also ask the butcher to do it for you.
- Flour: All-purpose flour is great for breading chicken because it has enough gluten to make a nice, thick, crispy crust that sticks to the buttermilk easily. Rice flour is the best gluten-free flour substitute for a similar texture that sticks to the chicken.
- Buttermilk: The acid in the buttermilk helps to tenderize the meat by breaking down the proteins in chicken, resulting in more succulent and flavorful meat. The fat helps the meat retain moisture during cooking, leading to the juiciest fried chicken!
- Seasonings: The chicken gets a double hit of seasoning, first with the salt and pepper in the buttermilk marinade. Then the flour is seasoned with onion powder, garlic powder, and a little bit of cayenne pepper for a little heat.
Can this be made ahead of time?
You should plan to make this fried chicken at least 4 hours in advance so the buttermilk has time to fully tenderize the meat and flavor it. It can be made in advance up to 48 hours; however, 24 hours is the optimal time for flavor and texture. No matter how long you keep it, it must be chilled in the refrigerator, covered, or in an airtight container.
Pairing Suggestions
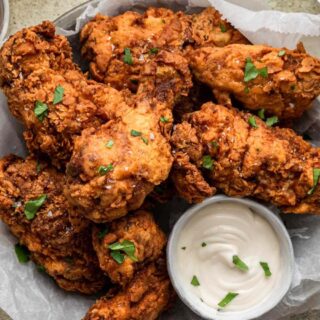
- Buffalo Chicken: Heat up 2 cups of Buffalo Sauce and 2 tablespoons butter in a saucepan. Use tongs to coat the fried chicken pieces in the hot sauce and allow the excess to drip off on a wire rack for a couple of minutes before serving with some cool Blue Cheese Dressing for dipping.
- Chicken and Waffles: Serve your fried chicken pieces on top of fresh, Homemade Waffles for a classic Southern dish! Traditionally, it’s served with a side of warm maple syrup or honey, butter, and some hot sauce.
How to Store
- Store: This chicken should be stored in the refrigerator after no more than 2 hours at room temperature. Leftover chicken should be put in an airtight container or wrapped in aluminum foil or plastic wrap. It will keep for up to 3 days.
- Reheat: To reheat fried chicken, bake in a single layer at 350 degrees for 15-20 minutes or until it is heated through. If the coating isn’t very crispy after reheating, place it under the broiler for a few minutes. You can also reheat in the air fryer for crispier skin.
- Freeze: Wrap individual chicken pieces in plastic wrap and aluminum foil to reduce ice crystals and keep the chicken fresher for longer. Store in the freezer for up to 3 months and thaw overnight in the fridge before reheating.
Air Fryer Method
- Preheat the air fryer to 400 degrees. Season and marinate the chicken pieces as usual.
- Remove the chicken from the buttermilk marinade and let any excess buttermilk drip off.
- In a shallow bowl, mix together the seasoned flour mixture.
- Dredge the chicken in the flour mixture, ensuring it is evenly coated.
- Place the chicken in the air fryer basket, ensuring not to overcrowd it.
- Lightly spray the chicken with cooking spray.
- Air fry the chicken for 20-25 minutes, flipping the chicken halfway through the cooking time. The chicken should reach an internal temperature of 165 degrees.
- Repeat with the remaining chicken pieces.
Frequent Questions
Buttermilk Fried Chicken is a Southern recipe for fried chicken that involves marinating chicken in a mixture of buttermilk and chicken seasoning. It goes from the milk mixture to the coating, almost always a seasoned flour mixture, before frying, versus using an egg wash method of other chicken recipes. Soaking in buttermilk adds a tangy flavor and helps tenderize the chicken, while the seasoned flour mixture creates a crispy, flavorful crust. For an extra crunch factor, cooks often double-dip the chicken in milk and flour before frying.
For best results, it’s recommended that the chicken be marinated in buttermilk for at least 4 hours, but preferably overnight, to allow the buttermilk to tenderize the meat fully. However, do not leave the chicken in buttermilk for more than 48 hours, as it will break down the meat too much.
Marinating chicken in buttermilk serves several purposes. First, the acid in the buttermilk helps break down the proteins in the chicken, making it more tender. Second, the buttermilk adds a tangy flavor to the chicken. Finally, marinating the chicken in buttermilk helps the seasoned flour adhere better, resulting in a crispier crust.
Variations
- Spicy: Add your favorite hot sauce, sliced fresh jalapenos, or chipotle peppers in adobo sauce to the marinade. Grind up dried chiles or use chipotle powder in your flour mixture.
- Seasonings: Make Buttermilk Ranch Chicken by adding 2 tablespoons Ranch Dressing mix to the flour mixture. Try dried herbs, such as thyme, rosemary, or parsley, in the seasoned flour mixture for a light herb flavor.
More Delicious Fried Chicken Recipes
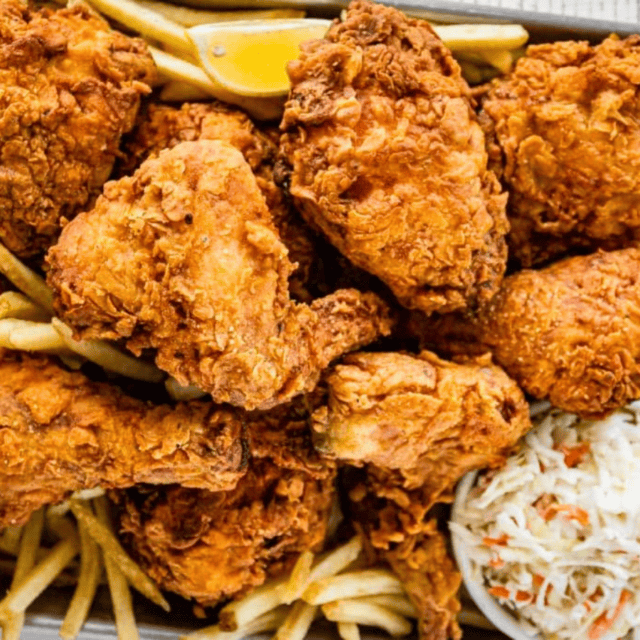
Photos used in previous posts:

“Wow, Sabrina! This Buttermilk Fried Chicken recipe looks absolutely incredible. The step-by-step guide and detailed tips make it so easy to follow, even for someone like me who is new to frying chicken. I appreciate the added variations and air fryer instructions—such a nice touch! Can’t wait to try this recipe out. Thank you for sharing