
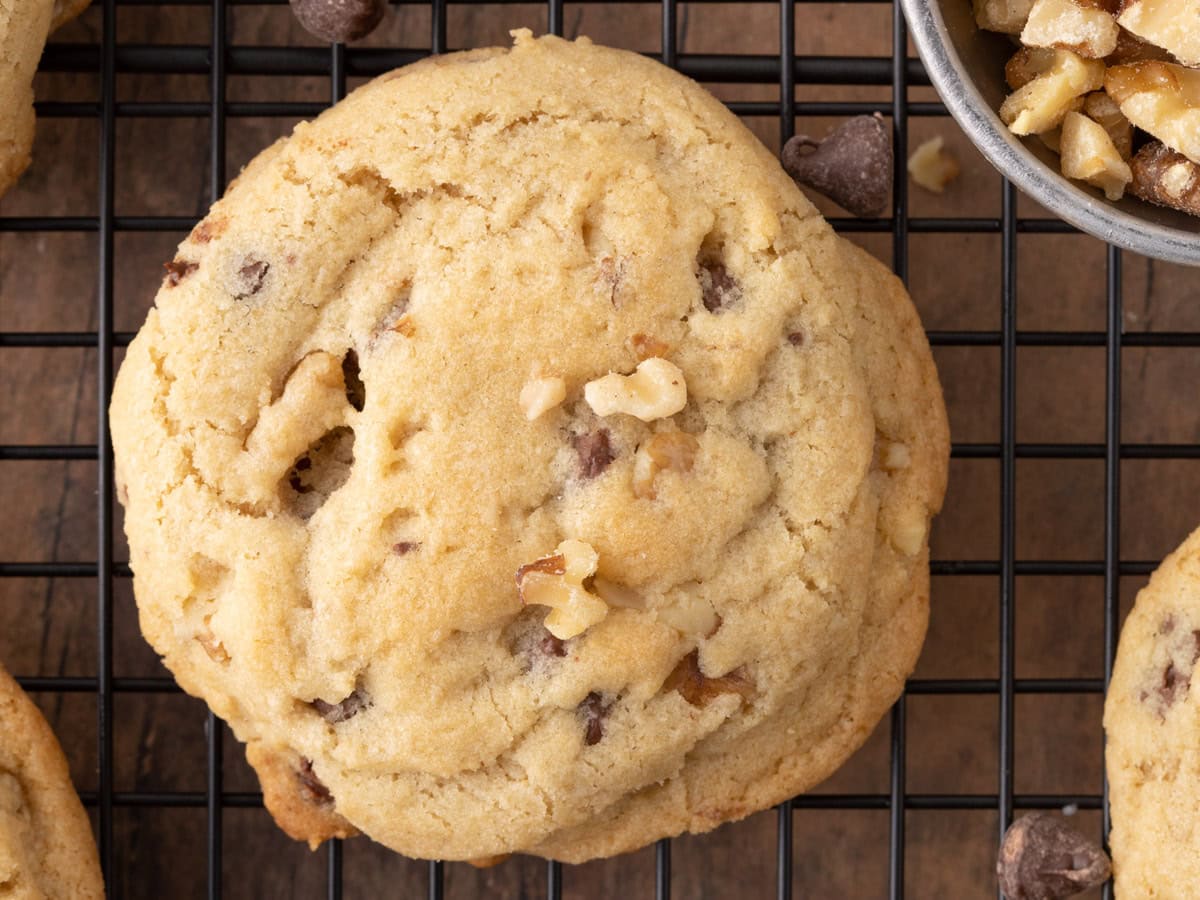
Chocolate Chip Walnut Cookies combine the chewy gooeyness of a chocolate chip cookie, with the crunchy texture of nuts in each bite.
If you like simple Chocolate Chip Cookies, then you’re sure to enjoy this crunchy spin on the classic Cookies.
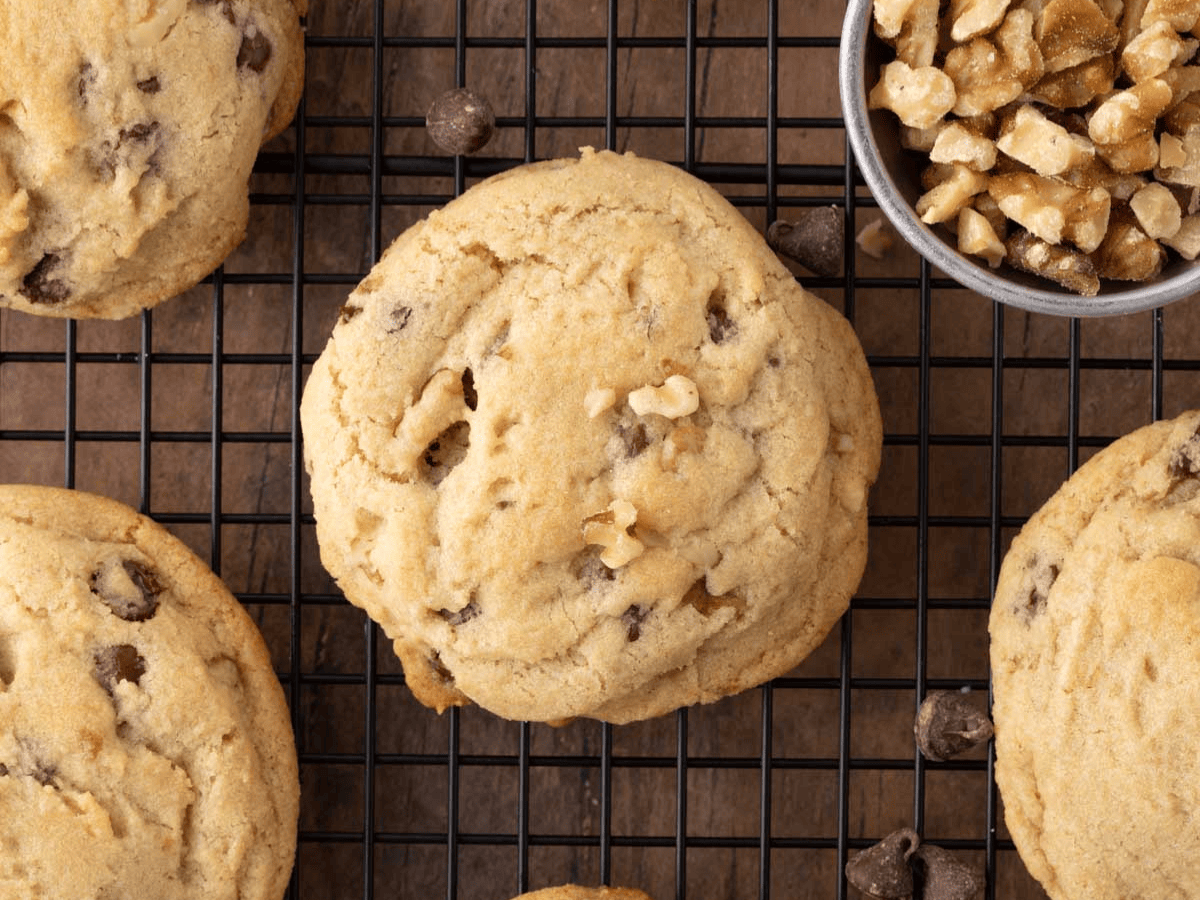
Sabrina’s Chocolate Chip Walnut Cookie Recipe
The next time you’re craving a sweet treat, make a batch of homemade Chocolate Chip Walnut Cookies. They’re quick to prep, make enough to share, and turn out delicious every time. Enjoy these soft, yet wonderfully textured homemade cookies on their own or with a glass of milk, or turn them into a full-blown dessert with a scoop of Vanilla Ice Cream. On the fence about walnuts? Try a different one listed below, and check out the frequent questions section for other important tips.
Recipe Card


Ingredients
- 1 cup unsalted butter , softened
- 1 cup sugar
- 1 cup brown sugar , packed
- 2 large eggs
- 1 tablespoon vanilla extract
- 3 cups flour
- 1 teaspoon baking soda
- 1/2 teaspoon salt
- 1 cup semi-sweet chocolate chips
- 1 cup walnuts , roughly chopped
Instructions
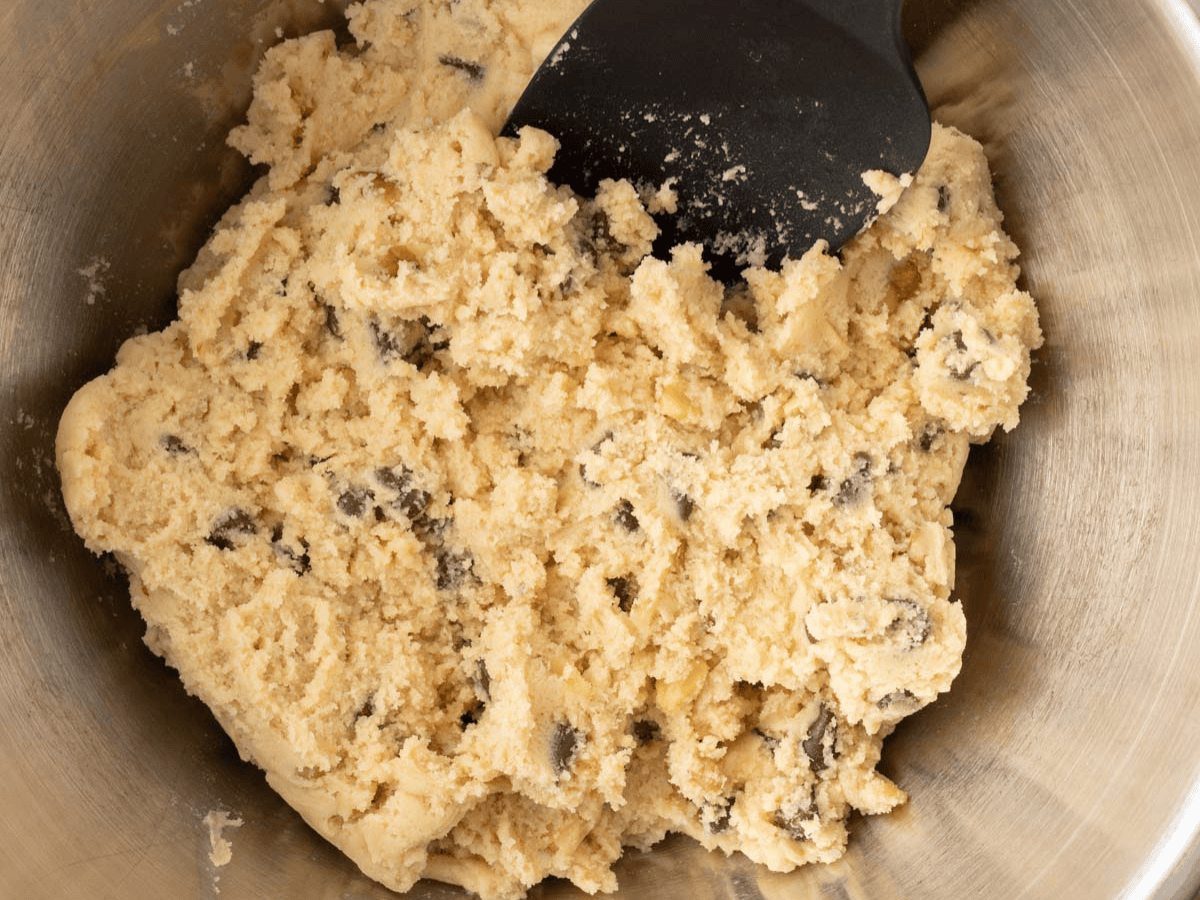
- To a stand mixer cream together the butter, sugar and brown sugar until light and fluffy, about 2-3 minutes.
- Add in the eggs one at a time along with the vanilla.
- Sift the flour and baking soda and add it to the stand mixer along with the salt on low speed until just combined and stir in the chocolate chips and walnuts.
- Cover and refrigerate for 2 hours.
- Preheat oven to 350 degrees and line two baking sheets with parchment paper.
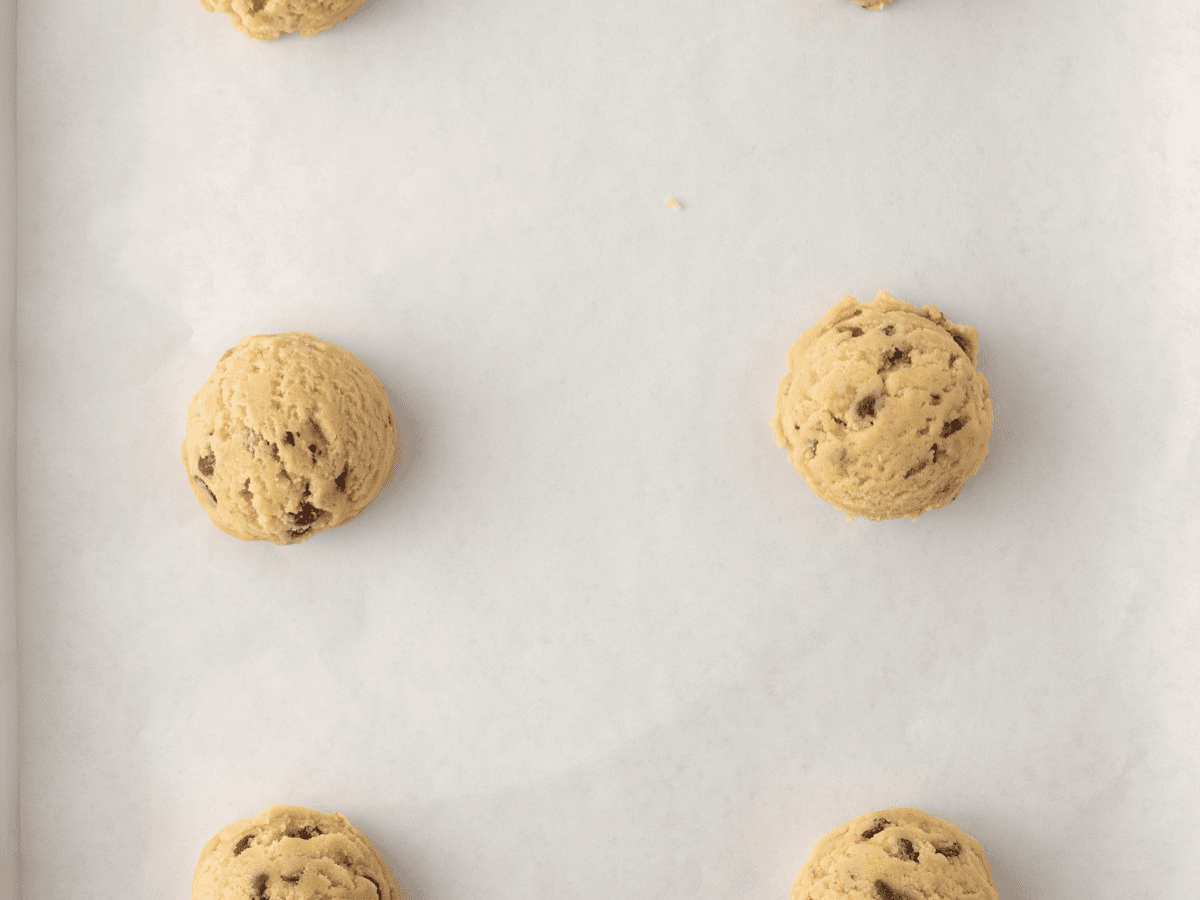
- Using ¼ cup scoops, make cookie balls, and bake the cookies 6 to a sheet for 10-12 minutes.
Nutrition

Want to save this recipe? Create a free account to easily save your favorite recipes
Chef’s Note
I really like how the nuts balance the sweetness of the chocolate in this recipe. Although this recipe calls for walnuts, you could always use something different like almonds, pecans, hazelnuts, or pistachios. All these options pair wonderfully with the chewy cookies and bring their own unique flavor.
Table of contents
Can this be made ahead of time?
These can be made a few days in advance to be enjoyed later, however fresh from the oven is always the way to go in my opinion. You can also prep the dough into balls, and freeze to bake at a later time. Follow the directions below in the frequent questions section for how to do that.
How to Store
- Serve: After baking, let cool for 5 minutes on the baking sheet before transferring them to a wire rack or serving.
- Store: As long as they’ve cooled, cover the cookie plate in plastic wrap or foil, or put the cookies in an airtight container. Kept sealed, they can stay good at room temperature for 3-5 days, or you can put them in the fridge for a week.
- Freeze: If you want to keep the cookies longer, put them in a freezer bag, or another freezer-safe container. Place wax or parchment paper between the layers so that the cookies don’t get frozen together. They’ll keep best for up to 3 months. Then you can let the cookies thaw at room temperature before serving.
Frequent Questions
Although chilling the dough is an easy step to skip, it’s important to get the right cookie texture. Putting the cookie dough in the fridge gives the butter time to chill. This will control the cookies’ spread during the baking time. The cold butter takes longer to melt, so the cookies remain thick and chewy instead of flattening out. The fridge time also allows the flour to hydrate. This makes the dough easier to handle and helps the cookies to rise.
This cookie recipe bakes for 10-12 minutes, at the 10-minute mark, you can check to see if they’re done. When finished, they will be set in the center and golden brown around the outer edges. If they haven’t reached that point yet, continue baking for another 1-2 minutes until they’re do. After the baking time, let the cookies sit on the baking sheet for another 5 minutes. This will allow them to finish setting, before you transfer them to a cooling rack.
Yes! If you want to prep this recipe in advance, you can mix the cookie dough and put it in the freezer for up to 2 months. For best results, roll dough into balls. Place them in a single layer on a parchment-lined baking sheet. Put the prepared baking sheet in the freezer, and let the dough balls harden for 1-2 hours. Once they’re frozen solid, you can transfer the dough to a freezer bag until you’re ready to bake them. Be sure to add a couple of minutes to the bake time, so that they can thaw and bake through.
Related Recipes