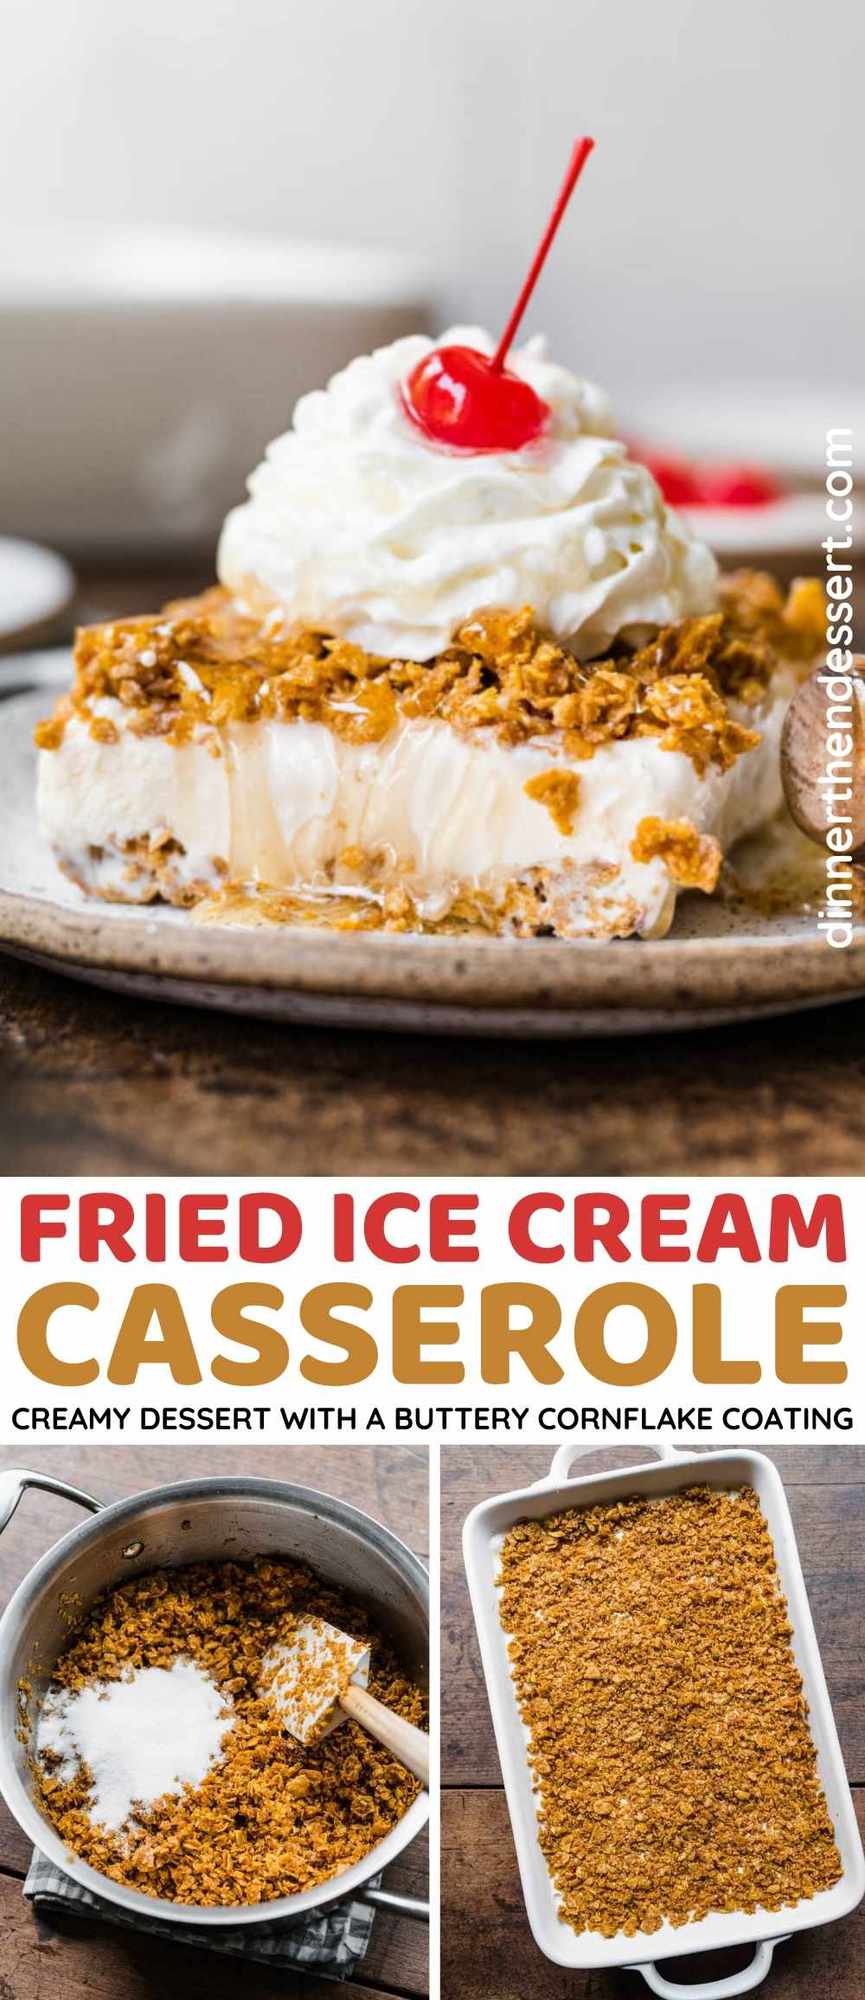
Fried Ice cream Dessert Casserole makes traditional fair food in a big dish with a buttery cornflake coating to serve to friends and family.
Our original Fried Ice Cream Recipe is a great way to make this delicious Dessert Recipe without deep frying. This version takes it a step further and makes it into the perfect dish to serve a crowd. Instead of making individual ice cream balls, it’s all made in one pan, easy to scoop up and serve onto plates for everybody.
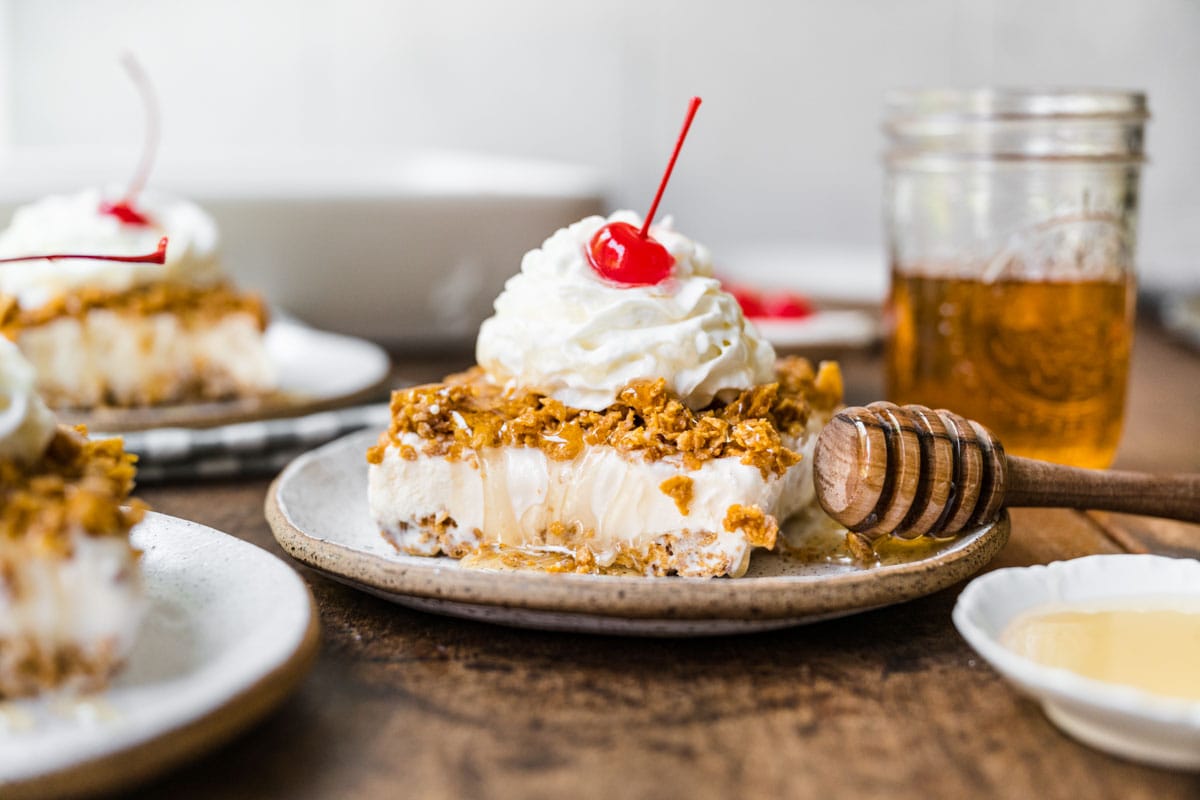
FRIED ICE CREAM DESSERT CASSEROLE
This easy recipe is the perfect hassle-free dish to enjoy during the summer. It’s a simple treat that can keep you cool during the hot months. Making it in a casserole dish is perfect for a party where you have a lot of people to serve.
Another great thing about this recipe is that you don’t have to turn the oven on, which is always great during the summer when you don’t want your house heated up. Other than a quick cook time for the corn flake mixture on the stovetop, it’s an easy no-bake dessert.
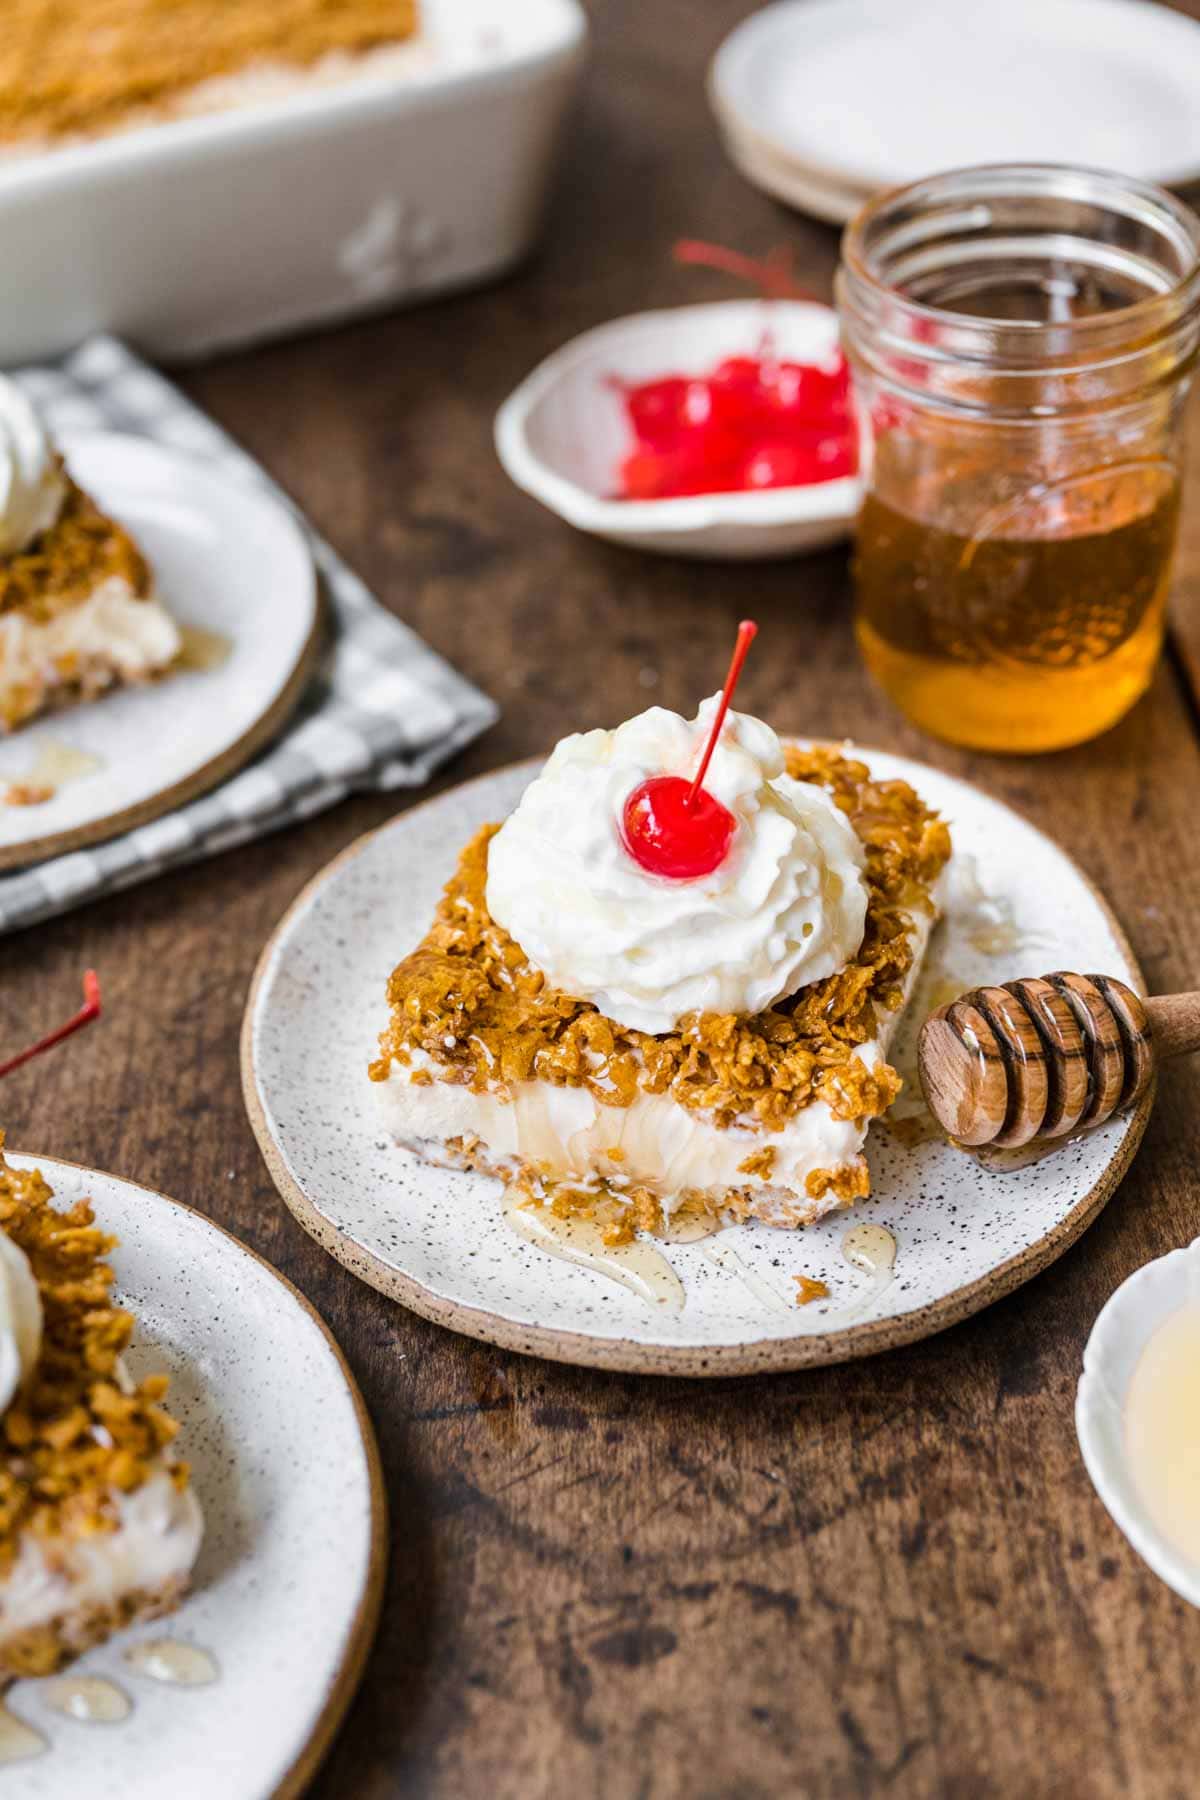
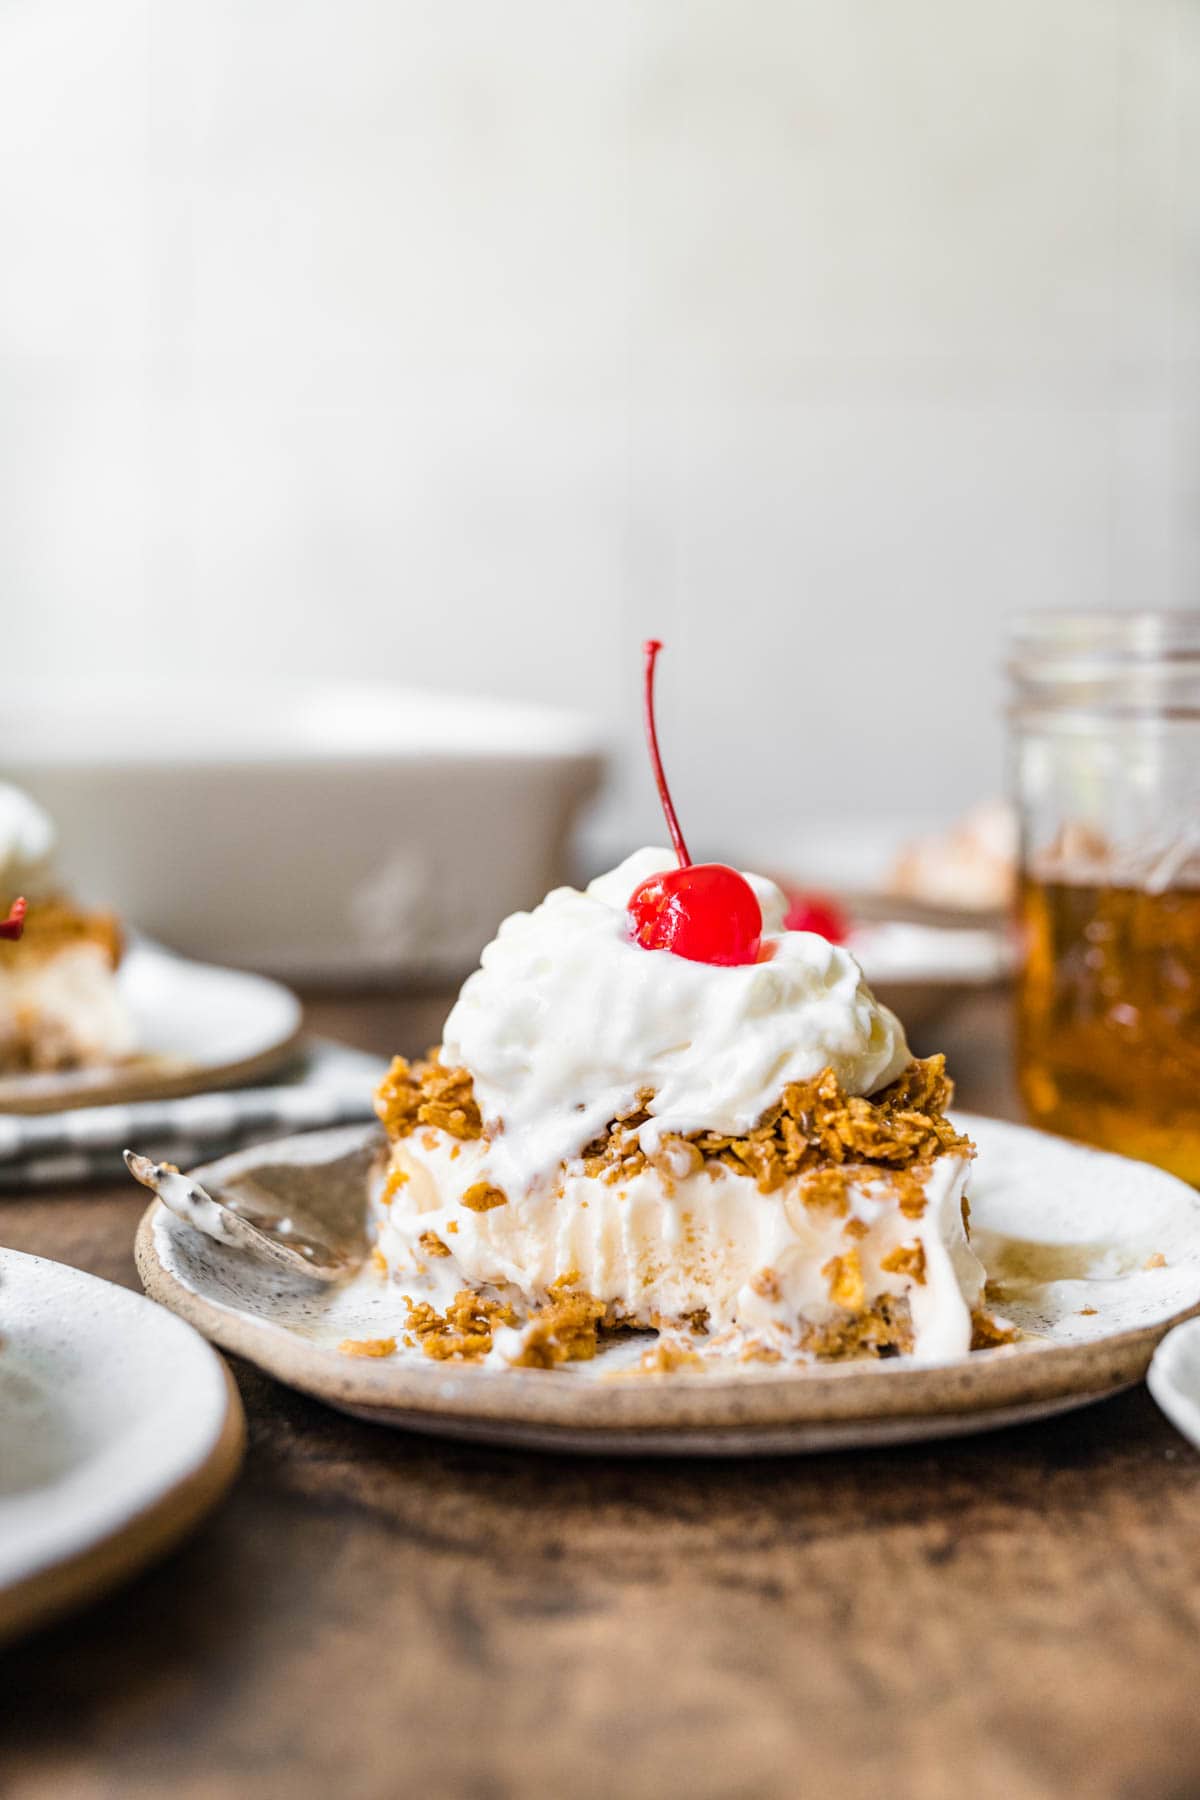
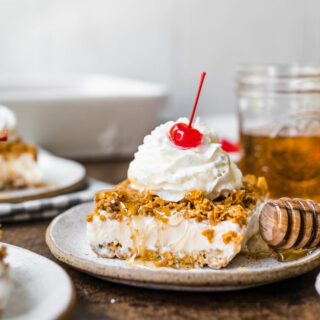
Fried Ice Cream Cake is made with easy and delicious ingredients. The buttery cereal layer adds some crunch and replaces the deep-frying batter that you’d usually have with fried ice cream. Creamy Vanilla Ice Cream goes between the two crunchy layers. Then that’s topped off with Whip Cream, a drizzle of honey, and maraschino cherries for the ultimate ice cream dessert!
If you have fewer guests to serve, you can cut the ingredients in half and make it in an 8×8 square baking pan. That way you won’t have leftovers. Another option is keeping the amount the same and splitting it into two pans. That way you can enjoy one right away and store the other for later!
MORE ICE CREAM TREATS
TIPS FOR MAKING FRIED ICE CREAM DESSERT CASSEROLE
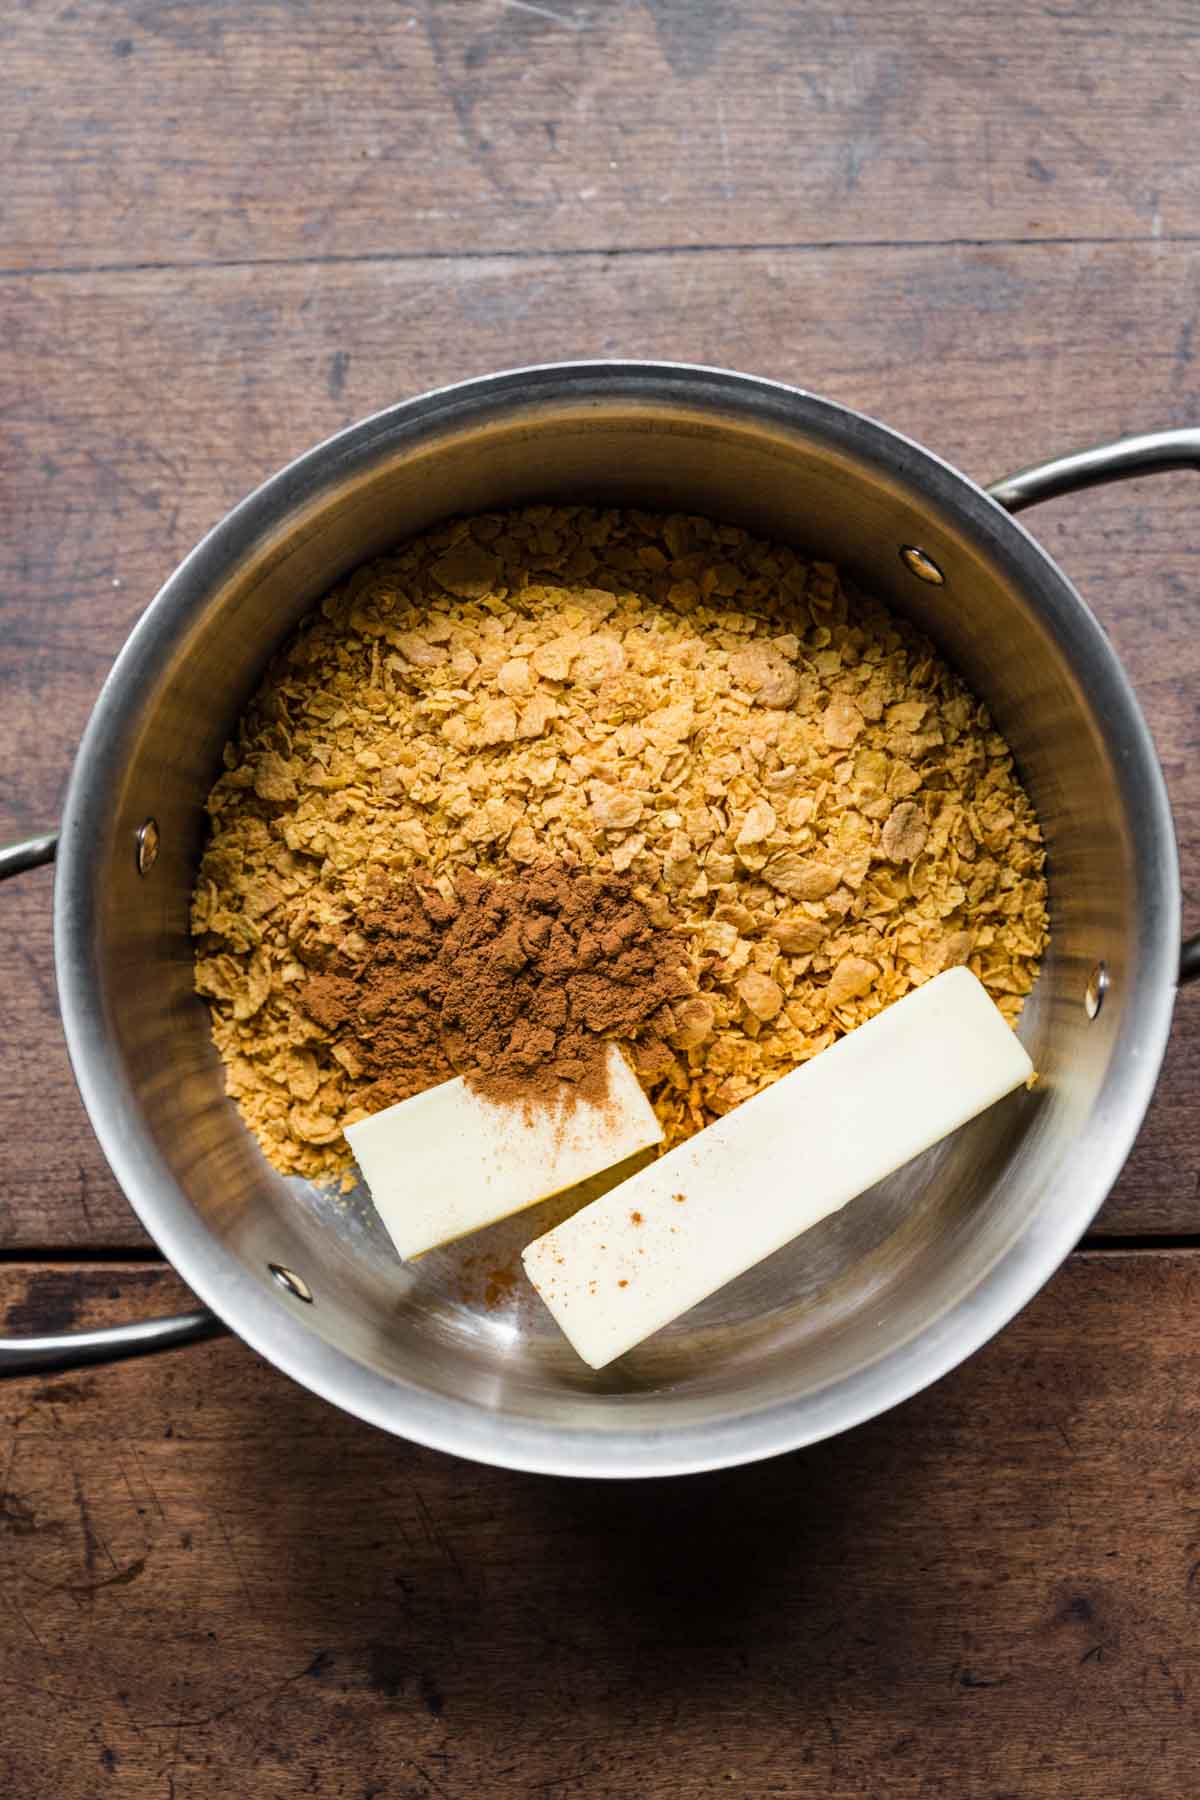
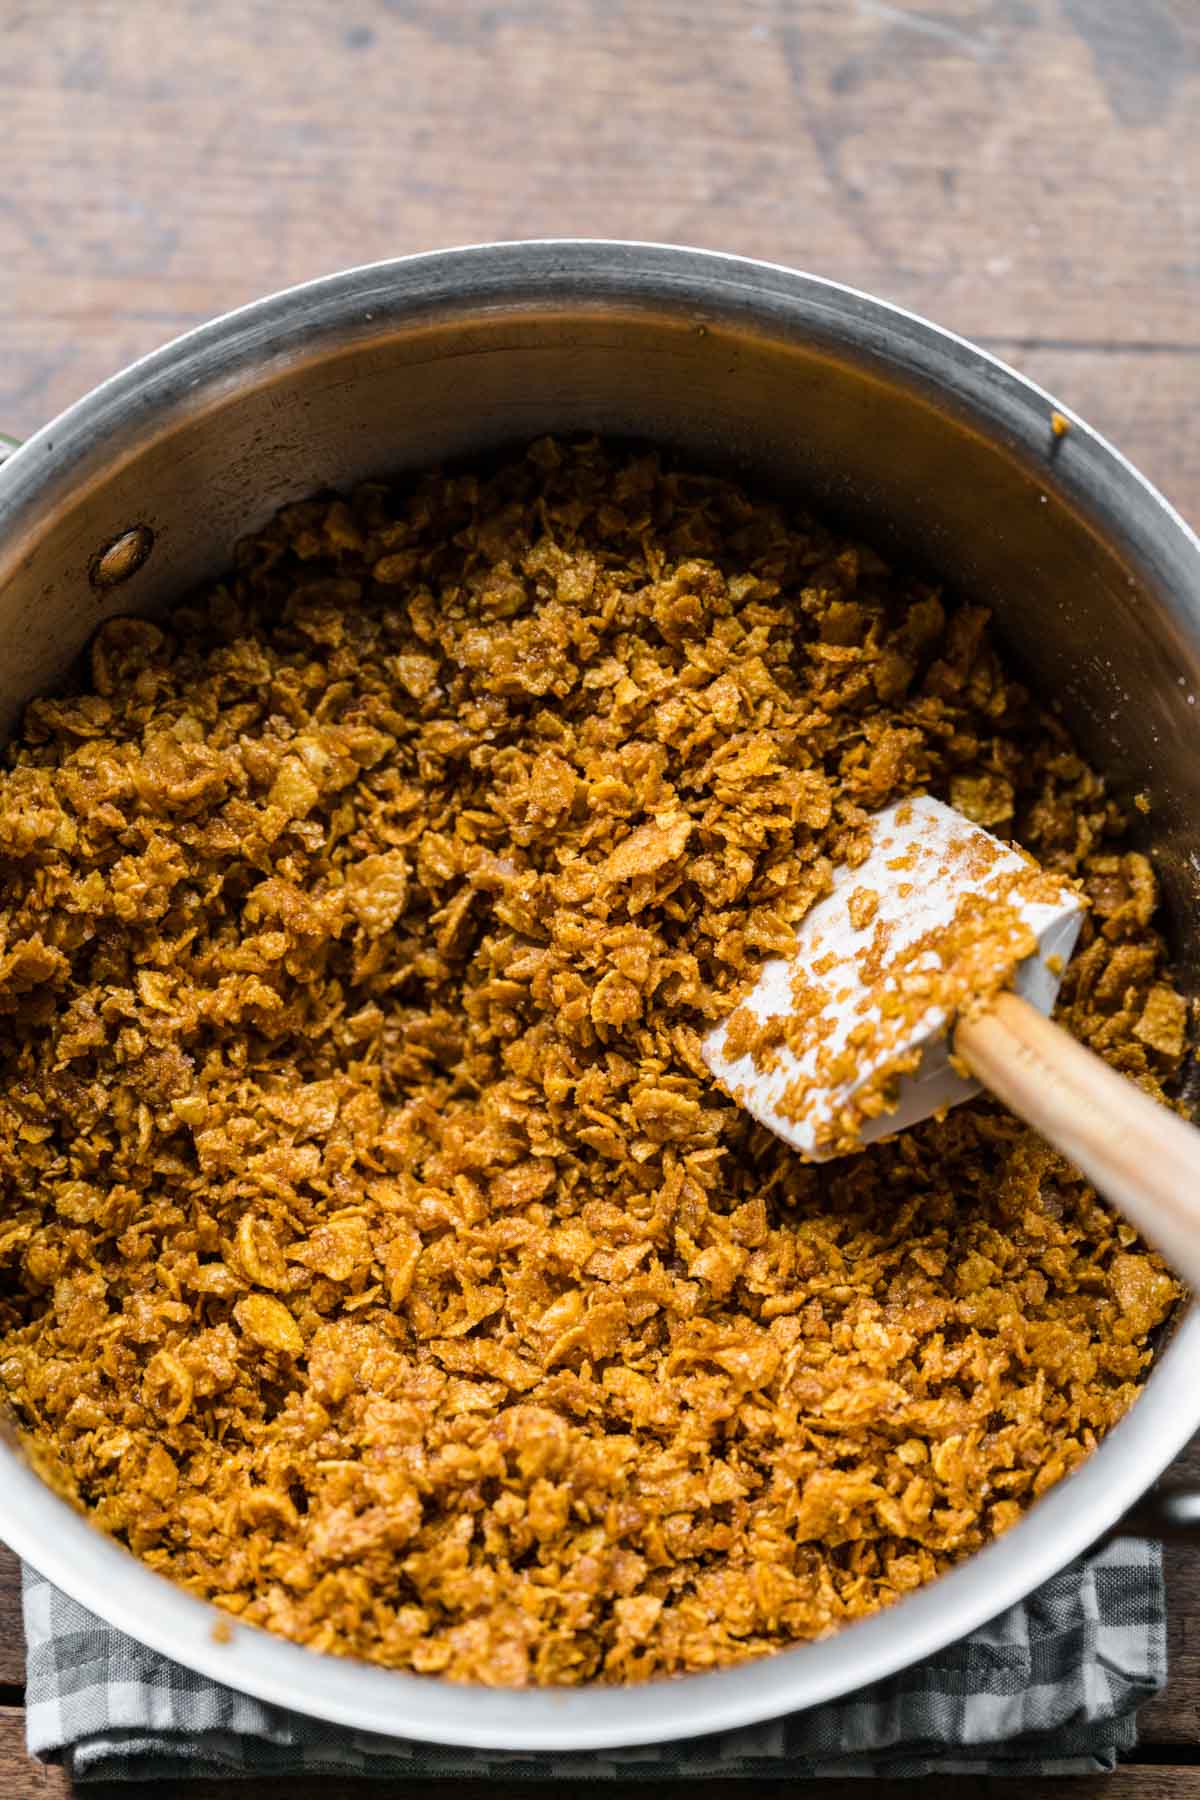
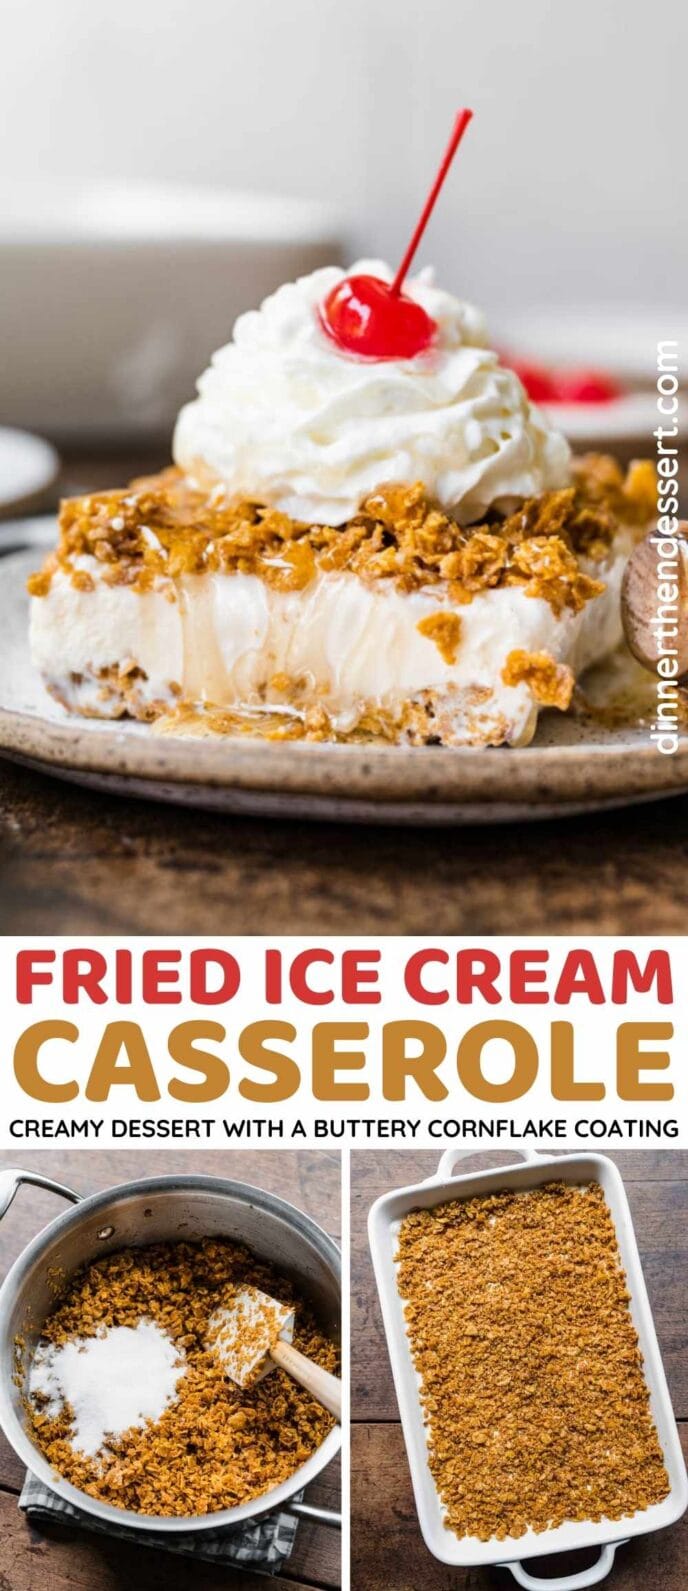
- Corn-flake mixture: Add the cornflakes, butter, and cinnamon to a medium saucepan, and set the stove to medium-high heat. Mix the cereal mixture frequently as it cooks for 6-8 minutes. Once the corn flakes start to brown remove the mixture from the heat. Then stir in the sugar.
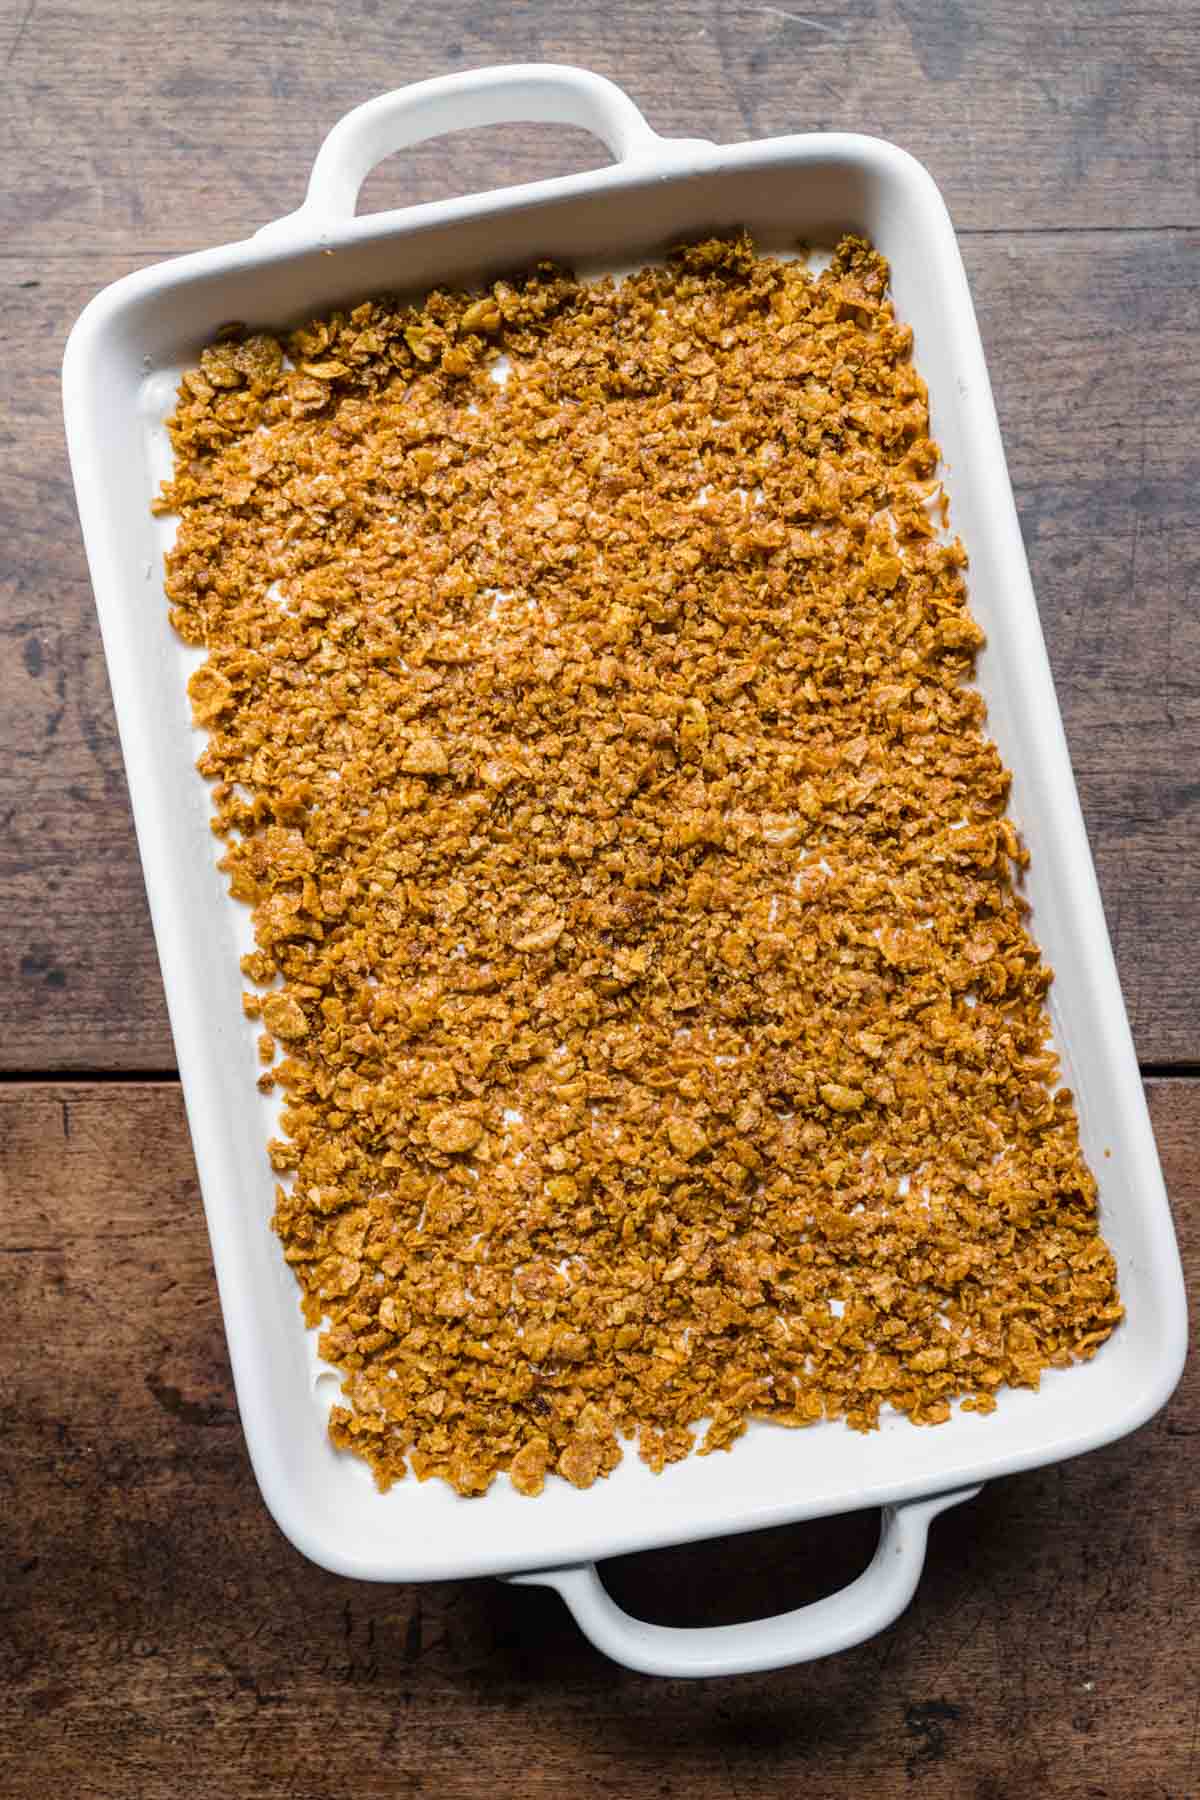
- Crust: Take out a 9×13 inch casserole dish. Divide the cereal mixture in half and use your hands to press half of it into the base of the pan in an even layer.
- Ice cream mixture: Scoop the vanilla ice cream over the cornflake mixture. This is easiest if you use slightly softened ice cream. If it’s too hard to scoop easily, try running your spoon under hot water so it can more easily cut through the frozen treat. Use a knife or an offset spatula to spread the ice cream into an even layer in the casserole dish.
- Freeze: Top it off with the remaining cereal mixture. Then cover and freeze the dish for 4 hours so it has time to fully set.
- Serve: Take the Fried Ice Cream Cake from the freezer. Drizzle honey over cornflakes and top each slice with Whipped Cream and maraschino cherries to serve.
Create a free account to Save Recipes
VARIATIONS ON FRIED ICE CREAM DESSERT CASSEROLE
- Crust: Instead of using cereal, you can try different kinds of crumbs for the Fried Ice Cream coating. Try broken pretzels, breadcrumbs, or potato chips to replace the cornflakes in the recipe.
- Add-ins: There are lots of delicious add-ins you can sprinkle in with the ice cream in the recipe. After you scoop the ice cream in the pan, try sprinkling in some chocolate chips, sliced strawberries, blueberries, chopped nuts, coconut flakes, toffee bits, or M&Ms. Then top it off with the rest of the cornflakes cereal.
- Toppings: There are lots of different sauces and toppings you can add to this dessert. Along with the traditional honey, try adding a drizzle of Caramel Sauce, Hot Fudge Sauce, or melted peanut butter. You could also add chocolate flakes, sprinkles, and fresh berries.
- Ice Cream flavors: You could also change up the recipe by using different flavors of ice cream. Chocolate, strawberry, caramel, or coffee-flavored ice cream would all taste amazing with the crunchy, buttery coating.
MORE DESSERT CASSEROLES
HOW TO STORE FRIED ICE CREAM DESSERT CASSEROLE
- Serve: You have to let the Fried Ice Cream Cake fully set in the freezer for at least 4 hours before you take it out to serve. Don’t leave it at room temperature for more than an hour.
- Store: If you have any leftovers, cover the dish with foil or transfer them to an airtight container to store in the freezer for up to 1 week.


Ingredients
- 3/4 cup unsalted butter
- 3 cups Corn Flakes cereal , crushed
- 1 tablespoon ground cinnamon
- 1/4 cup sugar
- 9 cups Vanilla Ice Cream
- 4 cups Whipped Cream
- 1/2 cup honey
- 12 maraschino cherries , with stem
Instructions
- To a small saucepan, add butter, corn flakes, and cinnamon.
- Stir often, for 6-8 minutes or until Corn Flakes brown.
- Remove from heat and stir in the sugar.
- Add half the cornflakes to the 9x13 baking dish in an even layer.
- Scoop the vanilla ice cream over the cornflake mixture.
- Using a knife or offset spatula, spread the ice cream evenly.
- Top with the remaining corn flake mixture.
- Cover and freeze for minimum 4 hours.
- Serve slices topped with whipped cream, honey, and a maraschino cherry.
Nutrition


Ever tried this with Frosted Flakes and leaving out the sugar?