
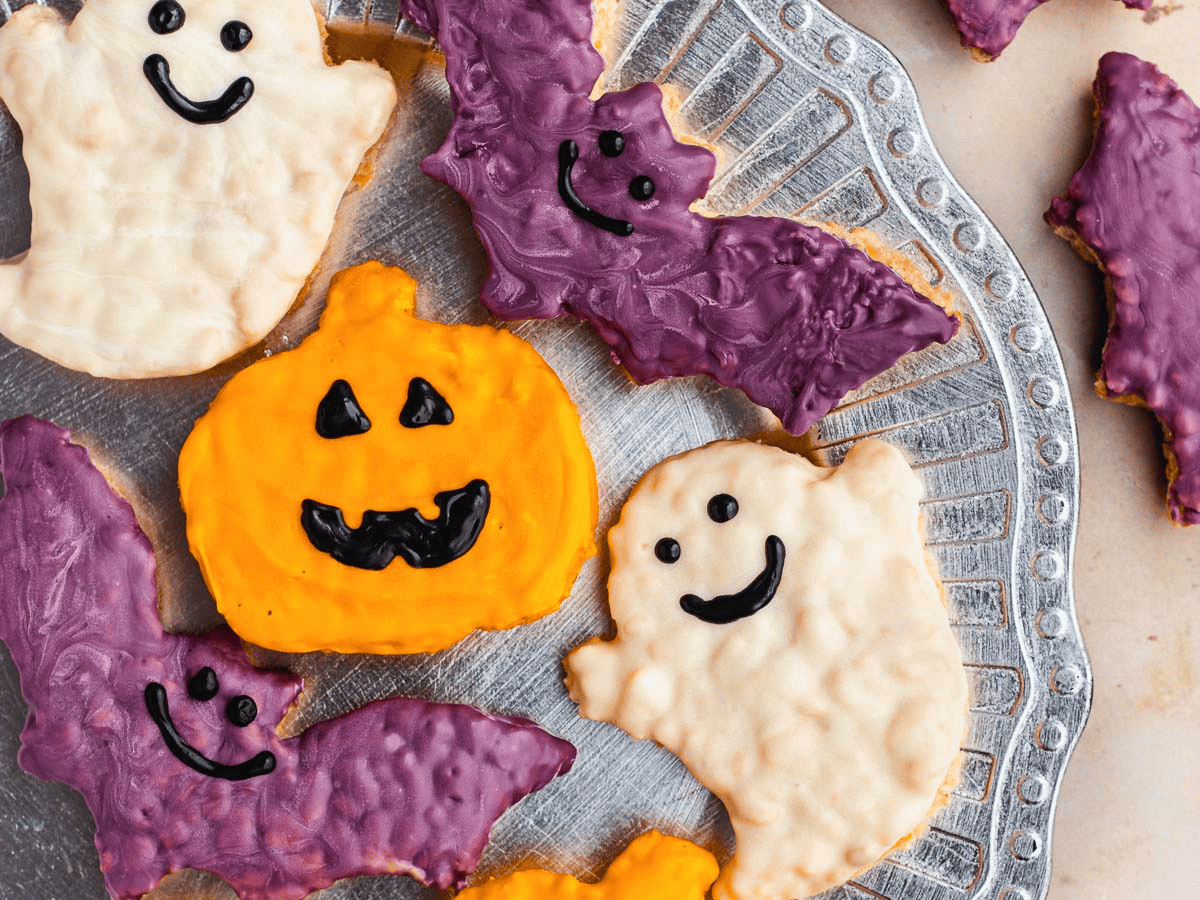
Halloween Rice Krispie Treats are a fun, festive dessert that’s perfect for parties, classroom celebrations, and spooky season treats!
Traditional Rice Krispie treats are an easy, no-bake Snack that you can easily alter to make a fun treat for the holidays! Try making these with my Oreo Rice Krispies and Brown Butter Rice Krispies for more delicious variations on the classic treat!
Sabrina’s Halloween Rice Krispie Treats Recipe
My Halloween Rice Krispie Treats are a festive, no-fuss dessert that’s perfect for Halloween parties, school celebrations, or a fun family activity after dinner. Decorated with colorful candy melts and spooky sprinkles, they’re easy to customize and come together quickly, making them a fun way to end any Halloween meal!
Recipe Card



Ingredients
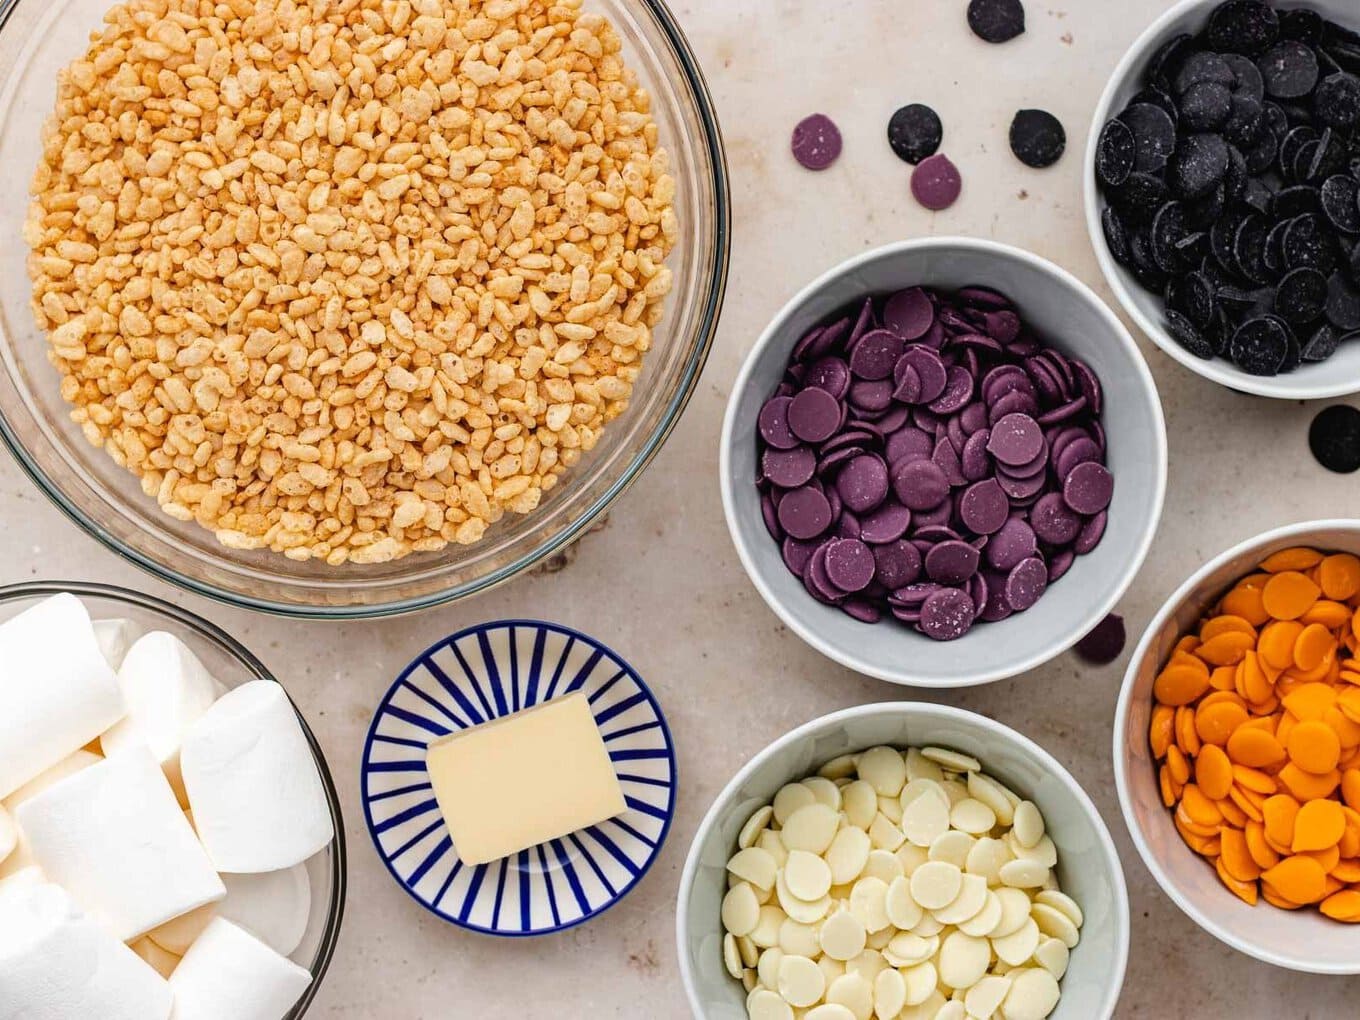
- 3 tablespoons unsalted butter
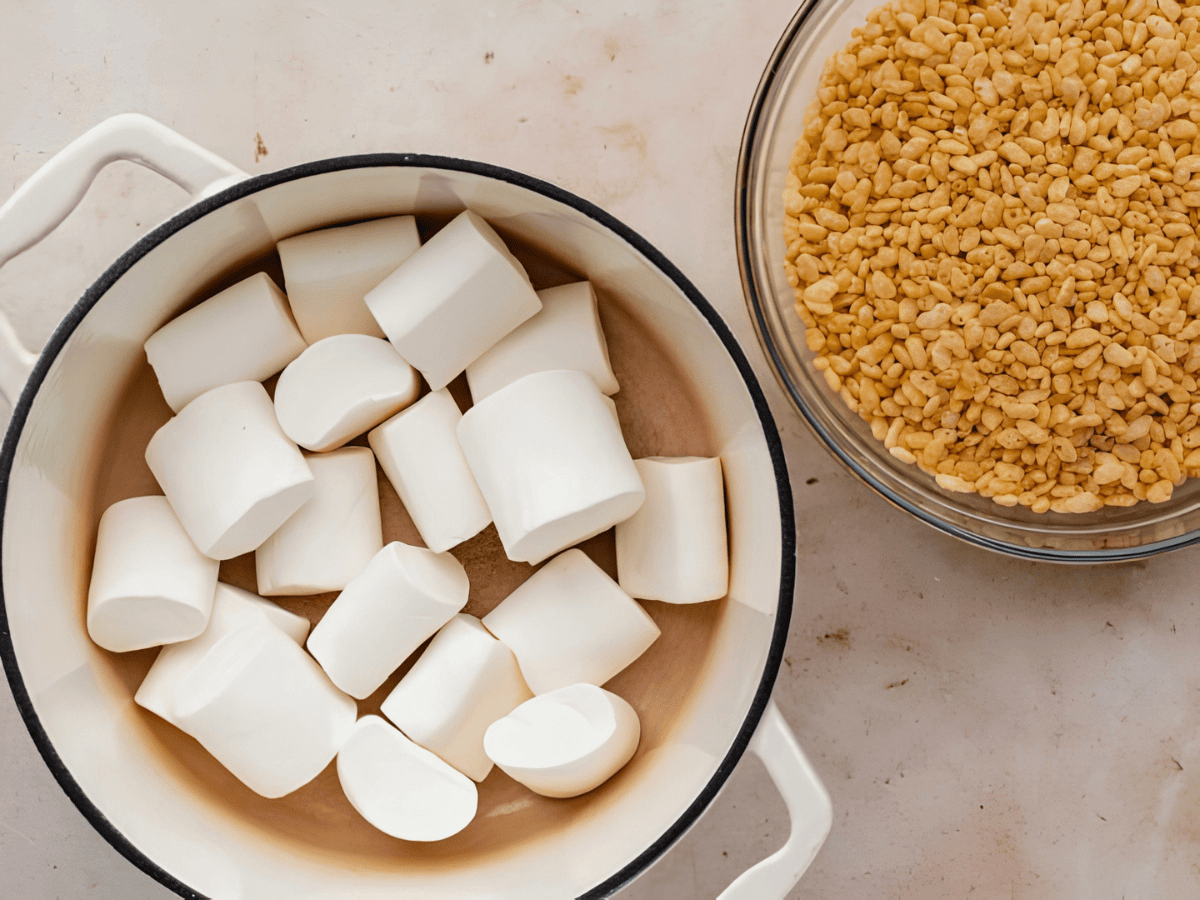
- 10 ounces marshmallows
- 6 cups Rice Krispies cereal
- 6 ounces candy melts , orange
- 6 ounces candy melts , white
- 6 ounces candy melts , purple
- 3 ounces candy melts , black
Instructions
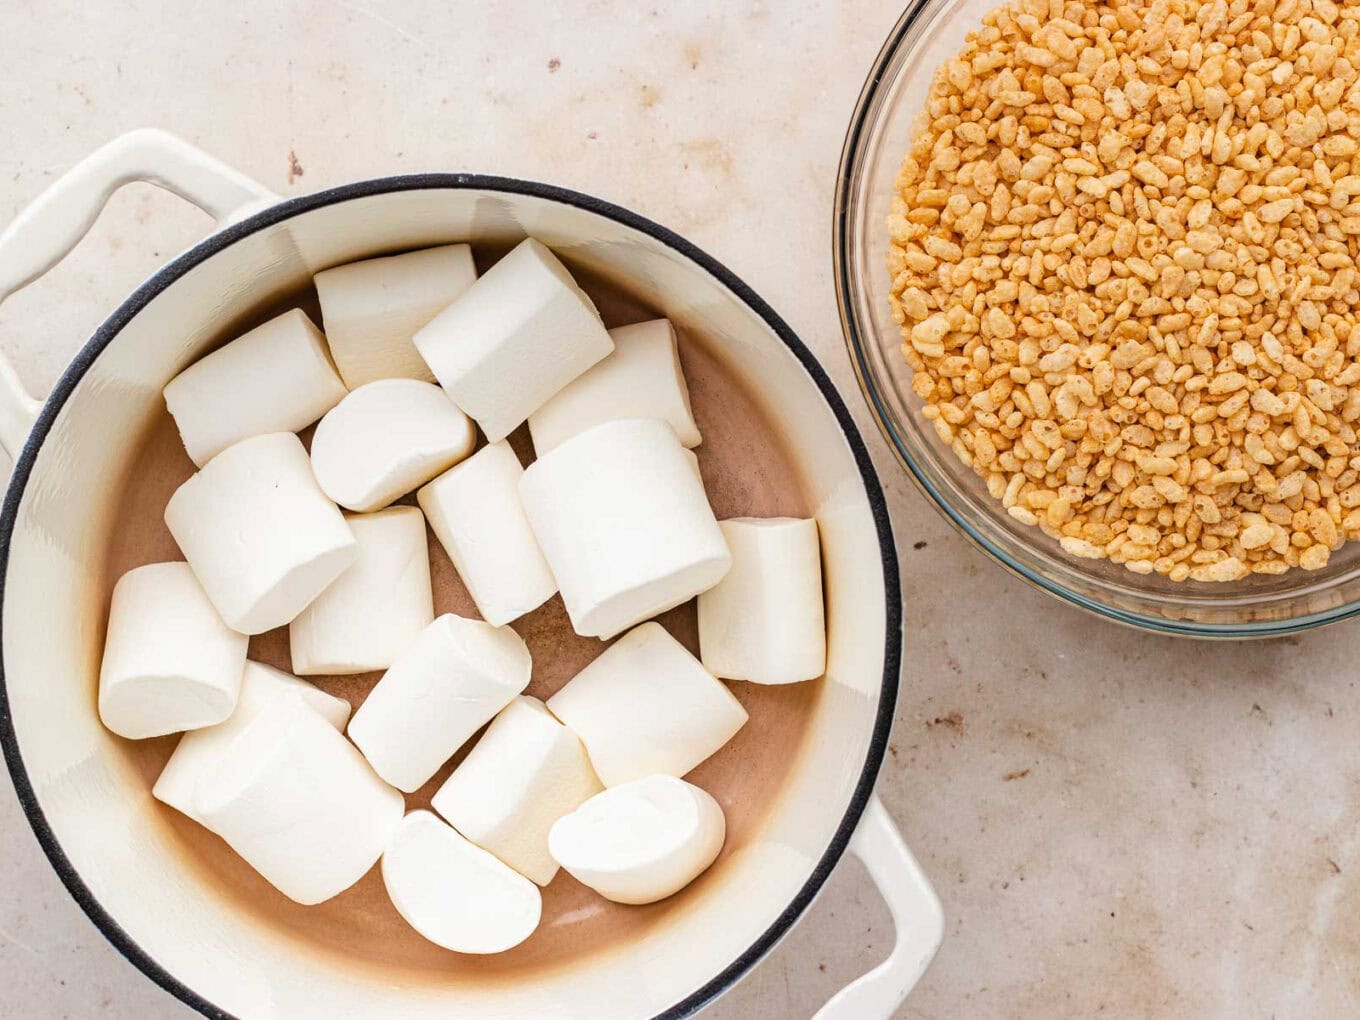
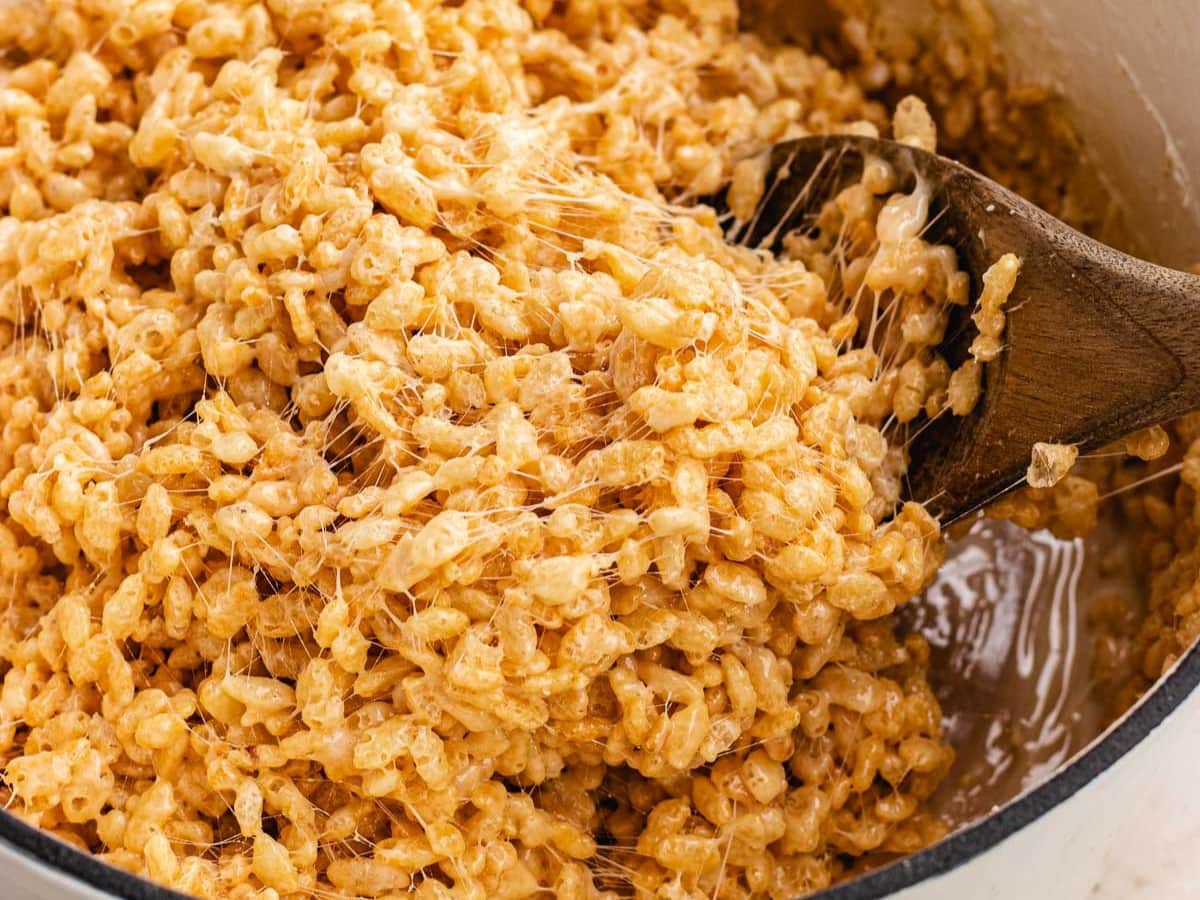
- In a dutch oven melt the butter on medium heat then add in the marshmallows and mix until completely melted.
- Mix in the Rice Krispies Treats until completely coated.
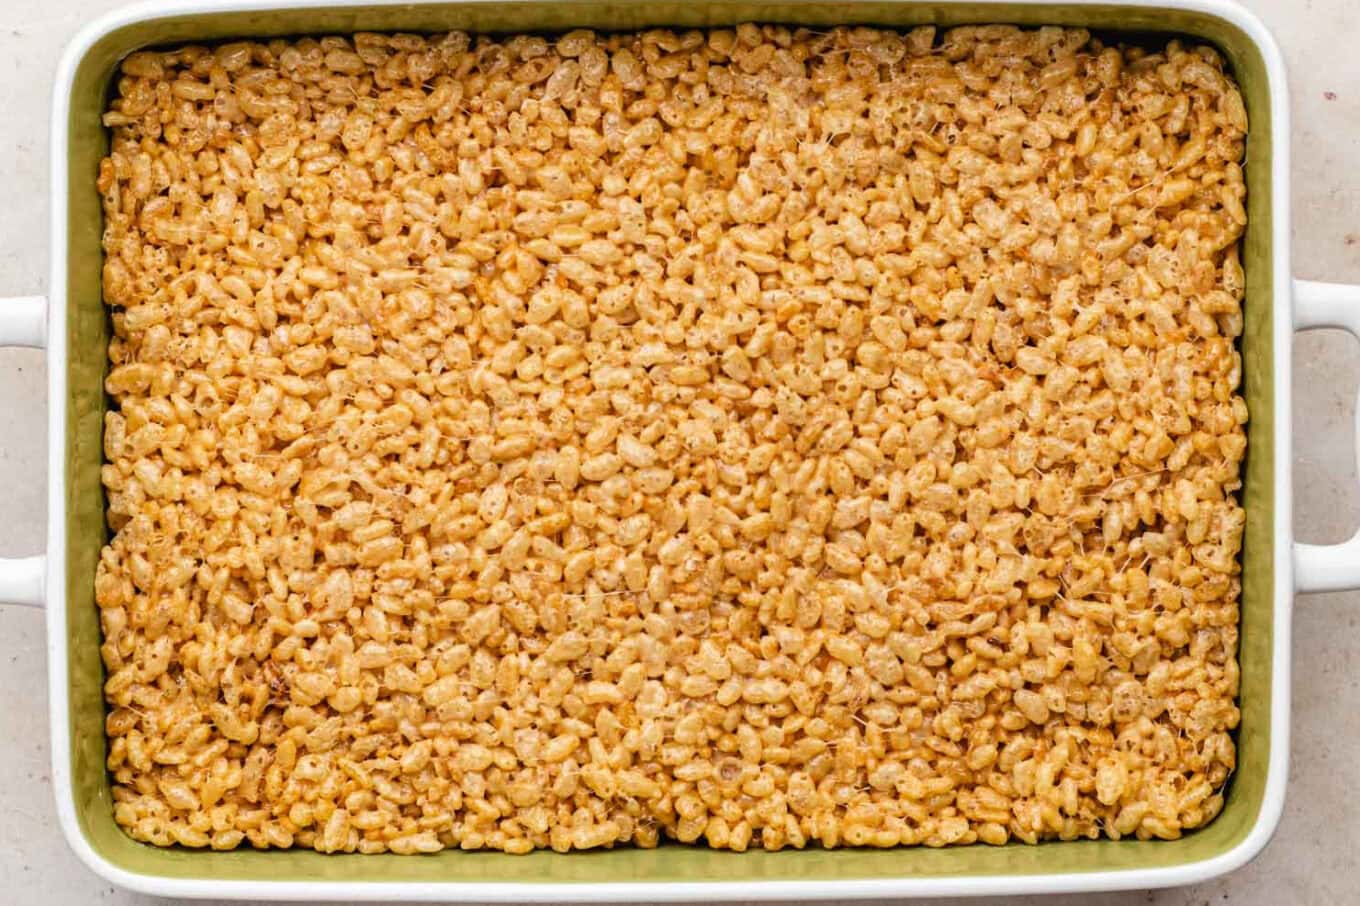
- Press the mixture into a 9×13 inch pan and let cool completely before serving.
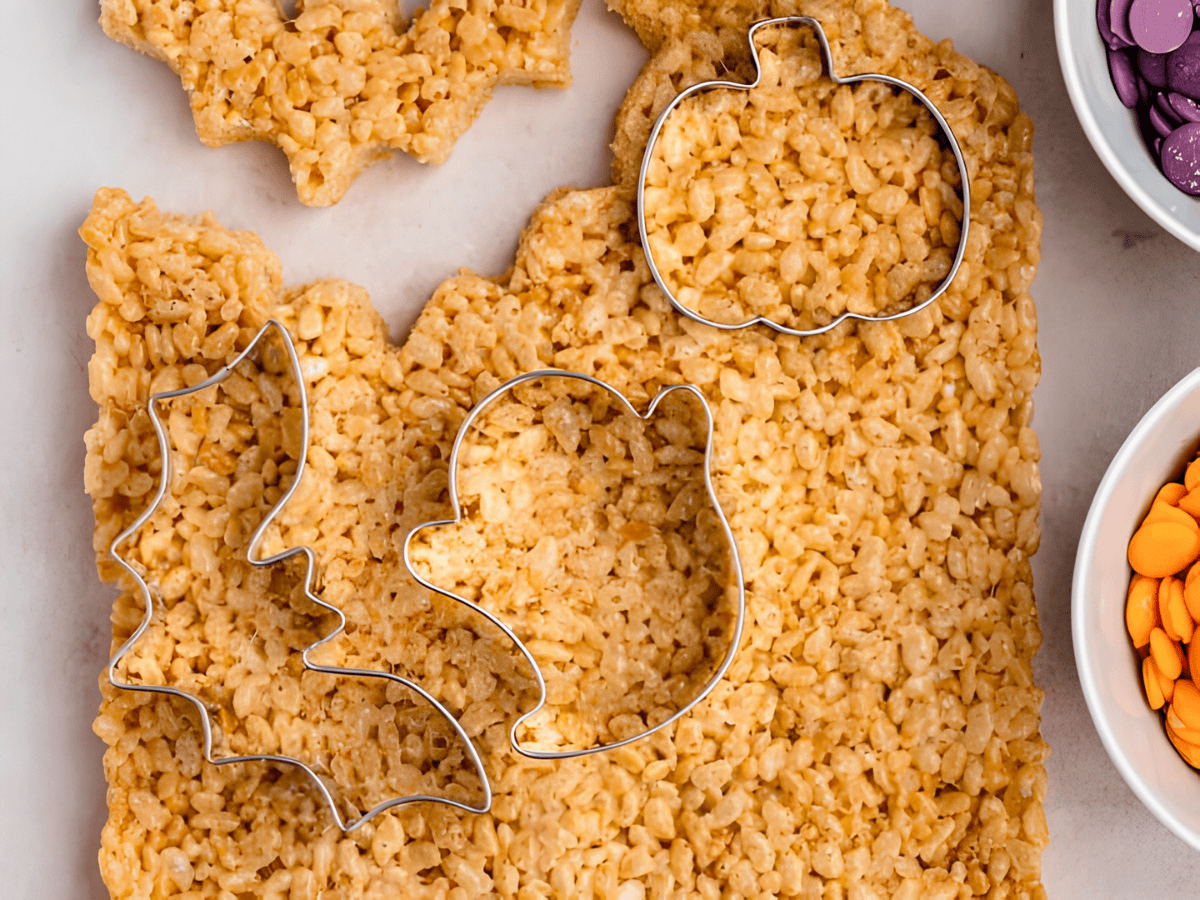
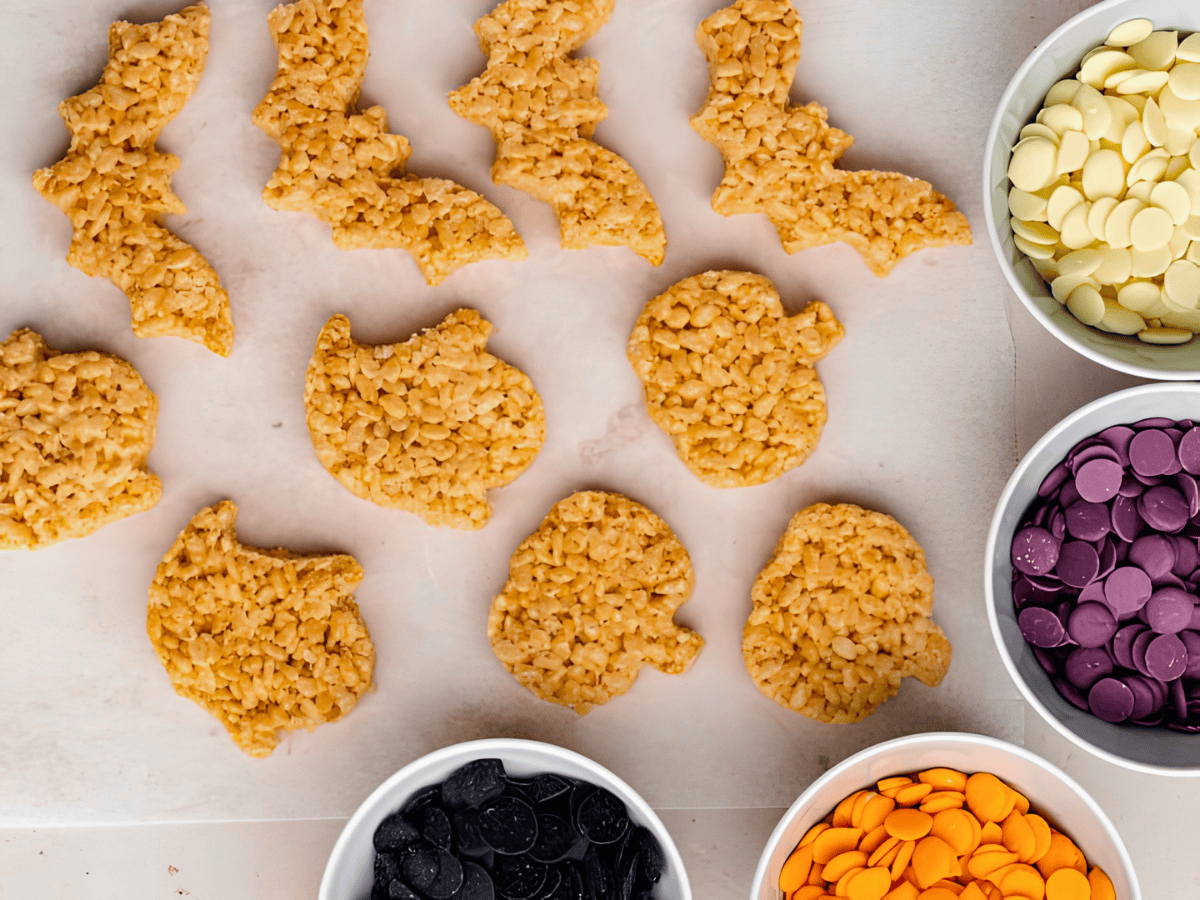
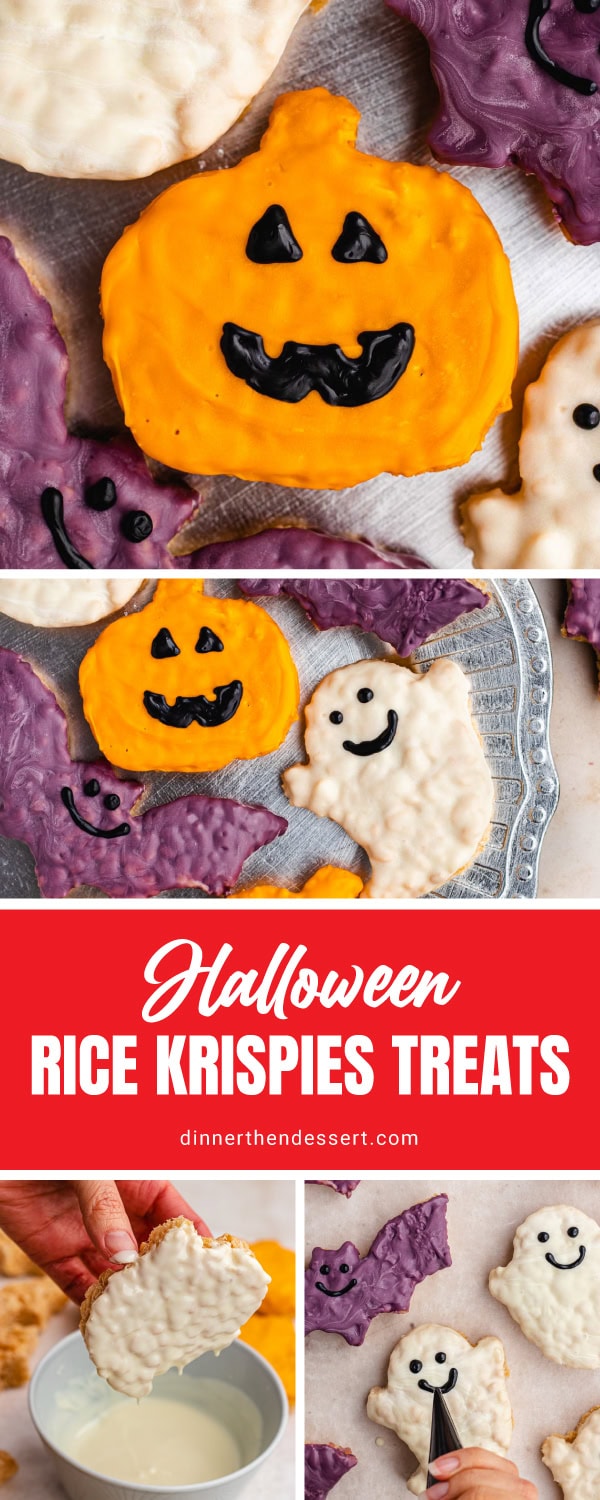
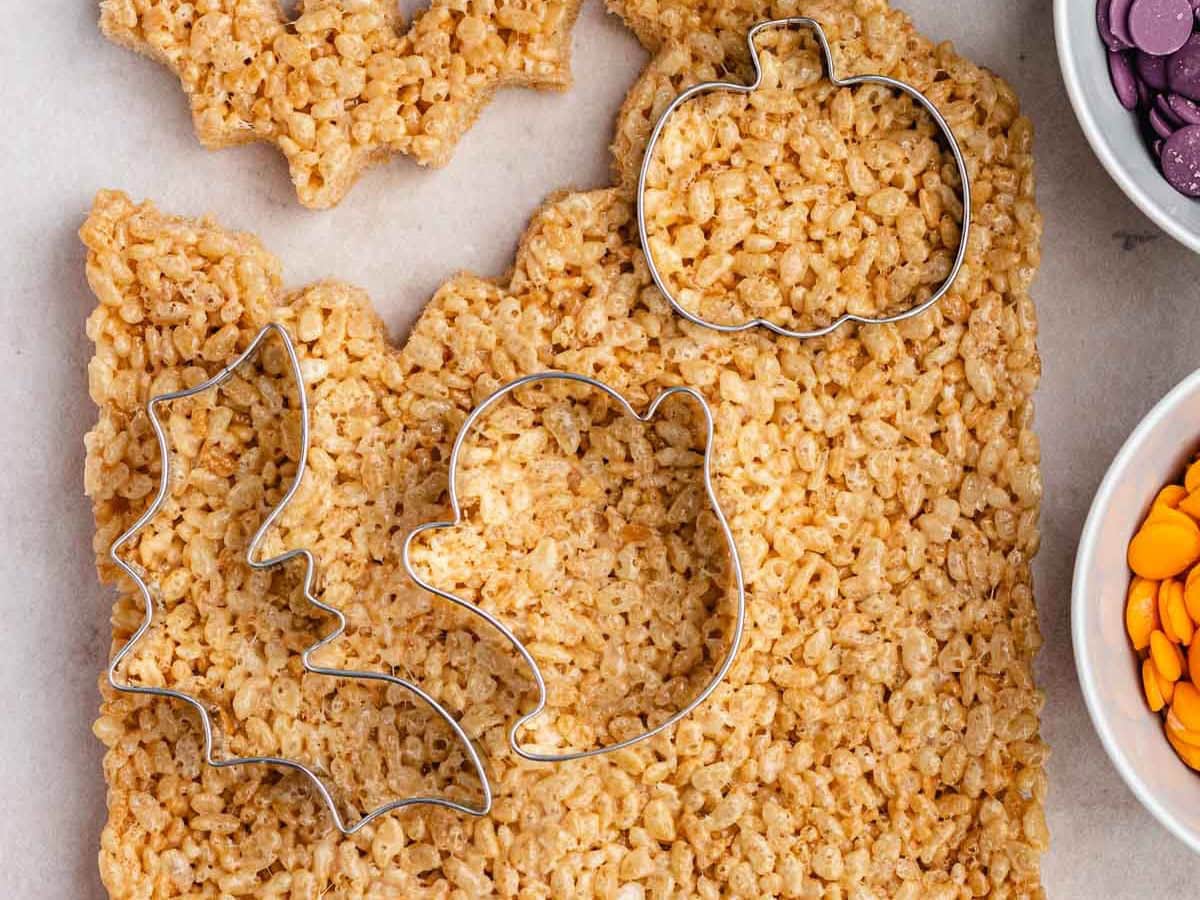
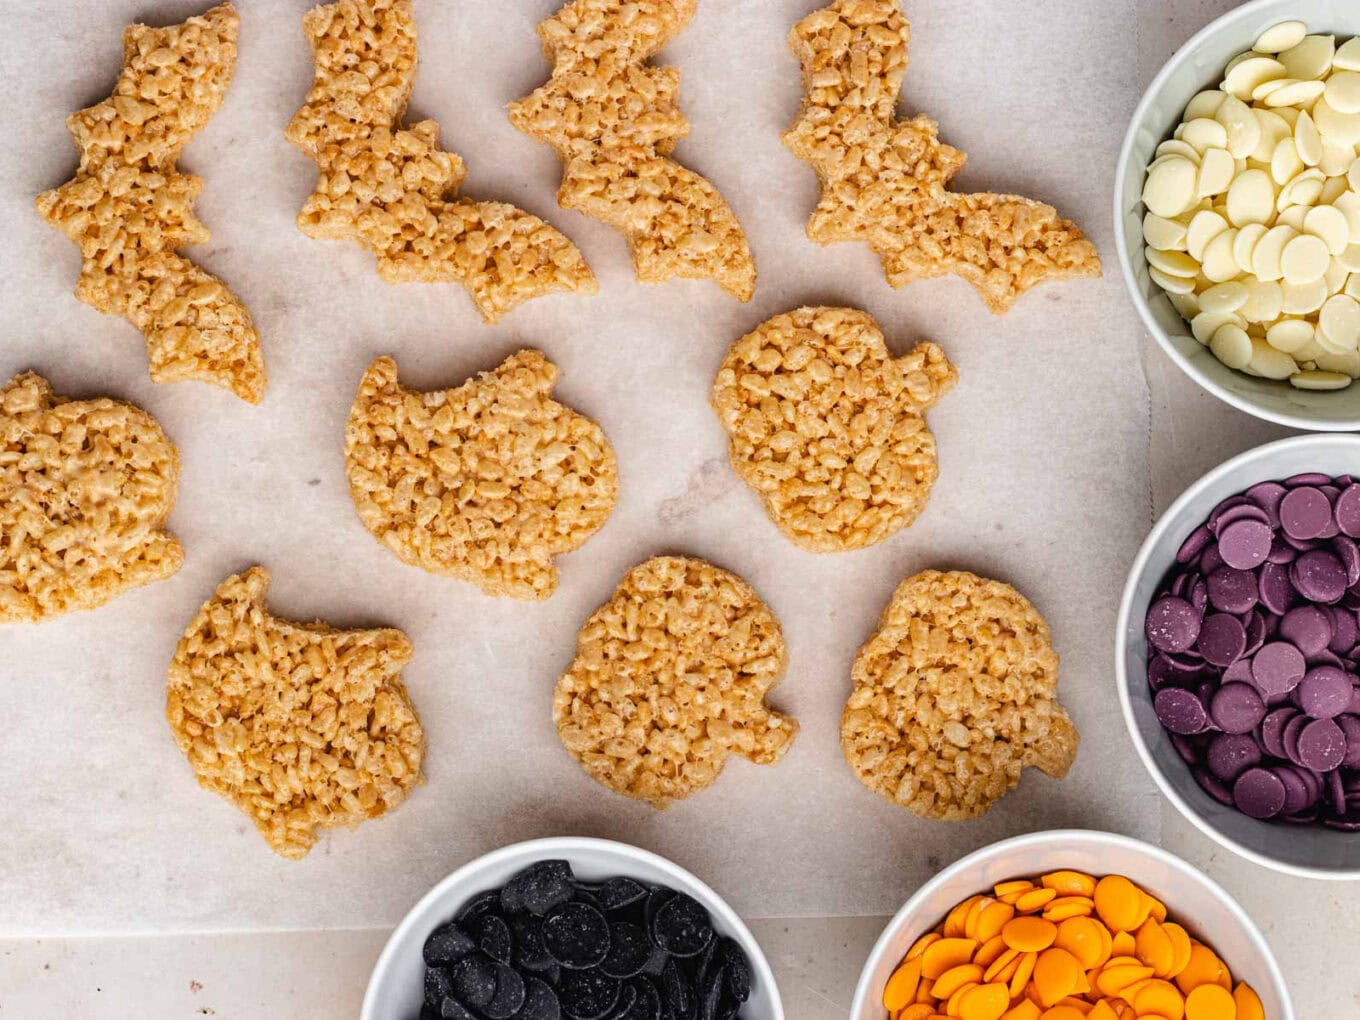
- Using Halloween cookie cutters like a ghost, bat and pumpkin, and cut out your favorite shapes.
- Add the orange, white, and purple candy melts to separate bowls and microwave each on 50% power until just melted.
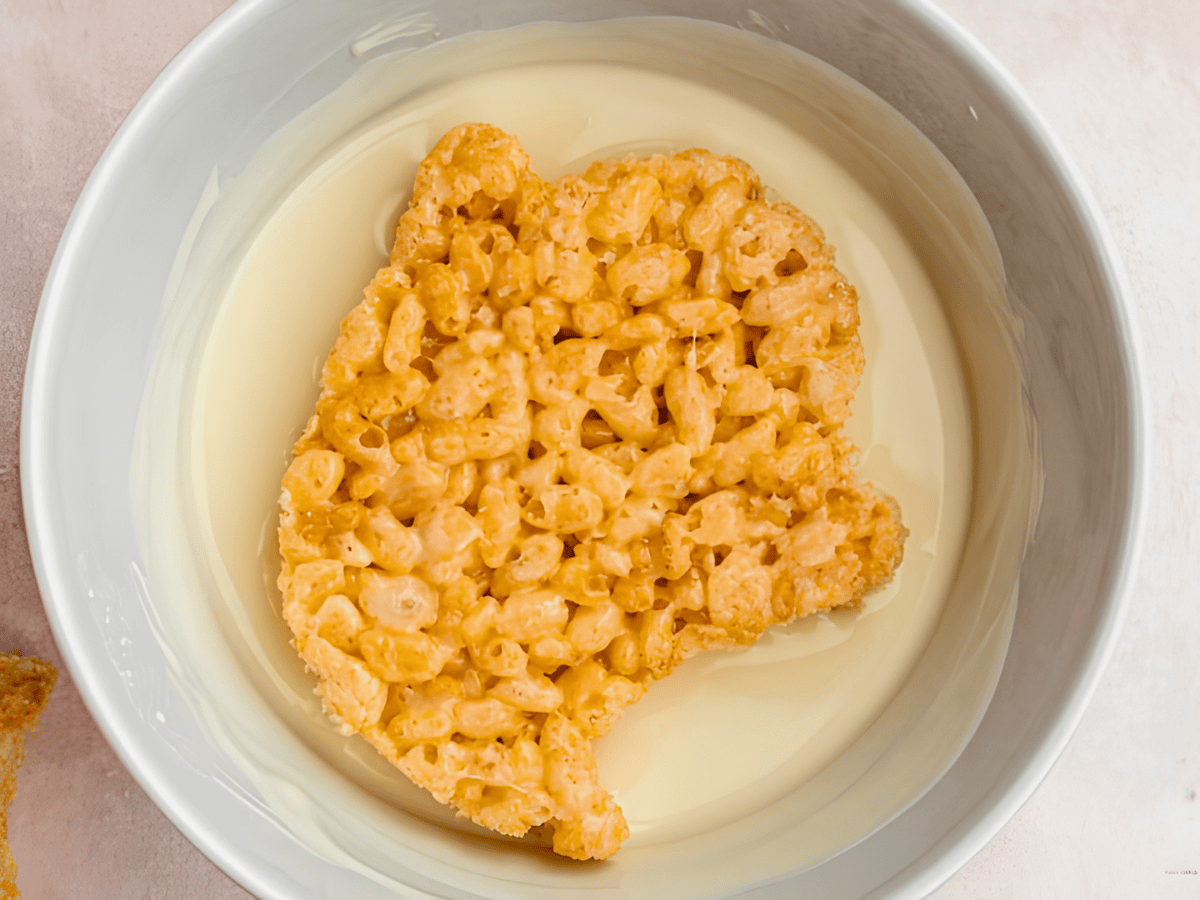
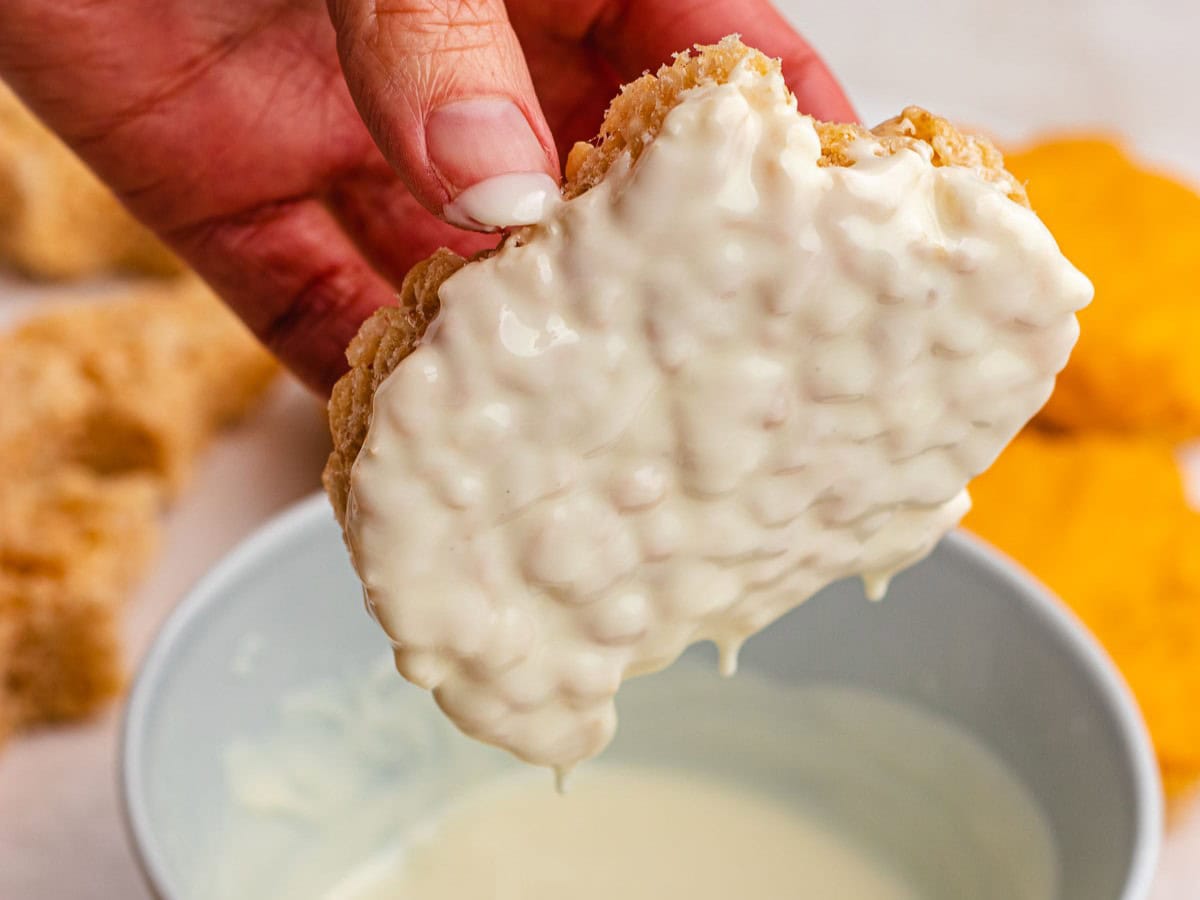
- Dip the bottom half of the shapes into the candy melts and let dry on a parchment or wax paper lined baking sheet. Dip the ghosts into the white candy melts, bats into the purple, and pumpkins into the orange.
- Melt the black candy melts the same way as the other colors.
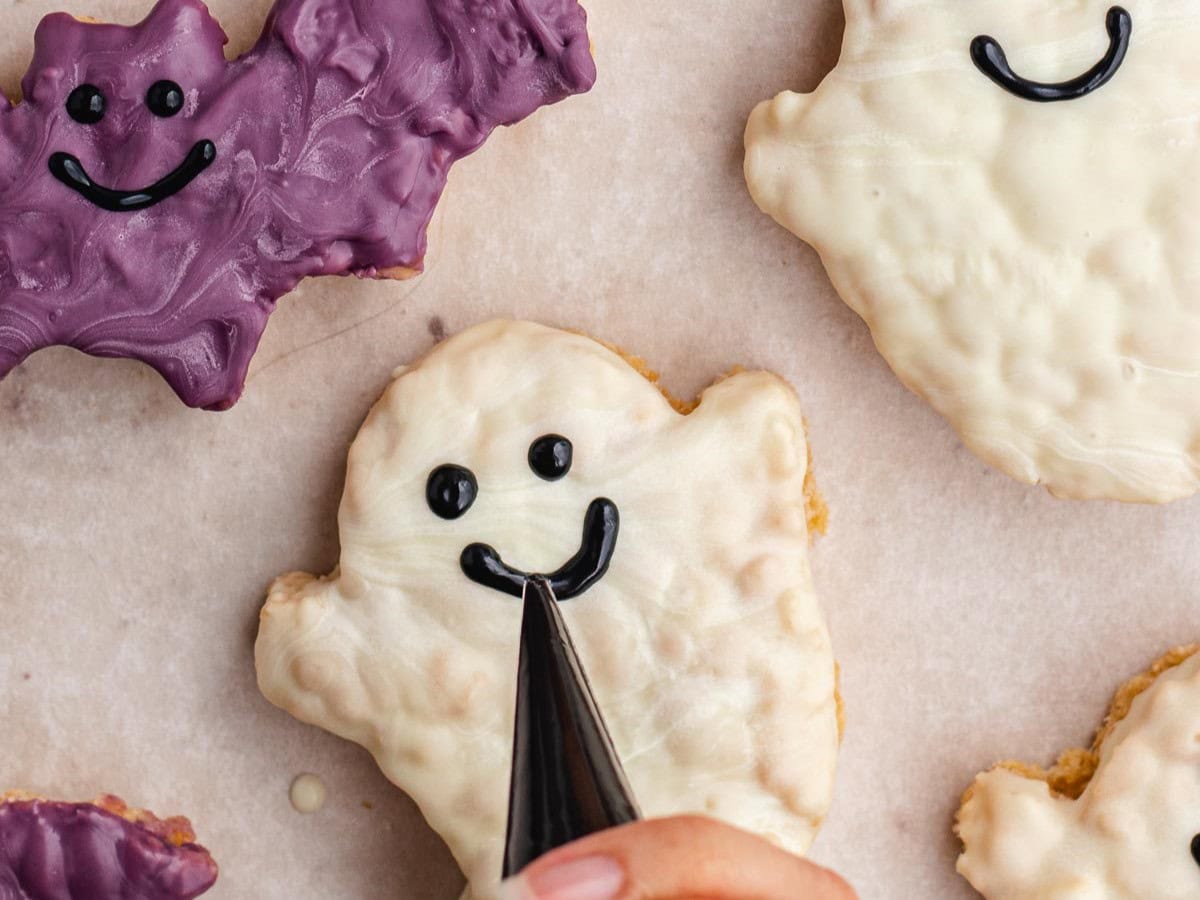
- Add the black color to a small piping bag and pipe on eyes and little smiles onto your ghosts, pumpkins and bats.
Nutrition

Want to save this recipe? Create a free account to easily save your favorite recipes
Sabrina’s Tips
If you’ve ever made Rice Krispies Treats, then you know how easily you can get stuck with a sticky mess on your hands. But you can use a couple of easy tricks to stop the melted marshmallow from sticking to your fingers. The first is to coat your hands in some oil as you shape the Rice Krispies. The marshmallows will slide off the oil, so you don’t have to worry about getting stuck. Alternatively, you could wear gloves. This will keep your hands from getting sticky. However, the marshmallows may still stick to the gloves.
Table of contents
About this Recipe
My classic Rice Krispies recipe gets a spooky upgrade! The base recipe stays the same with an easy mix of butter, marshmallows, and cereal. But instead of cutting the treat into squares, I used themed cookie cutters to make them into the shape of bats, pumpkins, and other on-theme options. Then the spooky shapes get dipped in colored candy melts, adding color and extra sweet flavor, and finished with some easy decorations. It’s a quick way to make an extra special Halloween treat!
Ingredients
- 3 tablespoons of Butter: As you melt the butter and marshmallows, the butter enriches the recipe and helps to spread the melted marshmallow mixture over the cereal.
- 10oz of Marshmallows: Ideally, you’ll use fresh marshmallows for this recipe, as they’ll soften the best as they melt. However, you can use stale marshmallows if you have them available. Melt the marshmallows completely and stir in extra butter if needed to soften the mixture.
- 6 cups of Rice Krispies Cereal: This crisp cereal makes the perfect crunchy base for this fun treat. Mix 6 cups of Rice Krispies cereal with the melted marshmallow mixture for the perfect sweet and crunchy bars.
- Candy melts: To finish this Halloween version of the crispy treats, add a candy melt coating. The recipe calls for orange, white, purple, and black candy melts. However, you can use green candy melts or other colors depending on what decorating you want to add to the crispy bar treats.
Can this be made ahead of time?
The cereal bars will be the softest and gooey-ist the first day. However, if you need to prep in advance, you can make them up to 3 days ahead of time. Prepare the Rice Krispies recipe as usual and add the candy melt coating. After letting the coating dry, you can place the treats in an airtight container with wax or parchment paper between the layers to keep them from sticking together. They maintain the best texture at room temperature.
Serving Ideas
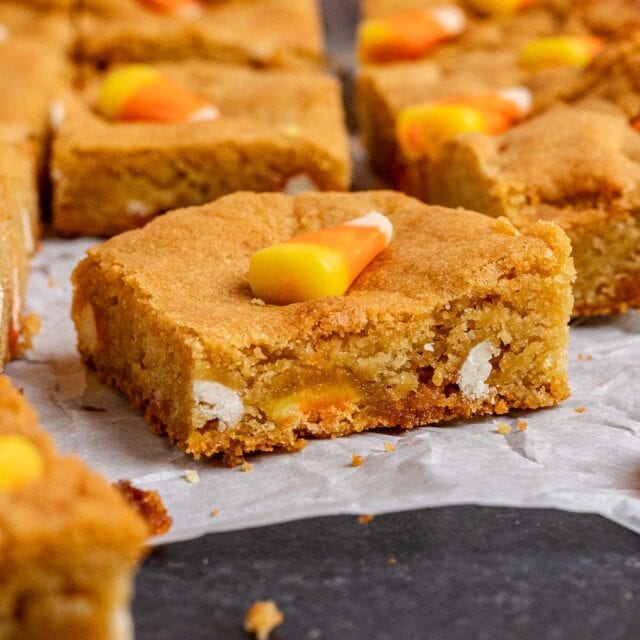
To round out the Halloween theme, my Halloween Pretzel Hugs and Candy Corn Blondies are two more festive additions for your dessert table. If you’re hosting a spooky movie night or Halloween party, you can always let your guests do the decoration. Have the melted candy coating ready for dipping, or you can swap the candy melts for colored frosting. Small tubes of cake-decorating gels and frostings are perfect for decorating, and smaller candy bits are great for sprinkling on top.
How to Store
- Store: This sweet recipe can stay at room temperature for up to 2 days. Put the treats in an airtight container with wax or parchment paper between the layers to keep them from sticking together. They’ll stay fresh and soft, kept in a dry, cool place. You could keep them in the fridge for up to 3 days, but let them return to room temperature before serving.
- Freeze: For a longer storage option, freeze the Rice Krispies recipe for up to 6 weeks. Wrap the treats individually in plastic wrap and place them in a freezer bag or airtight container. Then, let them thaw at room temperature before serving.
Frequent Questions
The base recipe for these Halloween treats is the same as any other Rice Krispie treats. You’ll make it with the classic mixture of melted marshmallows and butter over rice cereal. The difference is in how you decorate the bars. After they have time to set, cut them into ghost, bat, and pumpkin shapes using Halloween cookie cutters. This is a much more fun and on-theme option than standard square bars. Then dip the fun shapes into colored candy melts. Using classic Halloween colors like purple and orange, you can finish the festive treats with a delicious addition and fun color to make them perfect for the spooky holiday.
No. To keep the treats soft and chewable, store them in an airtight container at room temperature. If you’re in a hurry and need the Rice Krispie mixture to set fast, you can refrigerate them while making the recipe.
Yes! The recipe suggests cutting the bars into pumpkin, ghost, and bat shapes for this Halloween treat. However, you can use any kind of Halloween cookie cutter you have. Monsters, Frankenstein, mummies, and spiderwebs are all fun options. Or, if you’re making Rice Krispies for another occasion, you can always follow the same method with different shapes to match the season you’re serving them for.
Variations
- Sprinkles: After adding the candy melt to the outside of the cereal treats, you can complete the recipe with fun Halloween decorations. The original recipe calls black candy melts to pipe on the eyes. But you could also use edible candy eyes or chocolate chips for eyes. Other fun decorations to add are festive sprinkles, edible glitter, and white chocolate drizzles.
- Chocolate Rice Krispies: To make this delicious treat with chocolate flavor, you can replace the classic Rice Krispies cereal with Cocoa Krispies cereal.
- White Chocolate: If you prefer, replace the candy melts in the original recipe with real white chocolate. Although candy melts have a consistency and flavor profile similar to white chocolate, they are not quite the same. For this version, melt white chocolate bars or chips in the microwave. Then, add food coloring to the white chocolate mixture to make whatever color you want for the melted chocolate.
- Mix-ins: When mixing the marshmallows and cereal, you can add fun candy mix-ins like chopped candy corn, M&M’s, colorful mini marshmallows, or candy bar pieces.
Related Recipes
More Fun and Easy Halloween Treats
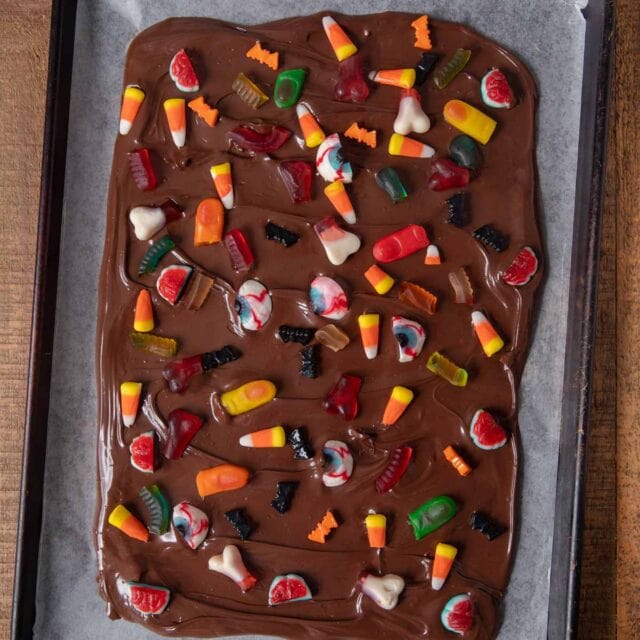

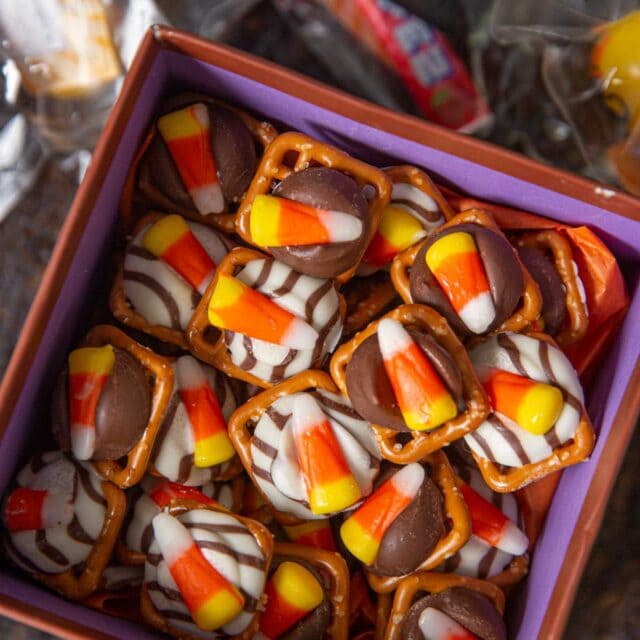
These photos were in a previous version of this post







These were so much fun to decorate! I made the ‘mummy’ version with white chocolate drizzle and candy eyes, and they were the star of our school’s bake sale.
Wonderful! Thanks for sharing.