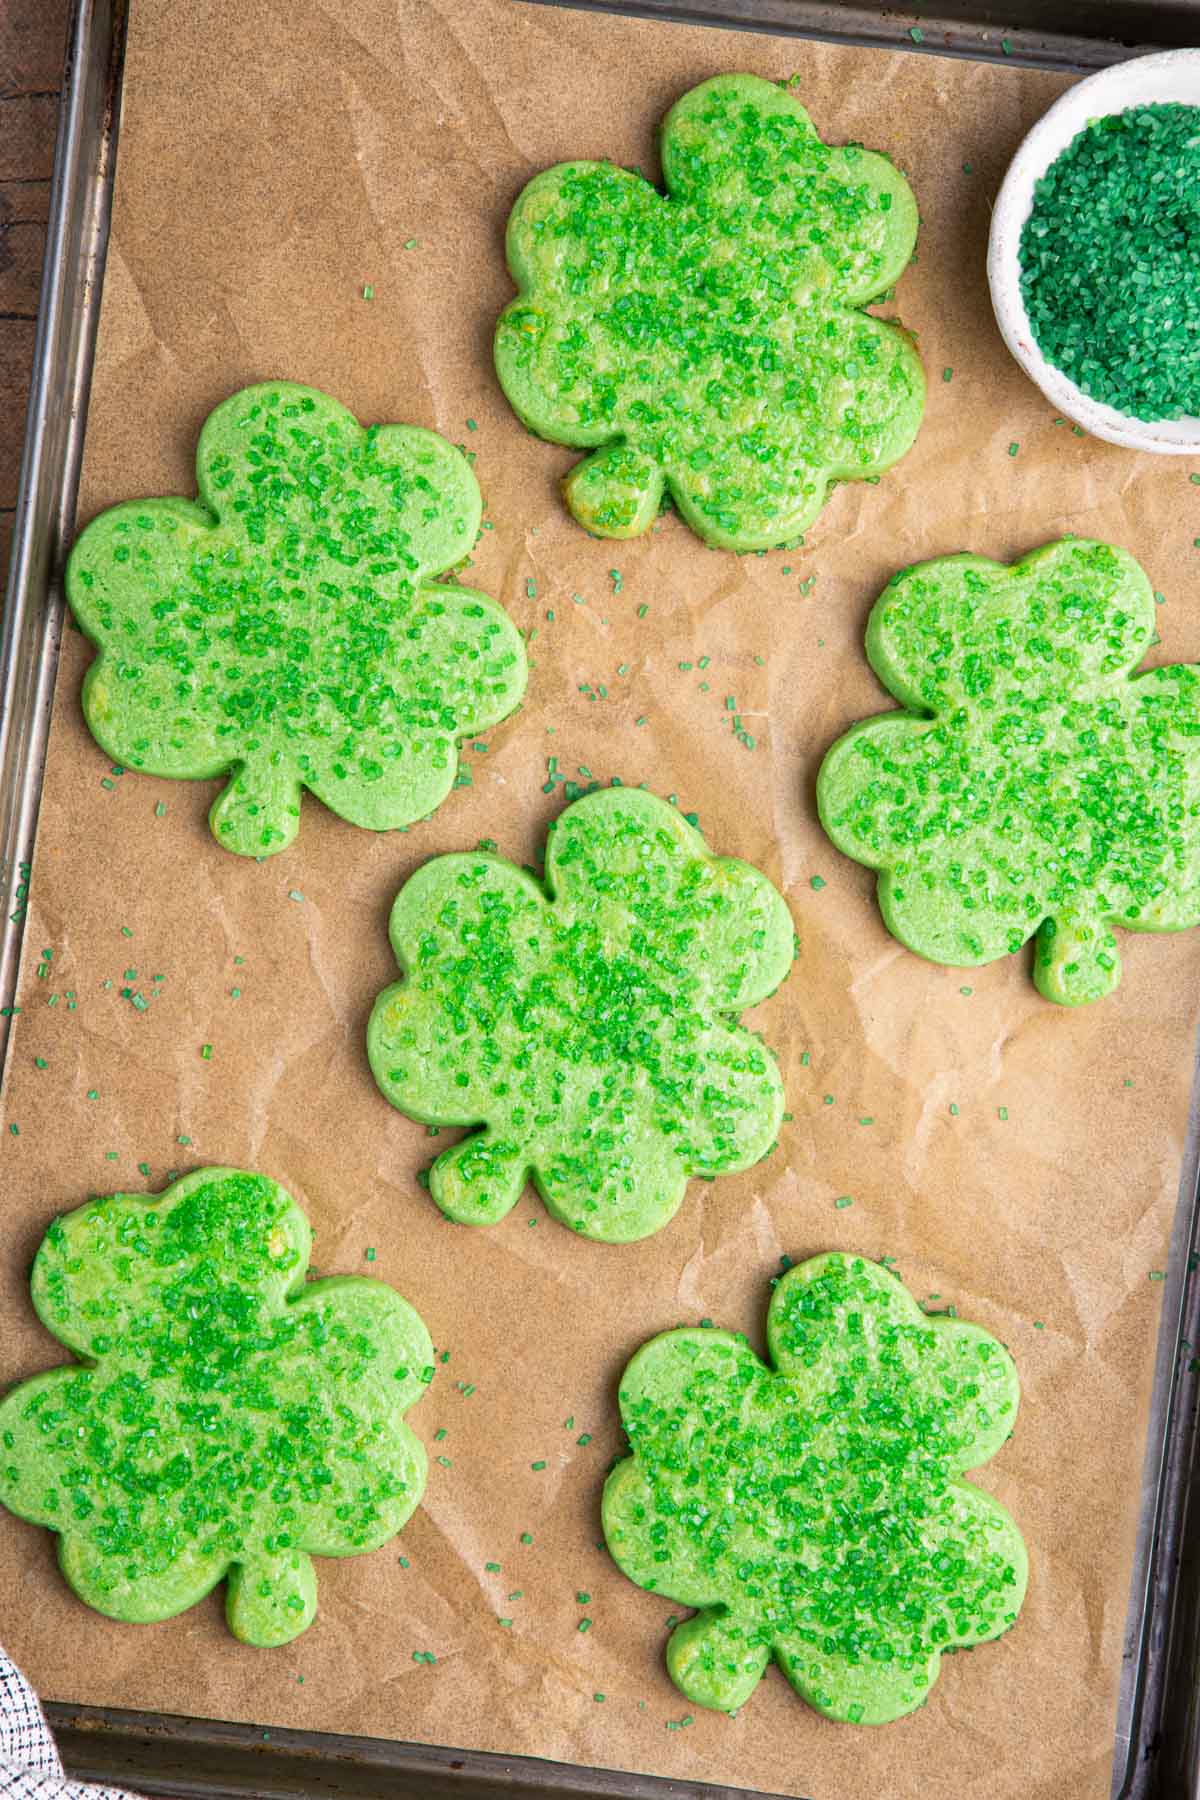
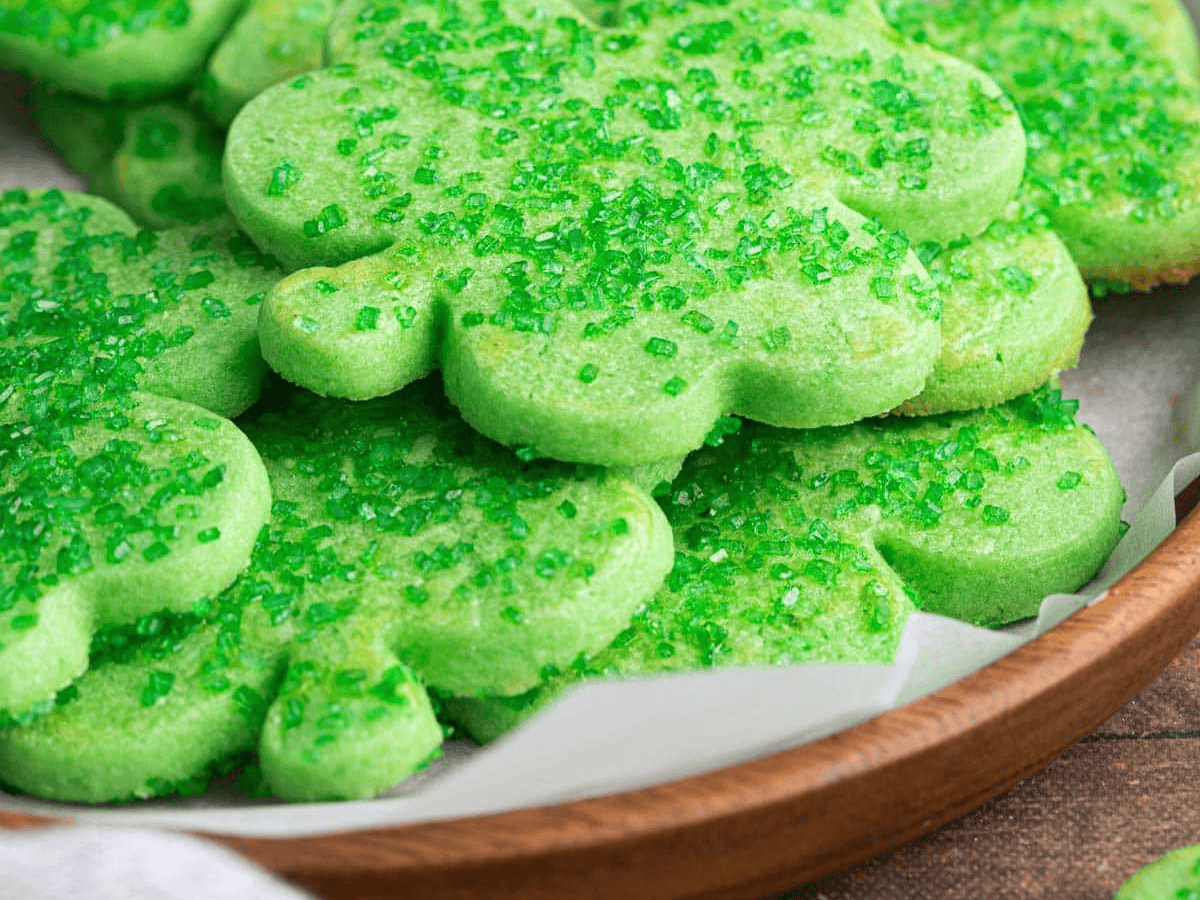
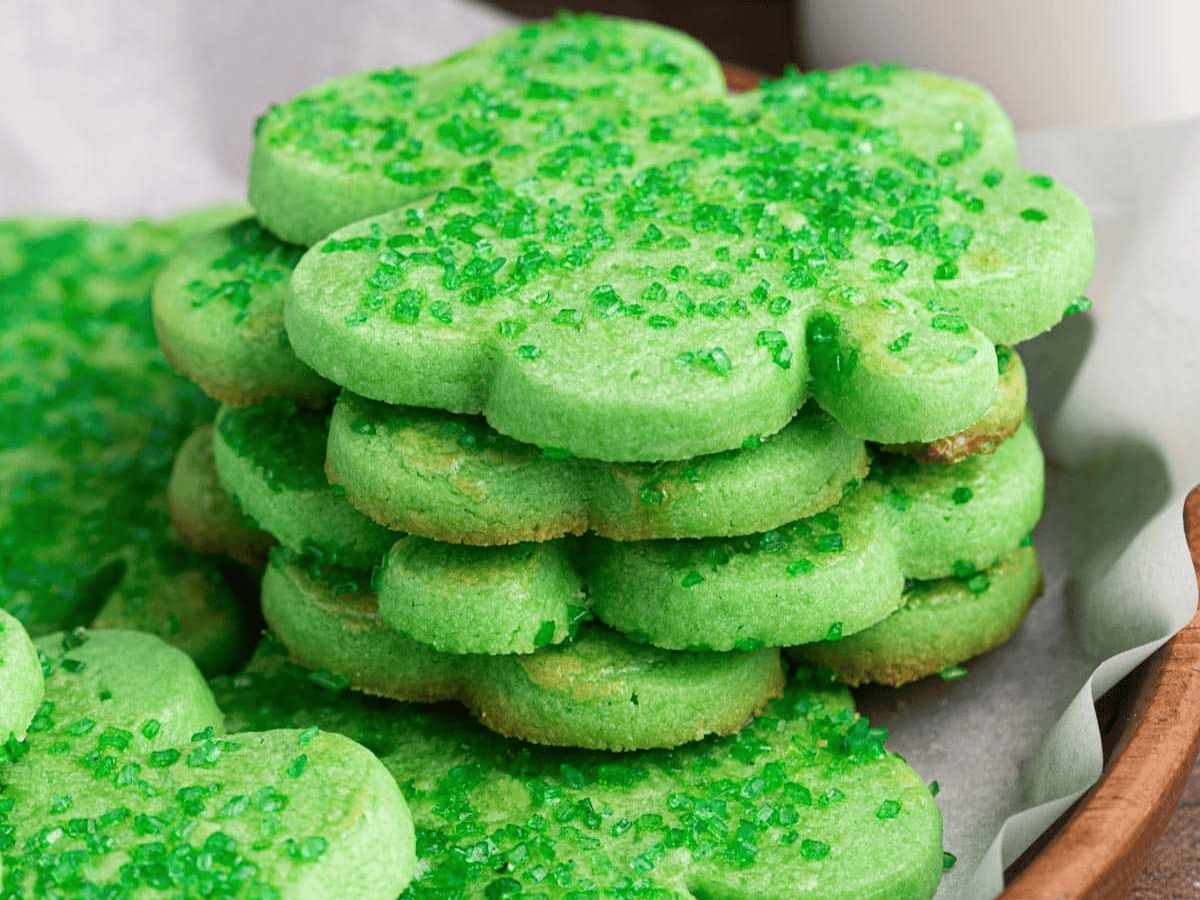
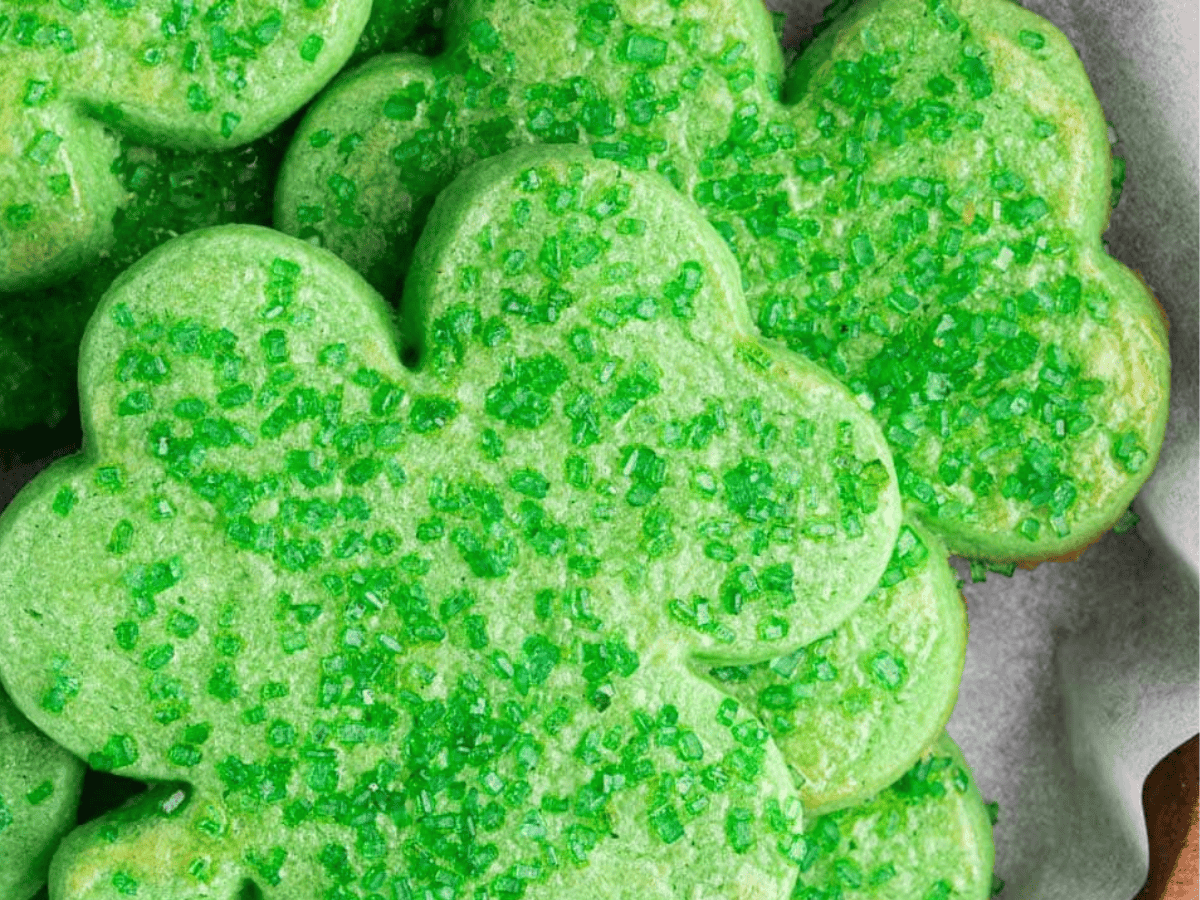
Shamrock Cookies are simple, buttery, crisp cutout cookies with a touch of peppermint flavoring and a green sugar topping. Check these out!
Classic Sugar Cookies are an easy recipe to dress up for any occasion. This fun and festive variation of the traditional Cookie Recipe is perfect for Saint Patrick’s Day celebrations.
Sabrina’s Shamrock Cookies Recipe
Whether you’re whipping them up for a holiday party or need a fun treat for the office or school, these Shamrock Cookies are sure to be a hit. These delightful cookies, also known as St. Paddy’s cookies, taste as good as they look. The soft, buttery cookies have a hint of minty goodness and are topped with a burst of crunchy green sugar crystals. They’re the obvious choice for a fun and easy holiday treat!
Recipe Card
Ingredients
Ingredients
- 1 cup unsalted butter , softened
- 1 cup powdered sugar
- 1 large egg , (for the dough)
- 1 teaspoon peppermint extract
- 2 1/2 cups flour
- 1/2 teaspoon salt
- 6 drops green food coloring , 6-12 drops until you reach desired green
- 1 large egg , (for the topping)
- 1 tablespoon water
- 1/4 cup coarse green sugar crystals
Instructions
- To your stand mixer on medium speed add the butter and powdered sugar and cream for 2 minutes.
- Raise speed to high and cream for 2 more minutes.
- Add in egg and peppermint extract until well mixed in.
- Sift together the flour and the salt, then on the lowest speed setting add it to the stand mixer until just combined.
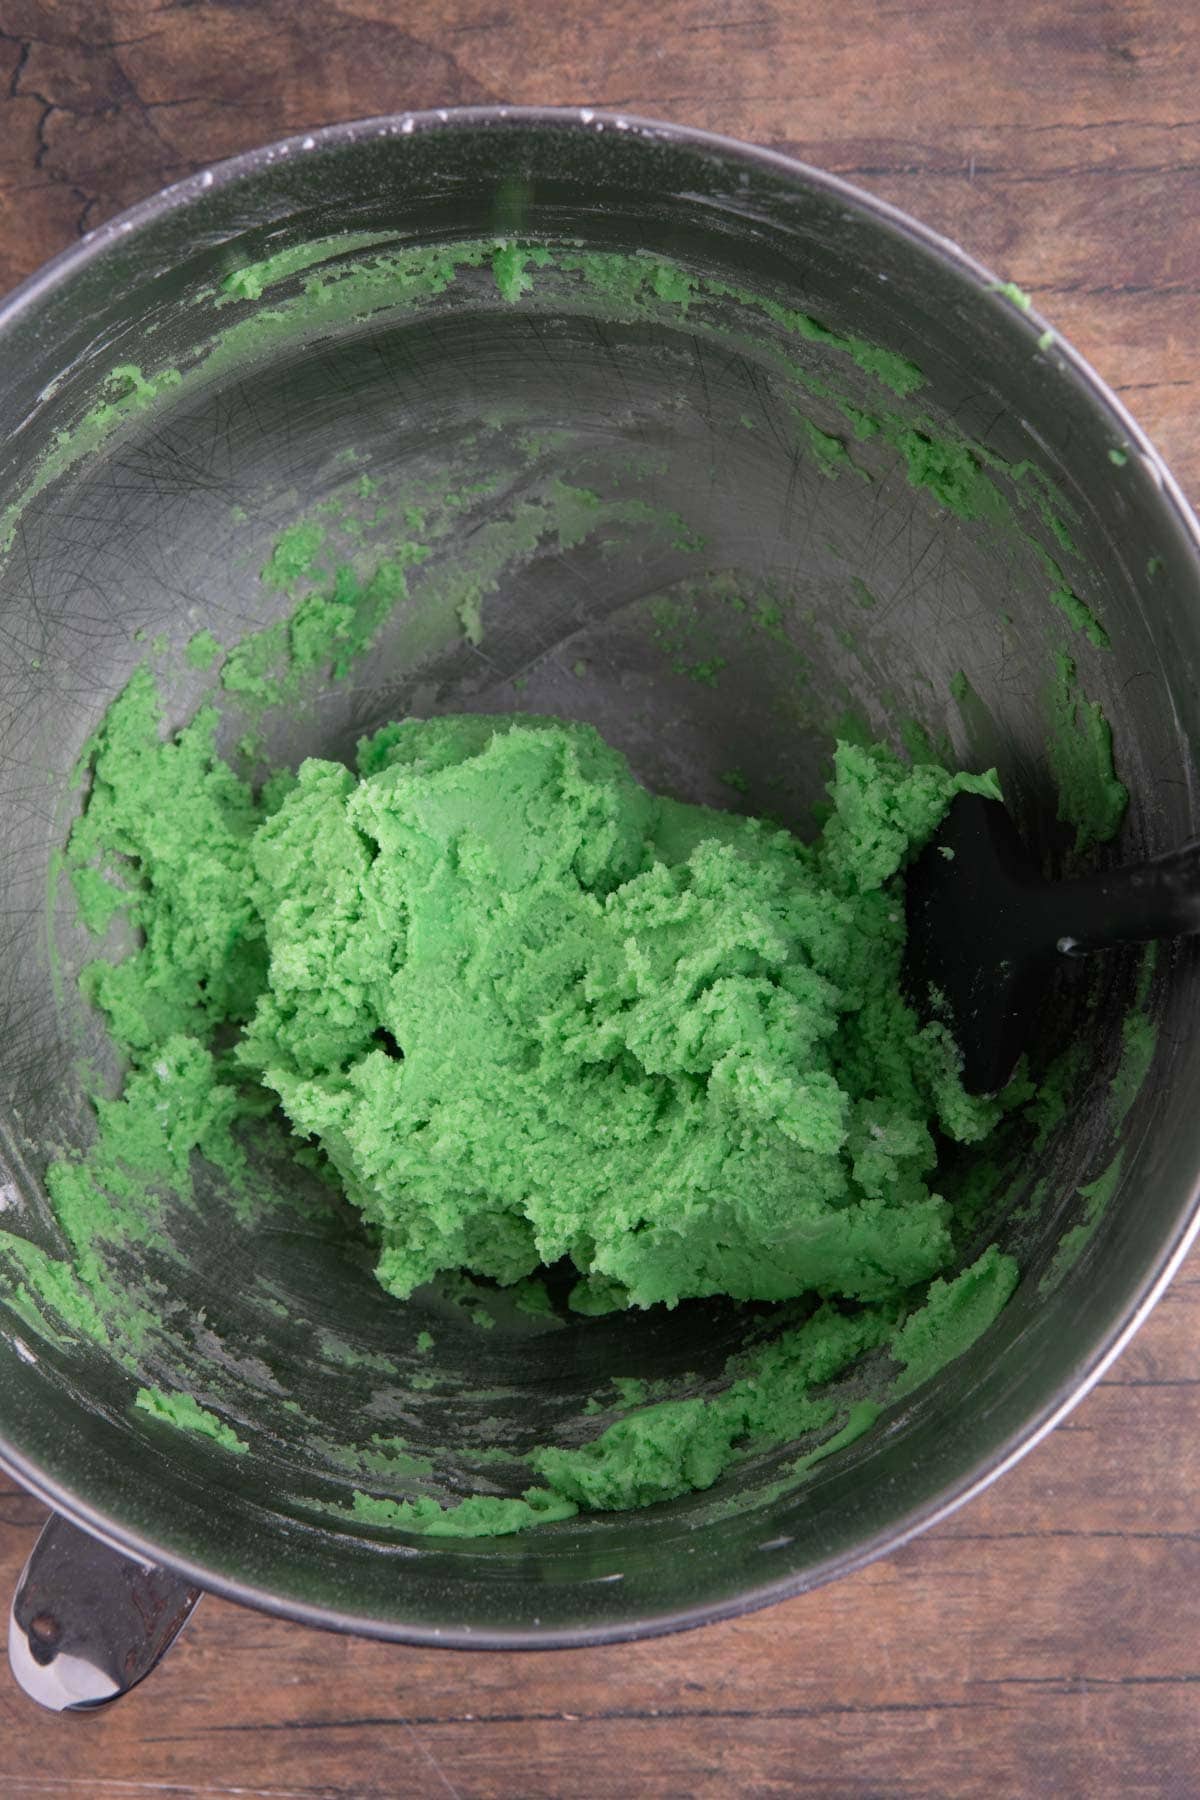
- Add in the green food coloring until you reach the desired color of green.
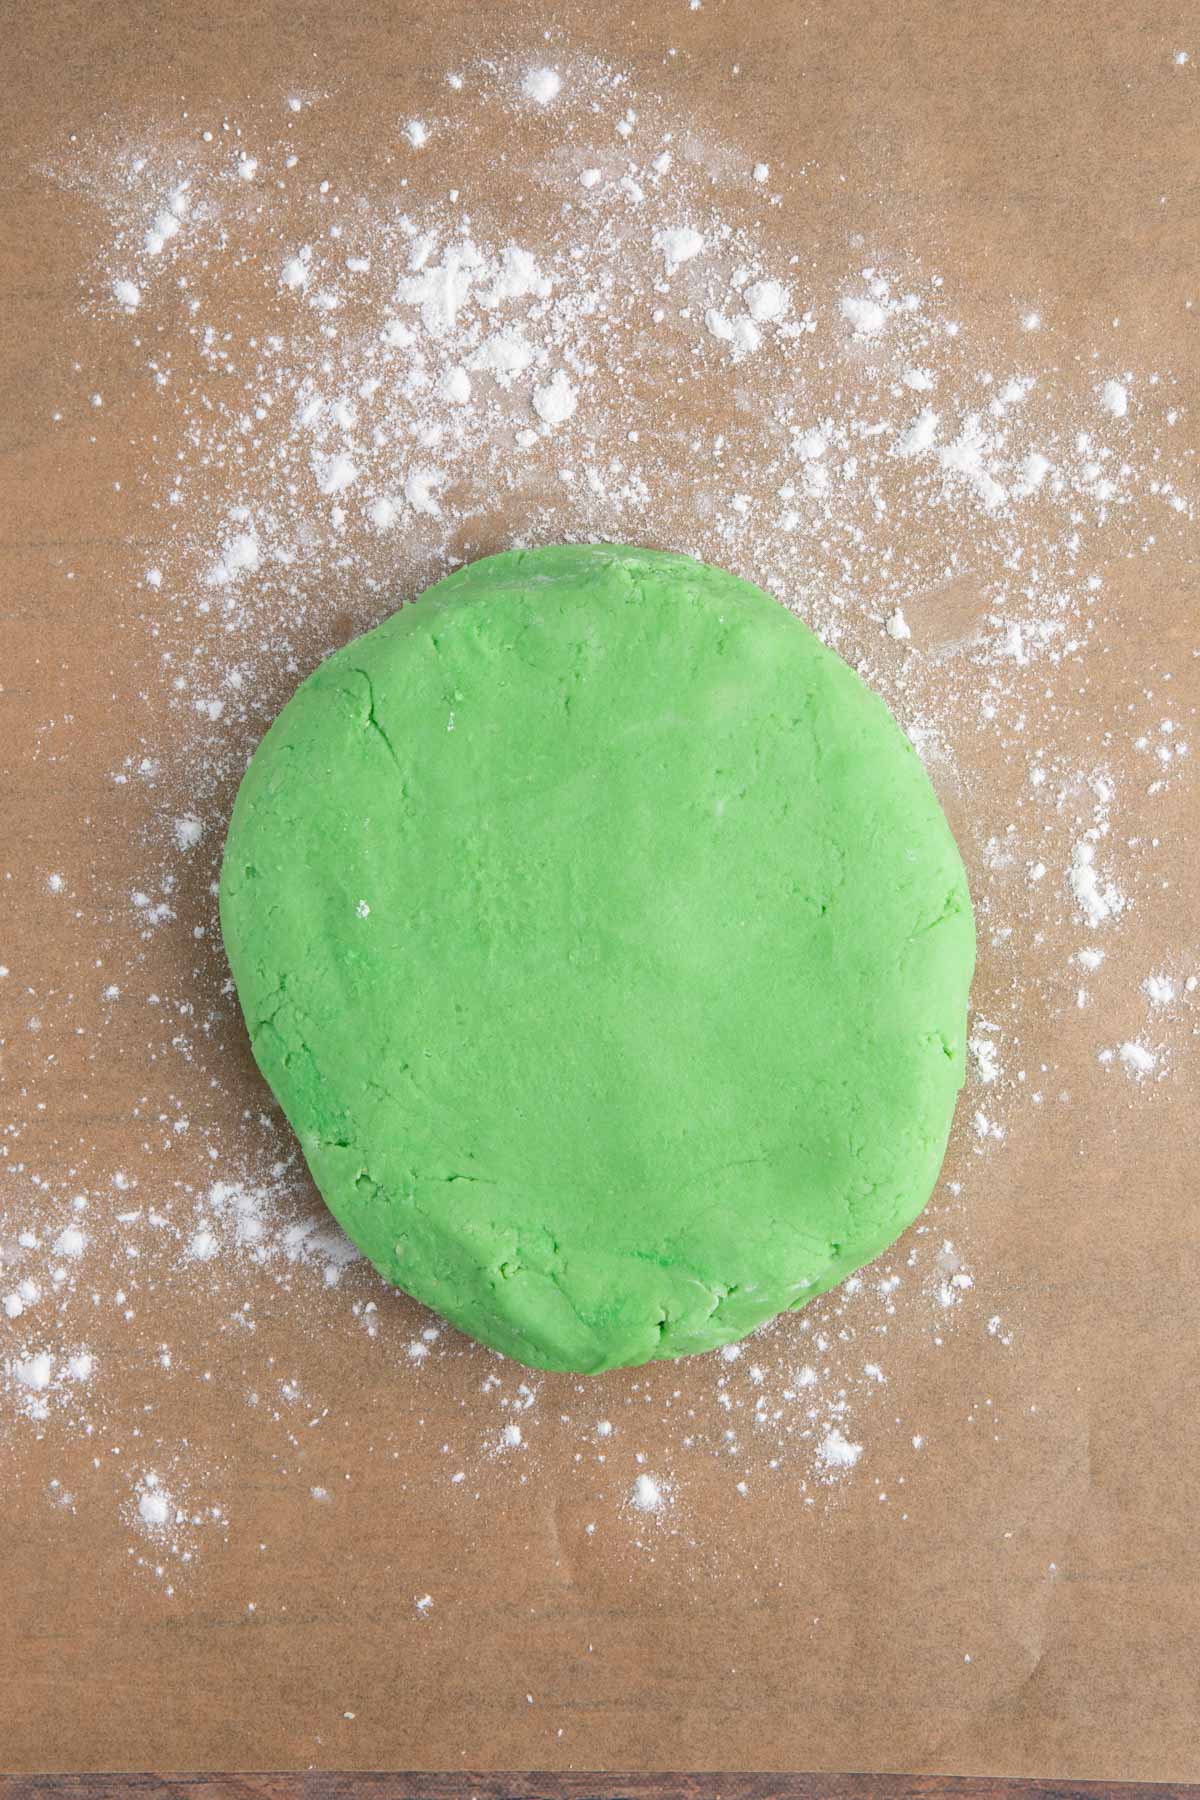
- Add the cookie dough to a large piece of plastic wrap, form into a disk and cover tightly.
- Refrigerate for 3 hours or overnight.
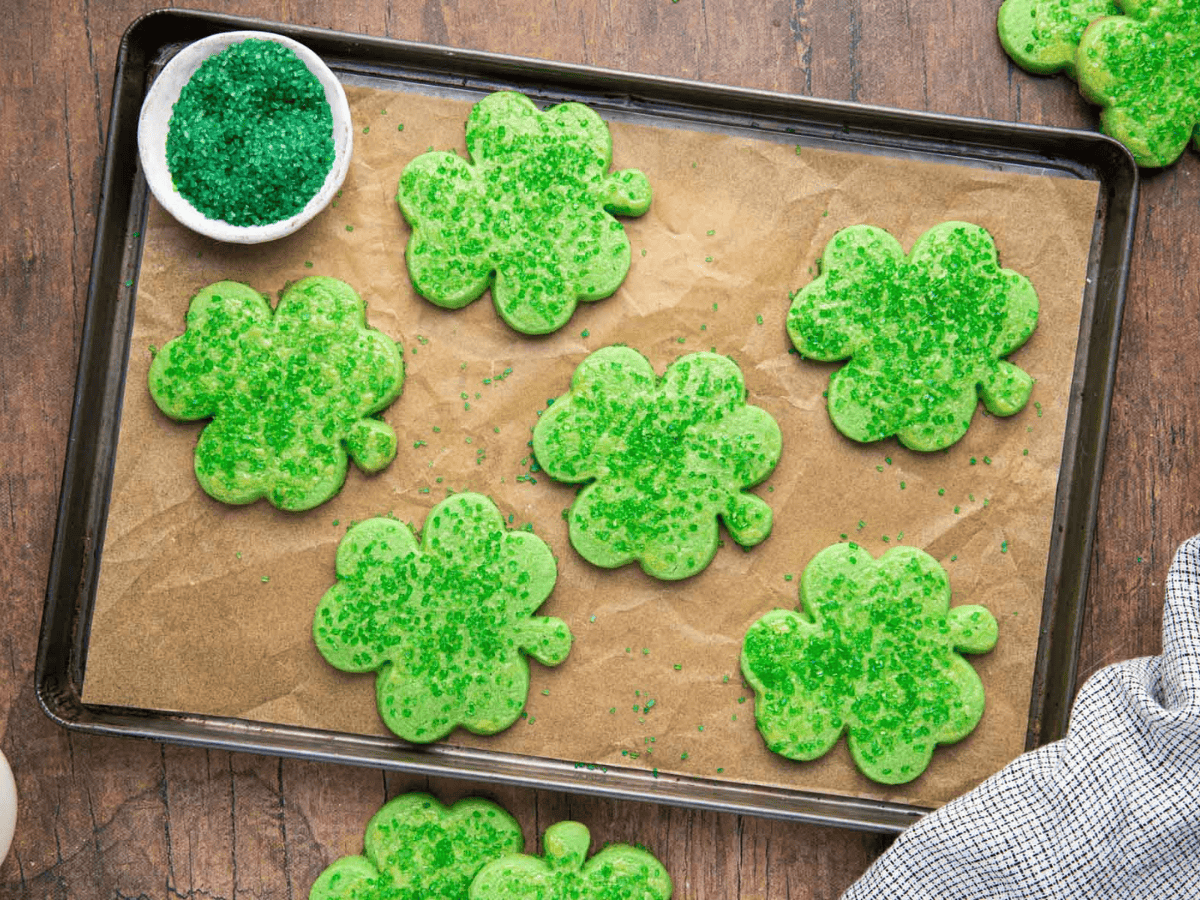
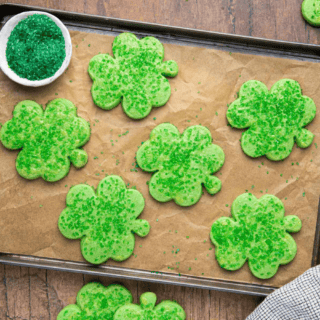
- Preheat oven to 375 degrees and line baking sheets with parchment paper.
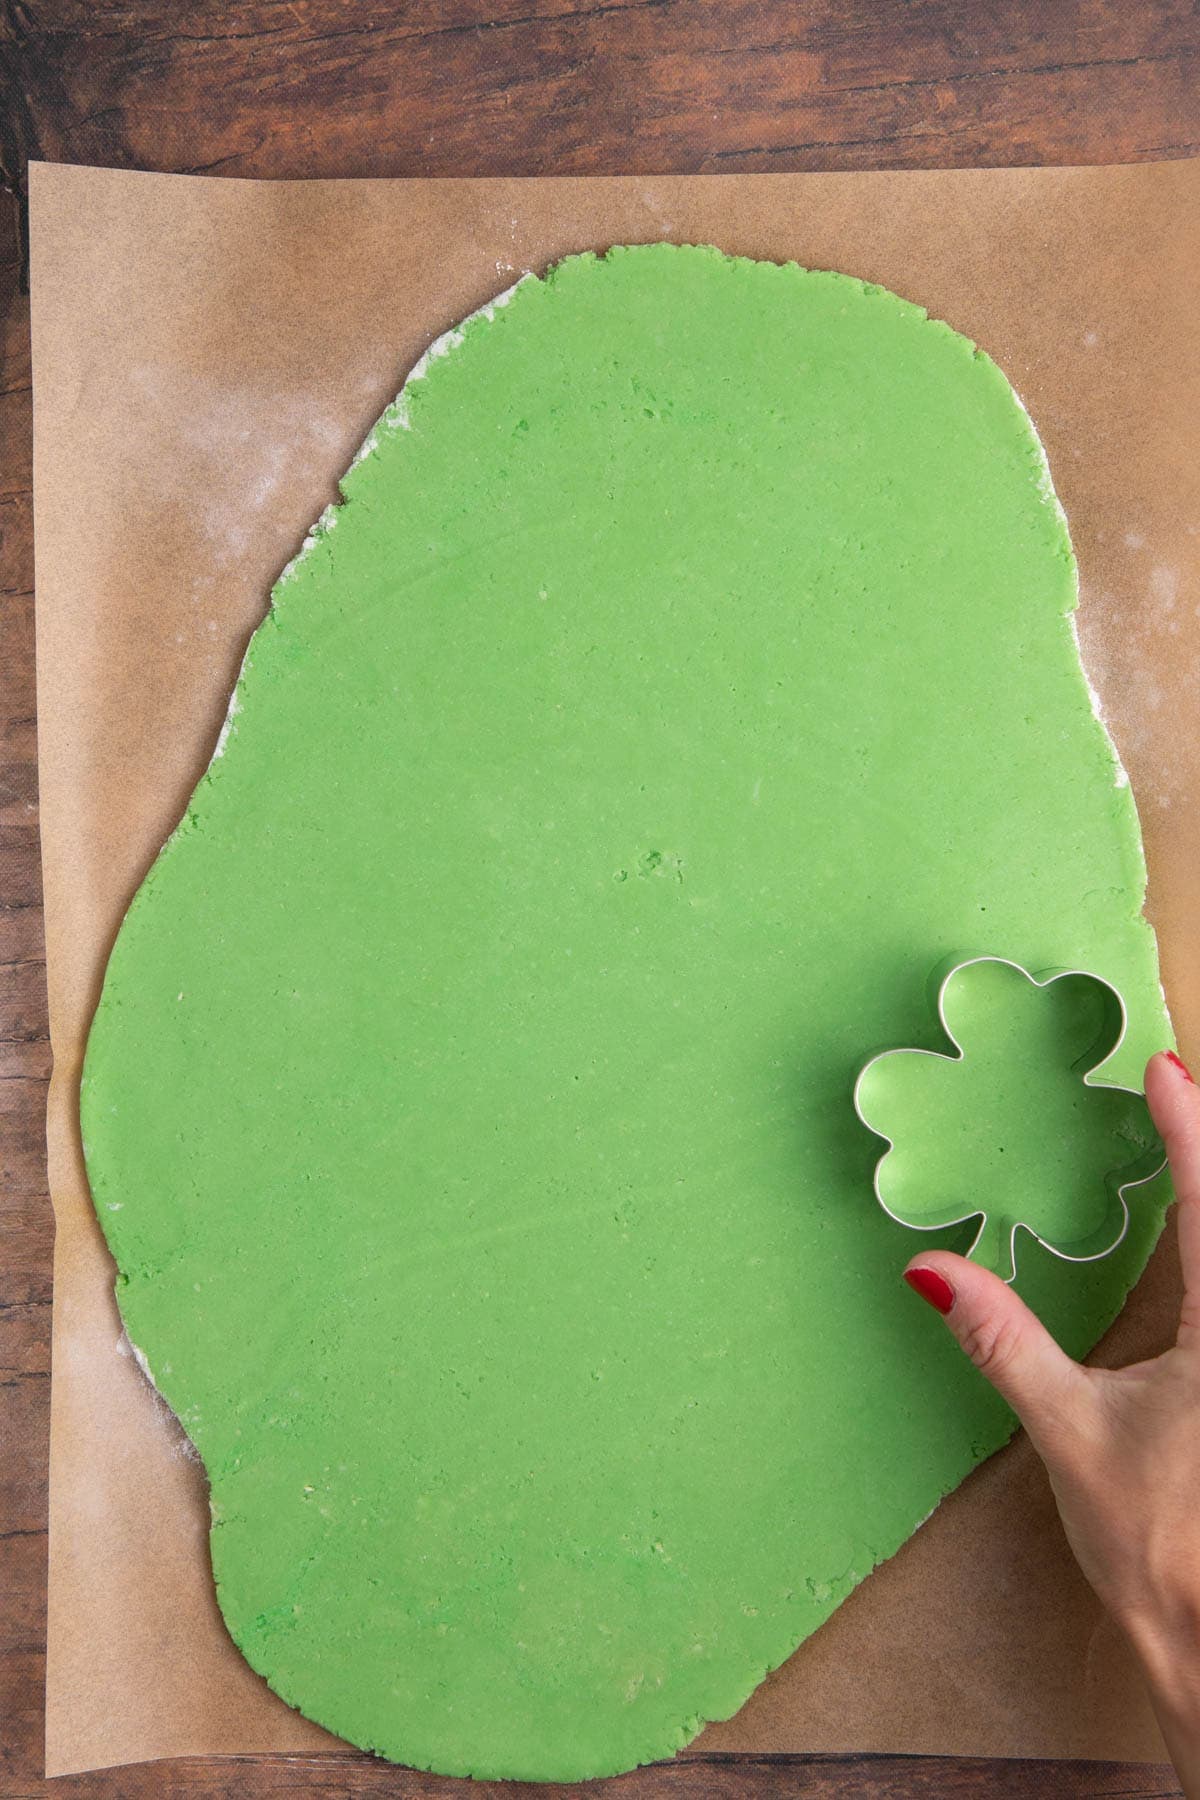
- To a floured surface, roll the cookie dough 1/4-inch thick.
- Using a shamrock cookie cutter, cut out the cookie shapes.
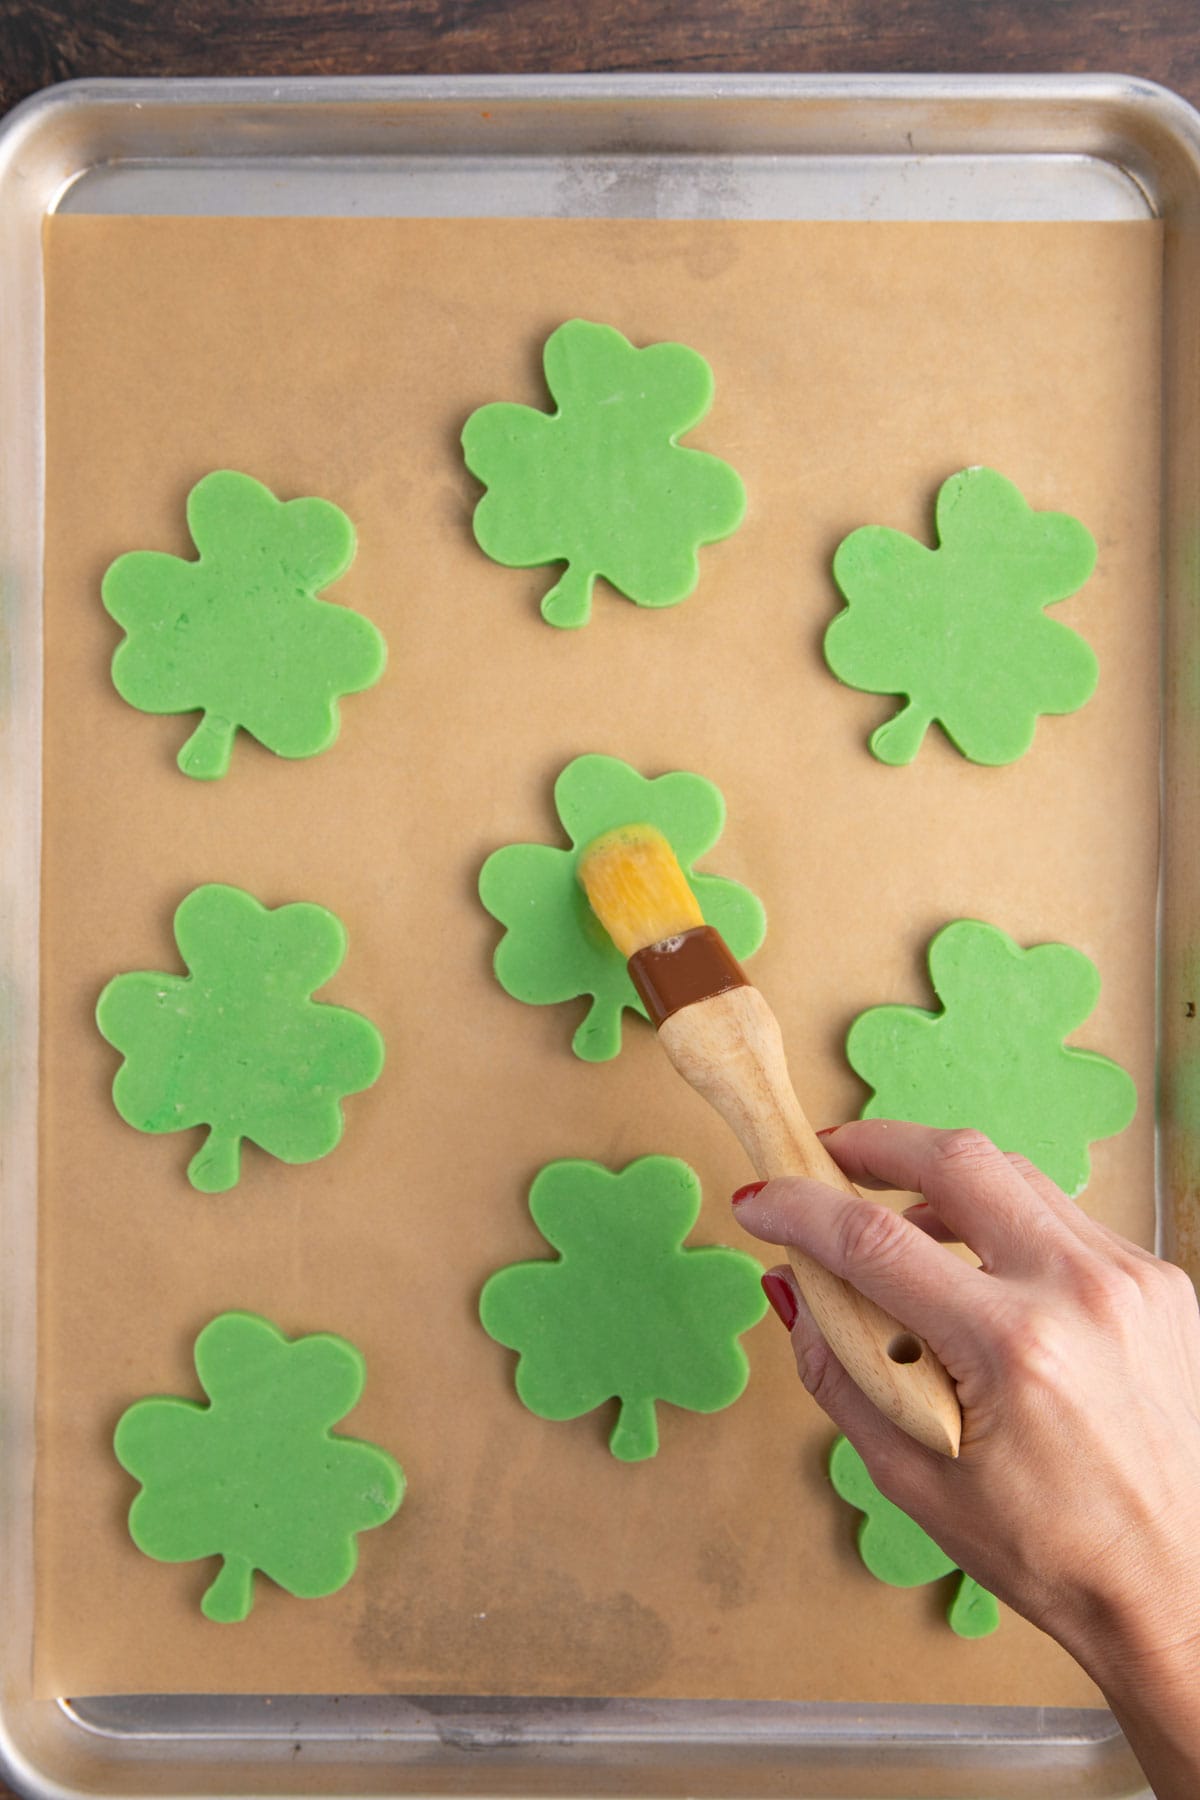
- Beat together the egg and water, then brush onto the cookies in a thin layer.
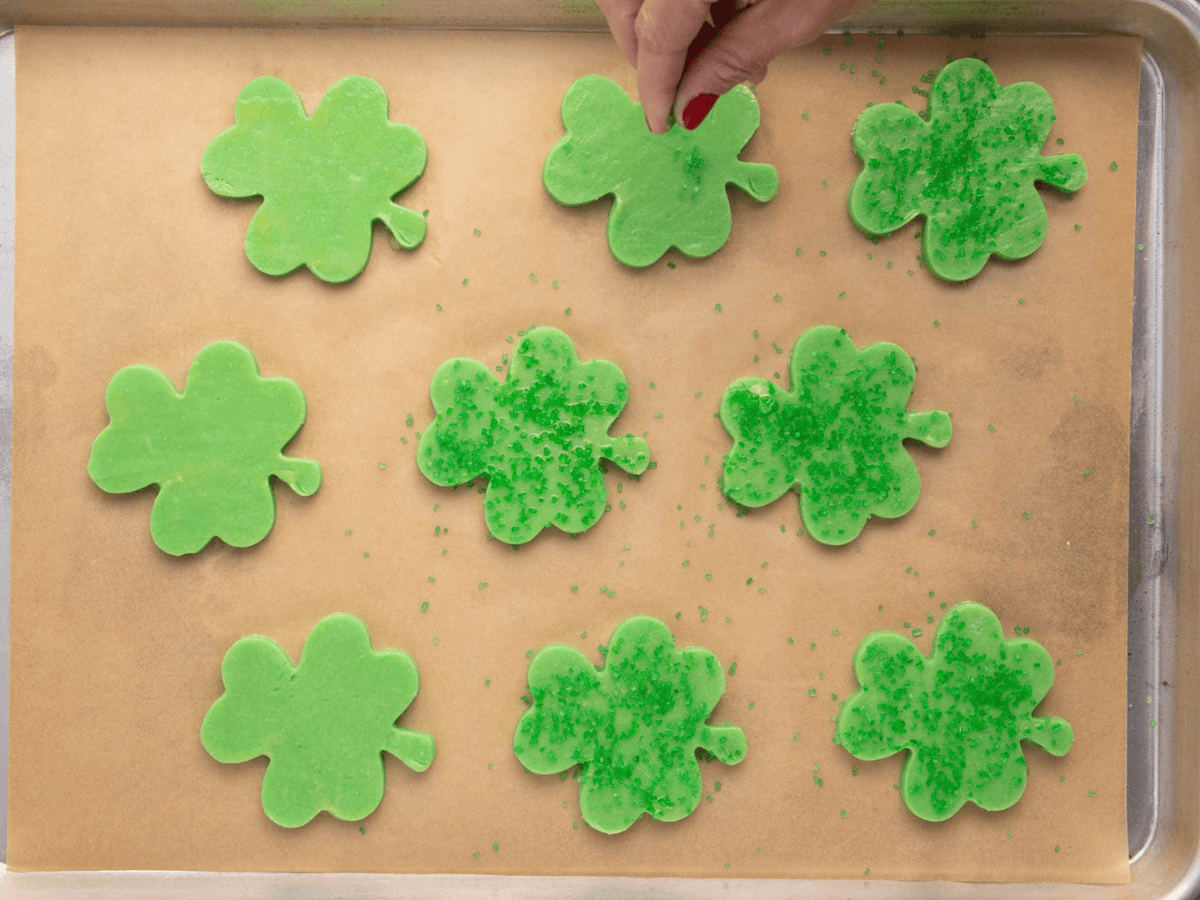
- Sprinkle with the green coarse sugar crystals.
- Bake for 10-12 minutes or until the edges just barely start to brown.
- Cool for 5 minutes before removing from the baking sheets.
Notes
- Click on the yield amount to slide and change the number of servings and the recipe will automatically update!
- Click on times in the instructions to start a kitchen timer while cooking.
- To convert measurements to grams, click on the Metric option next to Ingredients in the recipe card.
Nutrition
Want to save this recipe? Create a free account to easily save your favorite recipes
Table of Contents
About this Recipe
My festive Shamrock Cookies turn out crisp, sweet, light, and buttery and are super easy to make! You can combine the simple cookie dough ingredients in a matter of minutes. After giving the dough time to chill, you just roll it out, cut into shapes, and add green sprinkles for decorations. They look and taste bakery-worthy and are sure to be a hit with the whole family, especially kids who will love the fun color.
Ingredients
- 1 cup Unsalted Butter: Make sure to give the unsalted butter 20-30 minutes to soften at room temperature before starting the recipe. That way, the butter and sugar mixture can cream together into a light, fluffy cookie base.
- 1 cup Powdered Sugar: This cookie recipe doesn’t have a lot of wet ingredients in it. However, the powdered sugar absorbs the moisture that is there and makes it so the cookies are still buttery and not too dry.
- 1 large Egg (for the dough): The egg acts as a binding agent, helping to hold the dough together and providing structure.
- 1 teaspoon Peppermint Extract: Peppermint extract infuses the cookies with a refreshing mint flavor, perfect for the St. Patrick’s Day theme. Be cautious with the amount, as a little goes a long way.
- 2 ½ cups Flour: You’ll want to use plain or all-purpose flour. Pastry flour results in a softer crumb, which is great when you want a chewy cookie but not ideal in the flour mixture for cutout cookies. You want these cookies to hold their shape and be slightly more firm, so all-purpose white flour is better.
- ½ teaspoon Salt: Salt enhances the flavor of the cookies. If using salted butter, you can reduce or omit the salt in the recipe to adjust the overall saltiness.
- 6 drops Green Food Coloring: Green food coloring adds a vibrant hue to the cookies, giving them their signature shamrock color. Adjust the amount based on your preference for intensity. Gel food coloring can also be used instead of liquid. Bonus points for using naturally colored dye.
- 1 large Egg (for the topping) and 1 tablespoon Water: This egg adn water combine to create an egg wash, which adds shine and helps the sugar crystals stick to the top of the cookies.
- ¼ cup Coarse Green Sugar Crystals: These sugar crystals not only add a pop of color but also provide a delightful crunch and sweetness to the cookies. If you don’t have green sugar crystals, you can use regular granulated sugar or sprinkles for a similar effect.
Kitchen Tools & Equipment
- Stand Mixer: An electric mixer with a paddle attachment is ideal for creaming the butter and sugar together until light and fluffy, as well as mixing in the other ingredients. If you don’t have a stand mixer, you can use a hand mixer or even mix by hand.
- Cookie Cutters: A shamrock-shaped cookie cutter is needed to create the festive shape of these cookies.
- Rolling Pin: You’ll need a rolling pin to roll out the cookie dough to the desired thickness before cutting out the shapes. A non-stick or silicone rolling pin works best, and dusting it with flour will prevent the dough from sticking.
- Baking Sheets: Baking sheets are used to bake the cookies in the oven. Line them with parchment paper to prevent the cookies from sticking and make cleanup easier.
- Pastry Brush: A pastry brush is used to brush the egg wash onto the cookies before sprinkling them with sugar.
Can this be made ahead of time?
Absolutely! After combining the ingredients, the sugar cookie dough can keep well in the fridge for up to 5 days. Carefully cover the dough in plastic wrap to keep it fresh, then place it in the fridge until you’re ready to bake it. This is a great option if you want freshly baked cookies on the day of the party but won’t have time to make the dough.
How to Store
- Storing– Don’t leave cookies sitting uncovered at room temperature for more than a few hours, or they’ll start to dry out. To keep the cookies fresh, you can cover them in plastic wrap or put them in an airtight container. They’ll maintain their texture best kept in a cool, dry place at room temperature for 3-4 days.
- Freezing– You can freeze them for up to 3 months. To make the freezing process easy, place the cookies in a single layer on a parchment-lined cookie sheet and place it flat in the freezer for an hour or so. Once the cookies are hardened, you can transfer them to a freezer bag or another freezer container to keep for long-term storage. Freezing them flat first will stop the cookies from freezing together.
Frequent Questions
Yes. If you’re in a hurry, this may seem like an easy step to skip, but the cookie texture will turn out much better if you let the dough sit in the fridge for at least 3 hours. The time in the fridge allows the flour to hydrate, which makes less sticky, more pliable dough. It also firms up the dough structure so that the cookies don’t spread too much and lose their shape during the cooking time.
It’s difficult to make the clover shape without a shamrock cookie cutter. However, you can still make delightful, green sugar cookies perfect for St. Patrick’s Day. Instead of cutting them into clovers, you can do simple circles using drinking glasses or a biscuit cutter. You can use whatever cookie cutters you do have, such as heart shapes.
If the dough is too sticky to roll out, try chilling it in the refrigerator for an additional 15-30 minutes. Dusting your work surface and rolling pin with flour can also help prevent sticking while rolling out the dough.
You can use regular mint, but spearmint extract can have a toothpaste taste so I do not recommend using spearmint for these cookies.
Variations
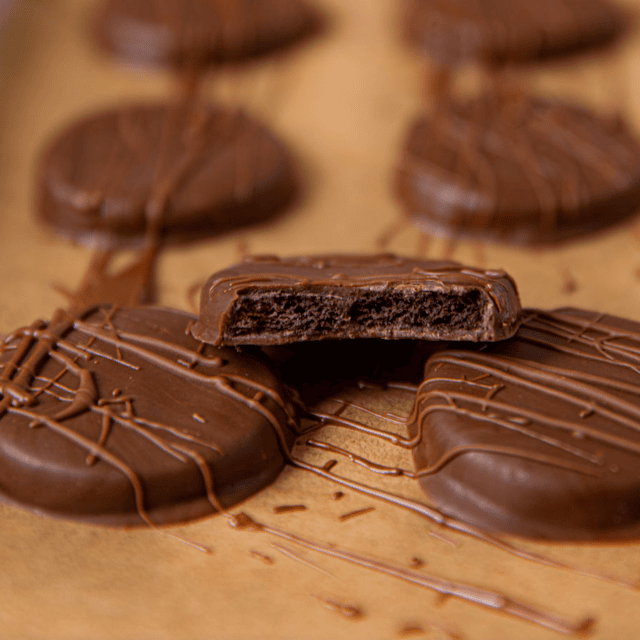
- Chocolate-Coated Shamrock Cookies: Instead of using a sprinkle topping, you can make this cookie recipe with a delicious chocolate coating. First, prepare the cookie dough and bake the recipe as usual. Let the cookies cool completely. Add 1 cup semisweet chocolate chips (you could use milk or dark chocolate if you prefer) and 1 tablespoon shortening to a microwave-safe bowl. Microwave in 30-second increments, stirring between each session until the chocolate is melted and smooth. Dip the cooled cookies in chocolate, so it coats half the sugar cookie. Lay the cookies on a wire rack with parchment or wax paper beneath them to dry. You can add green sugar crystals or sprinkles to the wet chocolate if desired.
- Frosted Shamrock Cookies: If you like frosted sugar cookies, then you can add your favorite icing or frosting to the top of cooled sugar cookies. Royal Icing, Classic Sugar Cookie Frosting, or Mint Frosting are all great options. Add a few drops of green food coloring to the frosting of your choice to make it festive. Spread or pipe green frosting over cookies, and add any sprinkles or other decorations you’d like to the top of the cookies before the frosting dries.
- Flavor Extracts: A teaspoon of vanilla extract, almond extract, coconut extract, lemon extract, or maple extract instead of peppermint would all taste amazing in these cookies.
Related Recipes
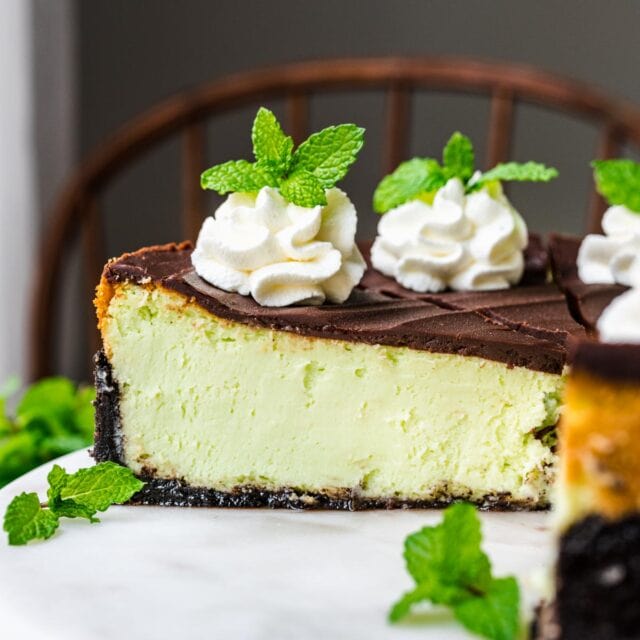
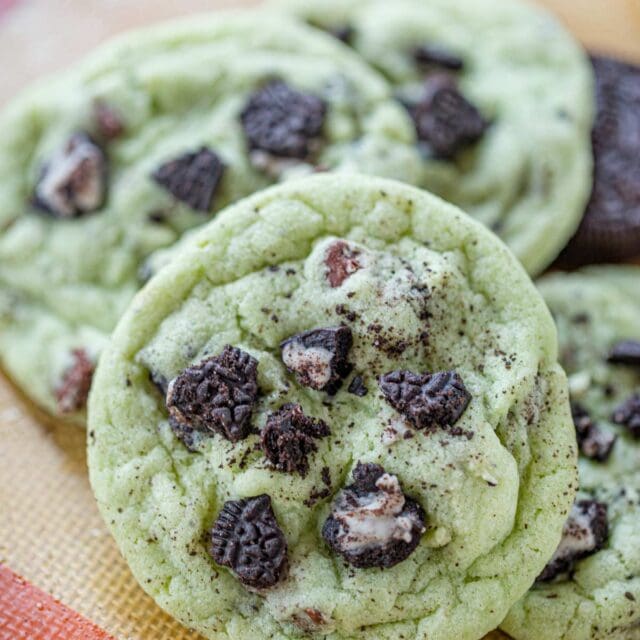
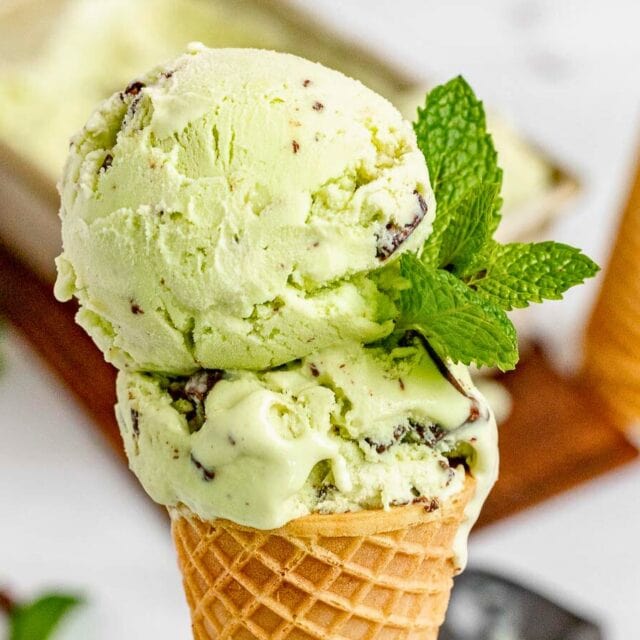
More Delicious Mint Desserts

Photos used in previous posts