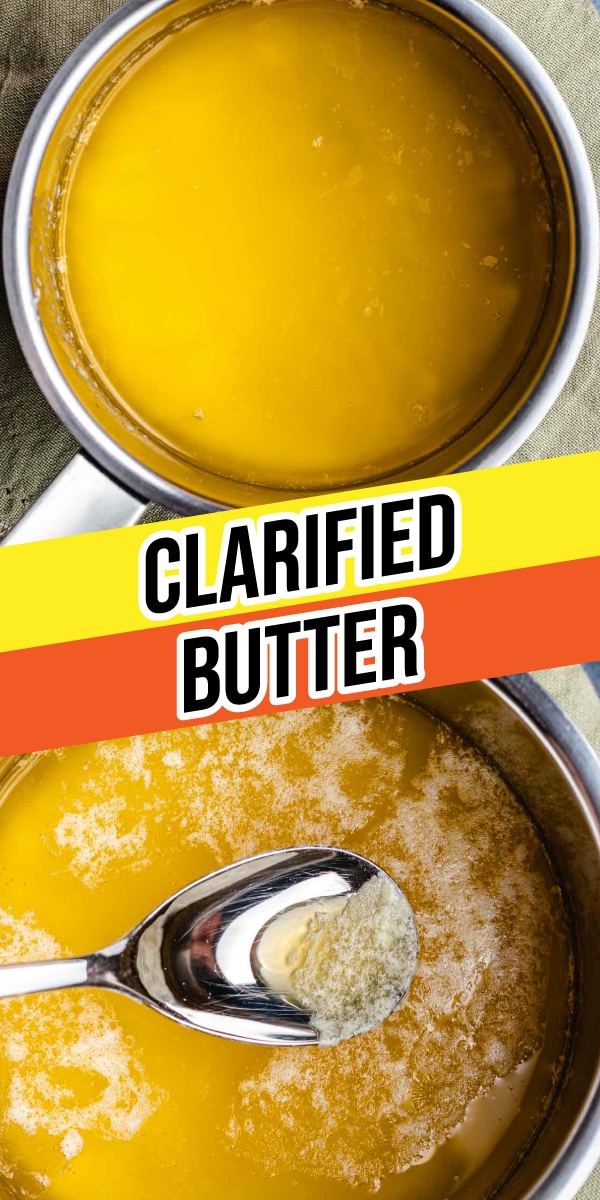

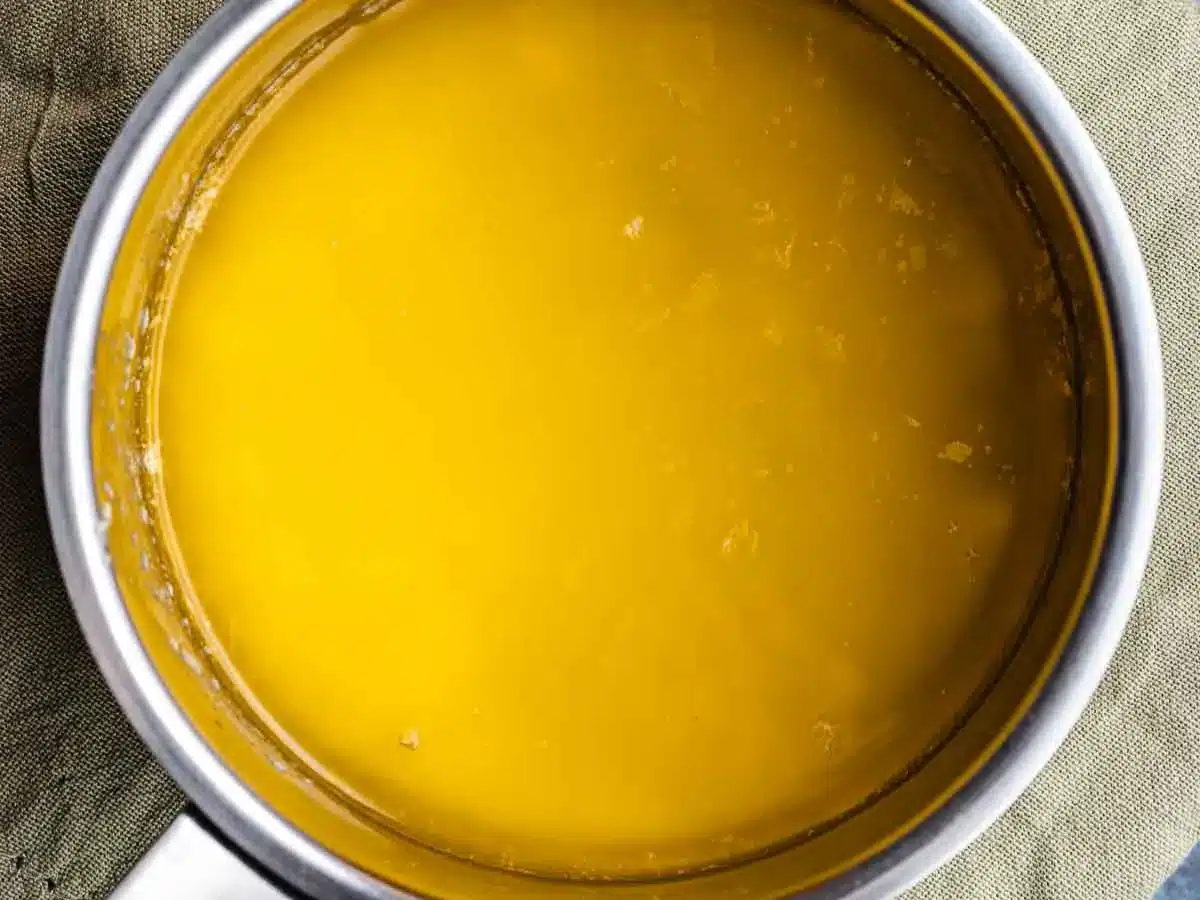
Clarified Butter is a more concentrated, rich form of butter with water and milk solids removed. Use regular butter to make it yourself!
Use Clarified Butter as an ingredient, cooking oil, or dip. For more homemade Dips, try Cheese Fondue and Buffalo Wing Sauce.
Why You’ll Love Clarified Butter?
- This simple technique turns butter into a richer, more concentrated cooking fat, and you only need your stovetop.
- By removing the milk solids, you’re raising the smoke point which makes this butter great for searing, sautéing, and high-heat cooking.
Sabrina’s Clarified Butter Recipe
Clarified Butter is made by removing milk solids and excess water from butter. As a result, you’re left with rich, yellow butter fat that adds extra richness to a variety of recipes. Use to drizzle over Ribeye Steak, Pork Chops, and Roasted Vegetables. Additionally, utilize it in soups, baked goods, or sauces. It really is that versatile! Patience is key in making this, so follow my tips and tricks for the best results.
Recipe Card



Ingredients
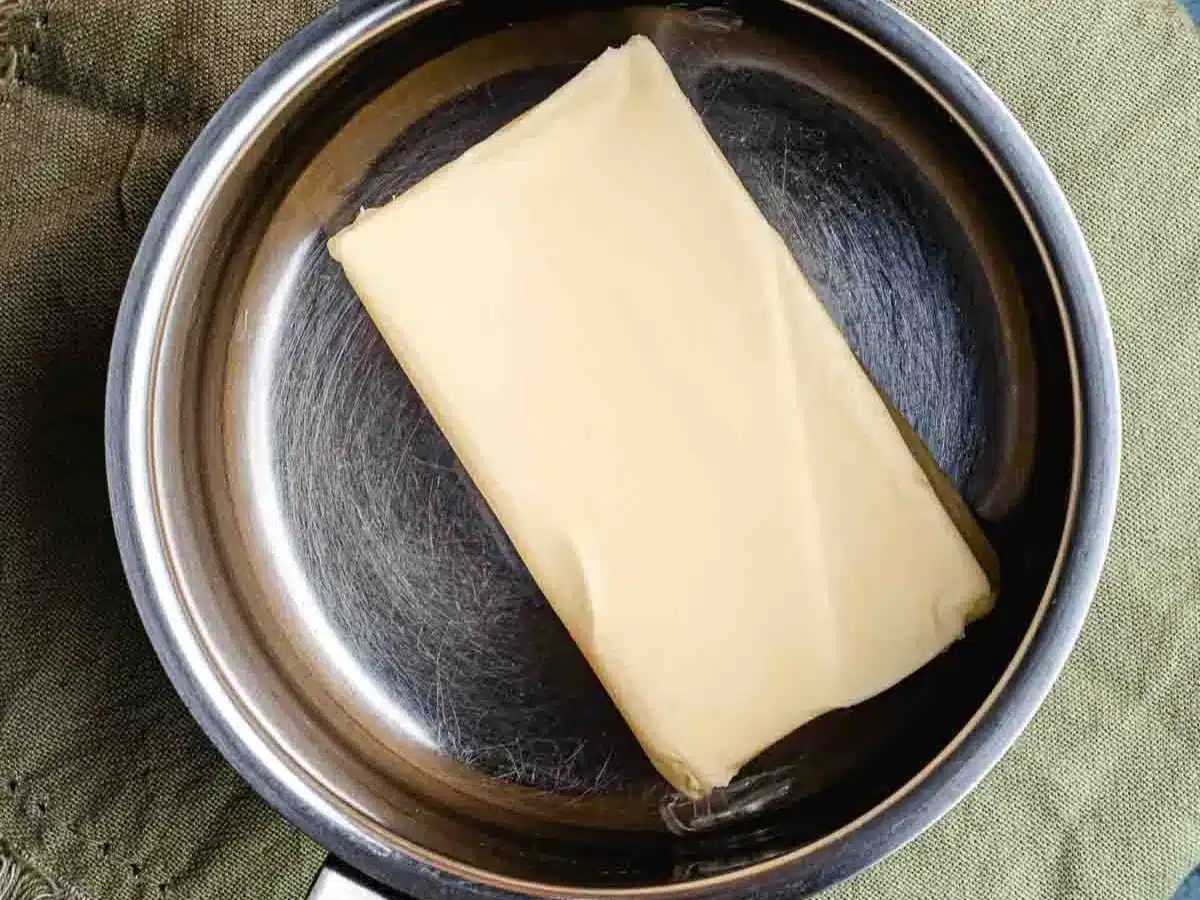
- 1/2 cup European butter higher fat content
Instructions
- Add the butter to a small saucepan on low heat.
- Melt very gently, do not stir or move.
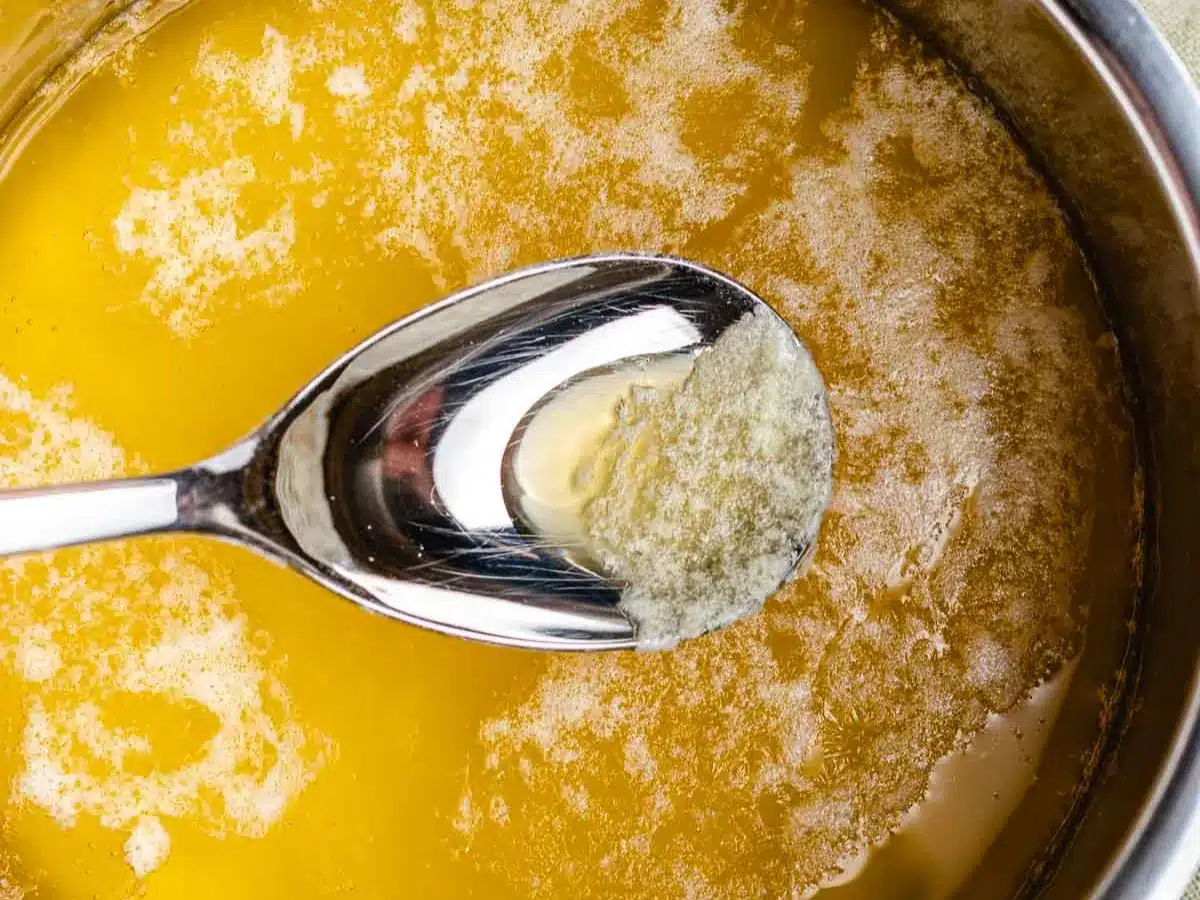
- As the butter melts and starts to foam on top, carefully spoon the foam (these are milk solids) off the top.
- This will leave the butter floating on top and water under the butter.
- Spoon the melted butter out of the saucepan, discard the remaining water.
Nutrition

Want to save this recipe? Create a free account to easily save your favorite recipes
Sabrina’s Tip
You can use standard butter that you already have in your kitchen, but European is a better option for this recipe because of its higher fat content. You can purchase European-style butter online or at many grocery stores in the US.
Table of contents
Can this be made ahead of time?
This is great to make ahead and keep stored in your fridge for the next time you need it. Spoon into a jar or another airtight container. Once it’s cooled, you can keep it stored in the fridge for up to 6 months.
How to Store
- Store: It is shelf-stable, so you can store it in the fridge or at room temperature, depending on your preference. Store in a glass jar or another airtight container and seal it to keep in your pantry for 1-2 months, or fridge for up to 6 months. Remember to reseal the jar each time after use so that it stays fresh.
- Freeze: For an even longer storage option, you can freeze for up to a year. Pour the melted butter into an ice cube tray and lay it flat in the freezer until frozen solid. Then transfer the cubes to a freezer bag to keep frozen. Defrost individual cubes to use as needed and keep the rest of the batch frozen for later.
Tips & Tricks
Remember these quick tips to avoid common mistakes when preparing.
- Do not stir
- Leave the butter completely undisturbed as it melts in the pan. Stirring the melting butter can re-incorporate the milk solids into the butter when you want them to separate.
- Use a gentle hand
- As long as you don’t stir, the milk solids will float to the surface of the butter, where you can scrape them off the top. When removing the milk solids, be sure to work gently so that you don’t disturb the lower layers of butter. This is best done with a small spoon that you can easily control.
- Straining tips
- If you’re having trouble skimming the milk solids off the surface by hand, you can strain the butter to remove the solids. Pour the butter mixture through a cheesecloth or coffee filter placed over a fine mesh strainer. If you don’t have cheesecloth or coffee filters, paper towels will work in a pinch to strain the golden liquid.
Related Recipes
Dip and Sauce Recipes