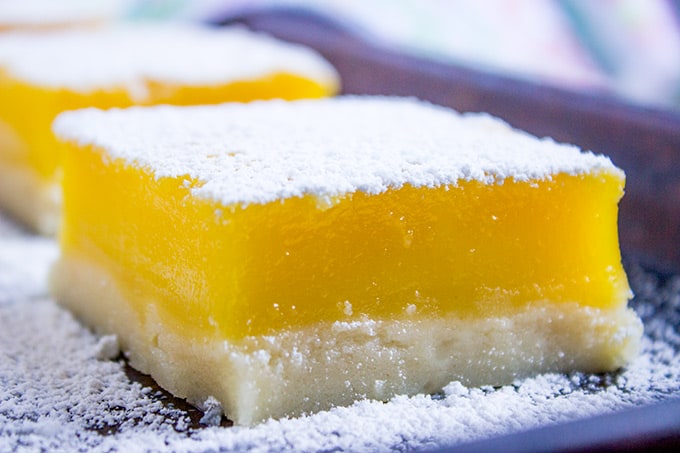
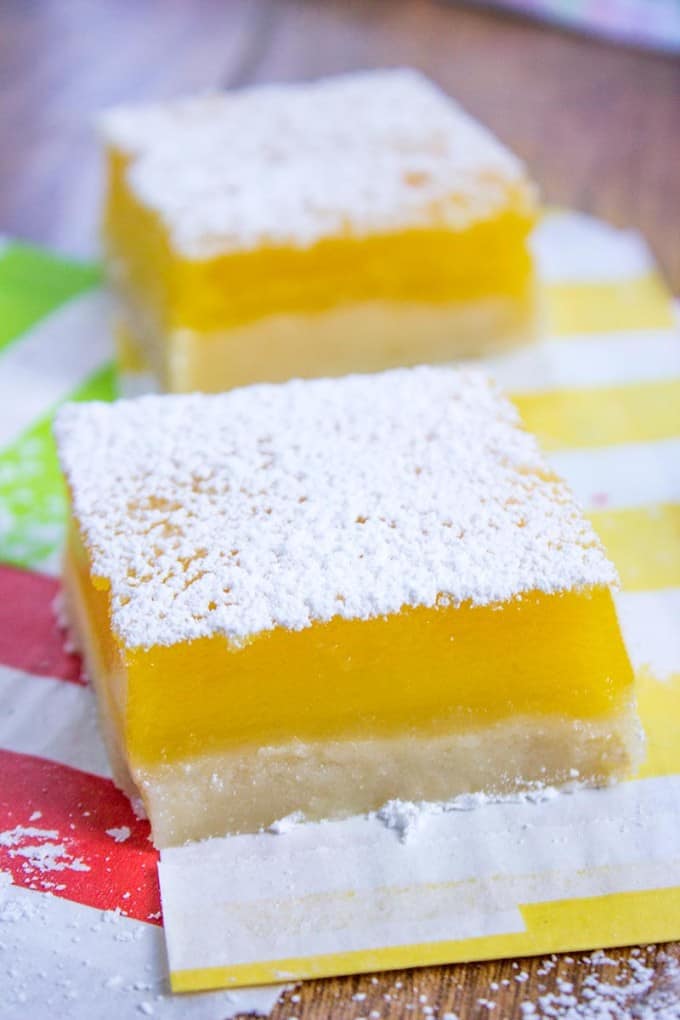
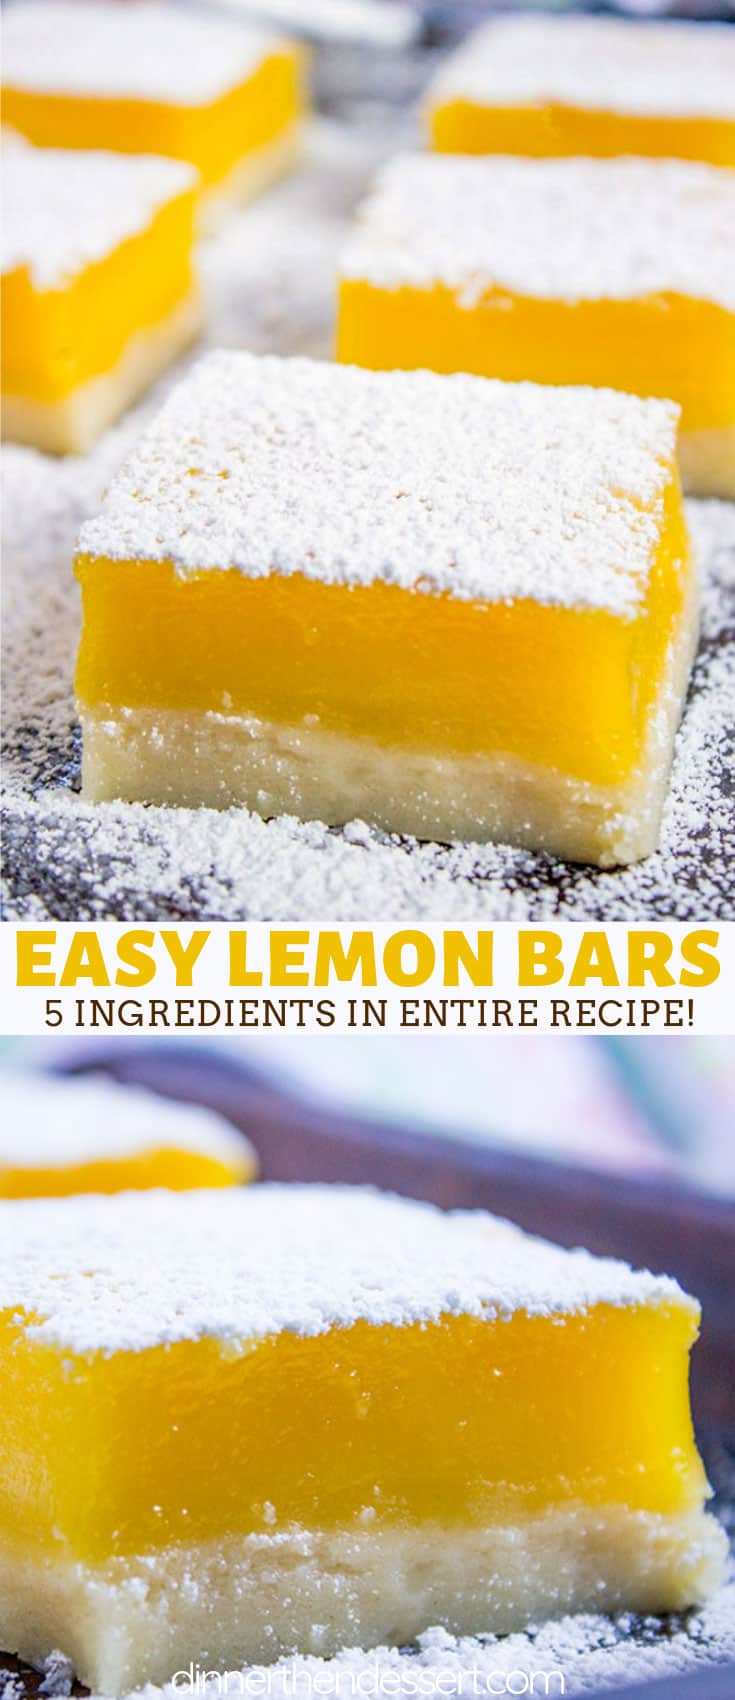
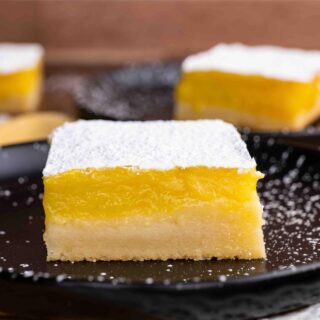
Easy Lemon Bars have a buttery shortbread crust, a tangy lemon curd filling and just 5 ingredients in the whole bakery worthy recipe!
We love all the fun fruit flavored desserts (hello beautiful Fruit Salads!) as spring comes rushing in including Lemon Cookies, Strawberry Shortcake and Mixed Berry Pie.
 Lemon Bars Recipe (Lemon Squares)
Classic Lemon Bars (you may know them as lemon squares) are a great recipe made with a quick and easy shortbread crust, a lemony lemon curd style filling that is not cooked on the stovetop before baking and the hardest part of this recipe? Waiting for it to set up before you enjoy the tangy dessert before everyone else knows how delicious they are.
This Lemon Bars recipe is from a bakery who has been making them for 50 years in Los Angeles, California. And if you’re looking for a creamier more crumbly version you HAVE to try my Creamy Lemon Crumb Bars too.
How to make Shortbread
The shortbread crust in this easy lemon bars recipe is made entirely in the food processor by pulsing together all-purpose flour, sugar and butter cubes for 20 seconds until the dough is in large chunks.
You don’t have to touch it at all, just turn the dough out onto the pan and press it into an even layer with a spatula and bake it off.
The best thing about these *truly* Easy Lemon Bars is that the crust, which most people would normally say is the toughest part to make, is made in 20 seconds completely in a food processor.
Easy Lemon Filling
The Lemon Flavor of the Lemon Bars comes from a mixture of lemon juice, lemon zest, sugar, eggs (not just egg yolks like in lemon curd, we are using the entire eggs) and a small amount of all-purpose flour to thicken the mixture as it bakes.
This filling would also work as a double layer cheesecake topping. Bake the cheesecake layer first for 30 minutes in a 9 x 13 pan (with deep edges) using my New York Cheesecake recipe, then top with this lemon filling and bake an additional 30 minutes.
How to perfectly slice lemon bars:
Line your baking pan with parchment paper both ways with at least 3 inches overhanging on all sides so the edges can be picked up by the corners and when the recipe is done and chilled freeze it for at least an hour to firm it up more. This will allow the whole pan to lift out without breaking.
Be sure to run a knife along the outside of the parchment paper first before trying to lift the paper out.
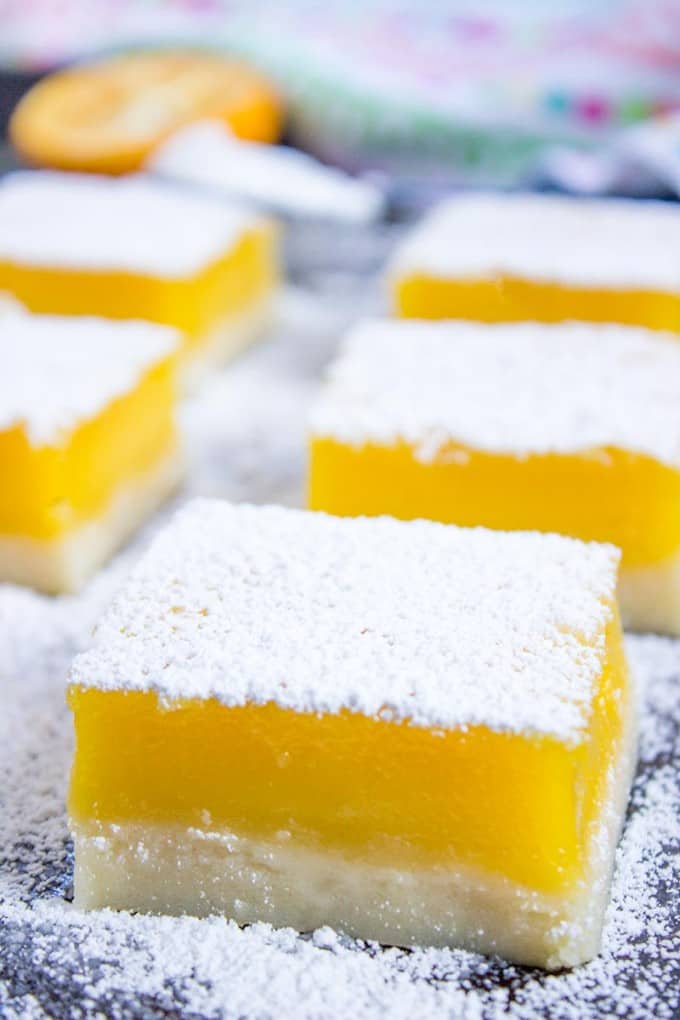
To garnish the lemon bars simply dust them with powdered sugar. You can also help keep the lemon squares moist by pressing the sides of each piece into powdered sugar to keep them from drying out before storing them in an airtight container.
How to zest a lemon:
To zest a lemon grate the rind using a microplane to remove just the yellow layer of the lemon skin from the lemon. Do not remove any of white layer of the lemon, the pith, as this is where the bitterness of the lemon comes from.
Easy ways to zest a lemon without a microplane include using a box grater (use the smallest side) or use a vegetable peeler and a paring knife to cut it into very thin slices. Be sure to not include any of the white pith of the lemon.
How to juice a lemon:
To get the most juice out of a lemon cut it in half horizontally (not through the stem) and stick a fork into each half, hold firmly in your palm and twist the fork to juice easily.
You can also microwave for 5 seconds before squeezing to make easier.
Create a free account to Save Recipes
No-Bake Lemon Bars
To make no-bake lemon bars bake the shortbread crust as directed and top the crust with a box of lemon pudding mix, 8 ounces cool whip (or use my homemade cool whip) and ½ cup of milk and let firm in freezer until desired firmness because it would melt at room temperature.
No-bake Shortbread Crust: 2 cups shortbread cookie crumbs mixed with 6 tablespoons melted butter and pressed into the bottom of an 8×8 baking pan.
Fun flavors for baked Lemon Bars:
- Lime Lemon Bars: Swap out ¼ cup lemon juice for lime juice and add zest of 1 lime to the mixture.
- Orange Lemon Bars: Swap out ¼ cup orange juice for lime juice and add 1 teaspoon orange zest to the mixture.
- Meyer Lemon Bars: Swap out traditional lemons for Meyer lemons and reduce sugar by 2 tablespoons.
- Lemon-Blueberry Bars: Add in 2 cups of blueberries tossed with flour to the filling mixture and cook an additional 10 minutes.
- Strawberry Lemon Bars: Add in 2 cups of strawberries tossed with flour to the filling mixture and cook an additional 10 minutes.
- Fruit Jam Lemon Bars: Berry, orange, pineapple or any flavor jam you like. Just little spoonfuls after adding the lemon layer dotted throughout. Easiest hack ever and I normally do it when I’ve got ⅓ of a bottle left and need the refrigerator door space.
- Poppy Lemon Bars: Add 1 tablespoon poppy seeds to the lemon mixture and to the shortbread base for an awesome lemon poppy bar.
- White Chocolate Lemon Bars: Add melted white chocolate onto the shortbread base after it comes out of the oven and before the lemon layer.
Other Bar Recipes:
- Cranberry Bliss Bars
- Fresh Strawberry Crumb Bars
- Pumpkin Fluffernutter Bars
- Peanut Butter & Strawberry Jelly Bars
Any other lemon desserts you would like to see on the site? Let me know in the comments below!


Ingredients
For the crust:
- 12 tablespoons unsalted butter , frozen and cut in small pieces
- 6 tablespoons sugar
- 1 1/2 cups flour
For the filling:
- 1 1/2 cups sugar
- 1/4 cup flour
- 4 large eggs
- 3/4 cup lemon juice
- 1 tablespoon lemon zest
Instructions
- Preheat oven to 350 degrees and line baking pan both ways with parchment paper with overhang.
- Add the butter, sugar and flour to a food processor or blender and let process for 20-30 seconds or until the dough comes together into a ball then press into an 8x8 inch pan and bake for 22-25 minutes.
- Combine the 1 ½ cups sugar, ¼ cup flour, 4 eggs, lemon juice and zest in a large bowl and whisk well and let sit for 15 minutes while crust bakes, whisk just before pouring onto crust and then bake the crust with the filling for 30-35 minutes (remove before it starts to brown).
Video
Nutrition

Perfectly sweet, tart, and buttery all in one. It’s a good thing this recipe just makes an 8″ pan, because these things are addicting! 😉
An all time FAVORITE!! I have made this many many times and every time, I get bombarded with “I need this recipe” comments. Such a hit in our home!
I cannot tell you how much I love lemon bars, and this has to be the easiest recipe for them I’ve ever come across. Absolutely delicious!
I was craving lemon bars and found this recipe. So glad I did. Love the buttery shortbread crust and lemon flavor. So Good!
Thank you! One of my favorites for sure!
This is the most amazing recipe I have used!!! Pro tip, do not cool the crust. I have had many requests to make these bars again. So tasty!
Thank you!
These lemon bars are worth trying! They’re so fluffy and delicious!
Thank you! They are pretty popular!
Hi, I have just read the comments and there seems to be a lot of confusion.
At the point where you say “whisk just before pouring onto crust and then bake the crust with the filling” should that say ,
Pouring on to the “Hot” crust, ‘warm’ crust or ‘cooled’ crust . before returning to the oven to finish baking.
Thanks in advance, I want it to turn out right the first time.
Naomi
Hi Naomi, Sorry for the late response. If you tried the recipe, I hope it turned out for you. I read the comments again just now and I see your confusion. I will work on changing the wording in the recipe.
I followed the recipe don’t know what I did wrong but my shortbread was 2/3 of the bars, so confused. More like shortbread cake with some lemon stuff on top.?
Great when you use 1/2 white and 1/2 brown sugar. Delicious recipe!!!
Great when you use 1/2 white and 2/2 brown sugar!!! Delicious recipe.
Can these be made ahead of time and frozen?
To be clear, this recipe is the best lemon bar recipe if you don’t listen to the other reviews. DO NOT COOL THE CRUST. You pour the filling on the hot crust. That will seal everything so the crust doesn’t float. Again, these are the best lemon bars I have ever had!
I always thought putting the filling on the hot crust sealed/cooked it a little so the filling didn’t float the crust. Is this how you do yours?
Yes!
made these yesterday to take to a dinner next door. Everyone raved about Them . I think they are awesome too!
I made these today with a few adjustments/substitutions: Crust – 1/2 cup whole wheat flour and2 tbs shortening; Filling – 2 tbs cornstarch instead of flour and lemon extract instead of zest. OMG these are fantastic!! Definitely a keeper recipe and so easy using whole eggs instead of just yolks. Thanks for posting this recipe.
This is your own recipe
These are bomb.com I made my 3rd batch today. Seriously delish thanks for such a simple recipe ?
That definitely sounds like a winner! Glad you love them so much, Shannon.
How long to cool before eating and adding powdered sugar?
You want the crust to be completely cooled so it’ll be sturdy enough. Cool for about 30 minutes in the pan and them move them to a cooling rack using the parchment sling to finish. Enjoy!
Made these for the first time and they came out great! The only thing I did different was use gluten free flour as we have a member of the family that does not tolerate gluten. Everyone loved them. Thank you for the recipe Sabrina!
Ok guys. I have made these many, many time. Super easy recipe to follow. She never says let your crust cool. Make your filling while the crust bakes. Whisk the filling really well until it is smooth. Let the filling set out for 15 minutes while the crust bakes the first time and then whisk the filling again before pouring over the hot crust and then do the second bake. Your crust will rise to the top if you (1) don’t make a dough ball with the crust and (2) letting your crust cool down between bakes. When you make the dough ball it will not break apart easily. It becomes a shortbread crust. I hope this helps! These are very good and easy. I have even swirled raspberry preserves in the top to make raspberry/lemon bars. They are so incredibly good. Thank you for a terrific recipe, Sabrina!
You’re welcome, Marlena.
This tastes great . Very lemony and rich. I followed all directions carefully. Some how my crust inverted and ended up on the top. Was not a total failure, but confusing. I ended up freezing and then cutting into squares.
Love the food processor method of making the crust.
I was just wondering how many eggs do you use if they are medium instead of large. Thank you
You should still be fine.
Delicious! Quick and easy.
Jis this an 8×8 pan recipe?
Yes, 8×8 pan.
I LOVE this recipe ???. My family loves it to… nothing wrong came out with mine when I made it… and guys give her a break. The recipe works for me… you guys are probably just terrible at baking… if you read about her it says she’s a trained professional chef… so I think you guys are the one who is getting this all wrong??
Recipe tastes great. But had a lot of flaws.. I had read all of the comments ahead of time and had followed the recipe step-by-step. Though, the only thing I did that was different was, after the crust was pulled from the oven, I cooled it completely before topping with the filling and putting it back in the oven. This corrected what others stated as the crust breaking apart and floating, however something weird happened to me through the second baking process.. even though my crust was not shattered, it looks like the filling baked to the bottom (a “translucent”, beautiful lemon jelly) but the crust baked on top. A flipped lemon bar. Also, the filling looks like the egg baked on top of everything into a thin “eggy crust”. I don’t know what’s going on exactly with this recipe, but there are some weird things happening with the physics..
Otherwise, the tastes are great.
What size pan should be used?
8×8
I’m in the process of baking the filling on top of a hot crust….no where in the recipe does it say let the crust completely cool down…..fingers crossed this comes out ok
Exactly!!!!
Followed instructions to the t even let my crust cool down before pouring the filling. Than it says bake afterwards for 30-35 minutes. Because of that the curds more like a werid cake.
What kind of sugar in the crust and filling? Granulated sugar for both?
this recipe is worded weirdly. somehow, during the second baking the layers completely switched places. I was so unbelievably confused as to how this happened.
I’m not sure what you mean? I say to pour the filling over the crust “pouring onto crust” and then “bake the crust with the filling”. I’m not sure how they would be reversed in that instruction. Sorry if it was confusing and I hope they turned out okay!
This happened to me too! The curd was still soft but it was on the bottom while the crust was on the top! Still delicious though! I just served it upside down!
I followed directions and baked crust according. I even added a few minutes because it was pretty light. When it came out, I proceeded to pour in filling. The crust broke apart and floated to the top. The crust was not firm at all so, I’m not sure how to prevent this in the future?
I have never had that happen before, I am so sorry. You do have to gently pour in the filling but I still wouldn’t think it would cause it to break.
So, as my crust is baking I’m reading all the comments. I let it cook a few more minutes, did not look quite done. I took it out poured my filling in, and the crust started breaking up into tiny pieces and floating. Should we let the crust cool completely? That was my immediate thought. Although not mentioned to do that. Now I see what others were complaining about.
Yes, you’ll want to make sure your crust is completely cooled.
I’m glad I read down the page before starting the curd filling, since the directions say to mix the curd and “let sit for 15 minutes *while the crust bakes*,” and then fill. This reads as though we should pour the filling into the hot-from-the-oven crust.
I poured into the hot crust…came out yummy but cloudy. I DID have a dry crust and had to add extra butter to make the ball before baking…but YUM my family wants me to add this recipe to our cookbook