
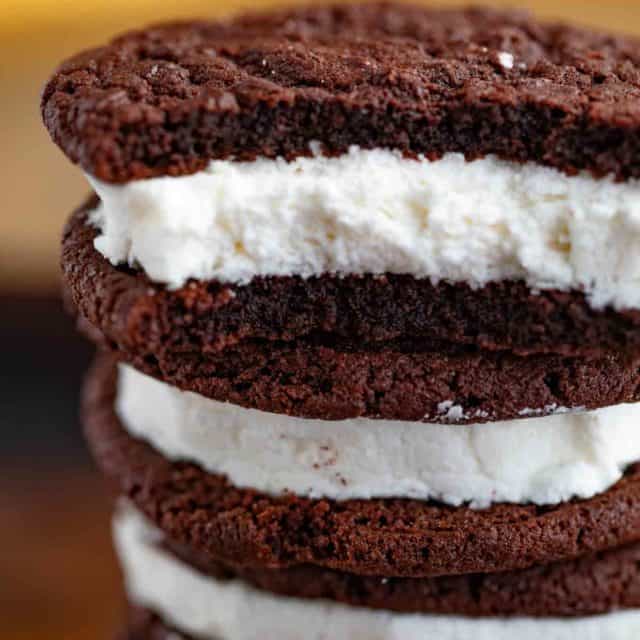
Ice Cream Sandwiches are a classic frozen treat with a chocolate cake-like outside and vanilla ice cream inside. This homemade recipe is easy and delicious!
It’s hard to think of a better summer dessert than a delicious Frozen Treat. There’s nothing more refreshing than a sweet, cold dessert. For more ice cream sandwich cake-like recipes be sure to try our Cookie Dough Ice Cream Sandwich!

ICE CREAM SANDWICHES
Classic Ice Cream Sandwiches are a nostalgic childhood favorite for so many. They are always a go-to during the hot months, and a favorite to get from the ice cream truck. The delicious chocolate outside and creamy vanilla inside are just perfection and can always satisfy a sweet tooth. We are so excited to share recipe for the ultimate homemade Ice Cream Sandwich!
You can get the best Ice Cream Sandwich experience without having to run out to the grocery store. The sandwich cake is easy, and the homemade version just makes it more fresh, chewy, and flavorful. It is easy to make this dish with store-bought vanilla ice cream, but you can also use an ice cream maker to make your own Vanilla Ice Cream for a dessert that’s completely from scratch.

The step by step directions for this recipe are easy to follow and don’t require a lot of hands on time. So, you don’t even need to save this recipe for a special occasion. I like to make them on the weekend and then wrap each sandwich individually to store in the freezer. Then they can be a hassle-free dessert throughout the week.
MORE ICE CREAM RECIPES

McDonald’s Shamrock Shake (Copycat)

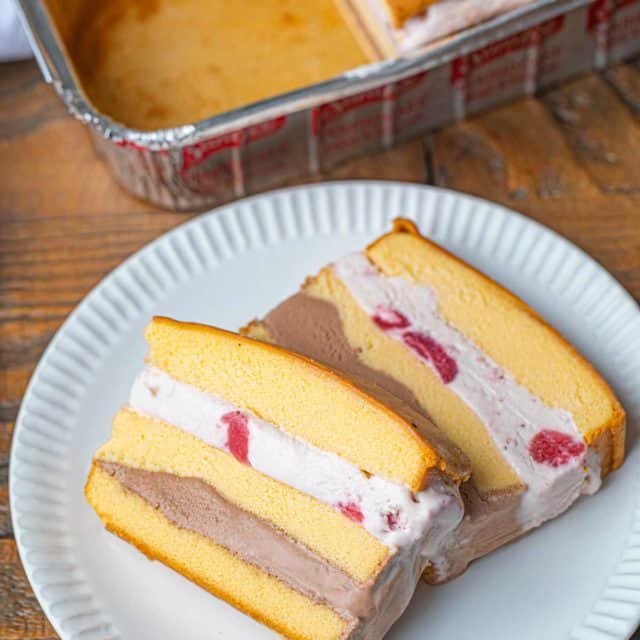
Strawberry Shortcake Ice Cream Bars
Ice Cream Cake

McDonald’s Shamrock Chocolate Chip Frappe (Copycat)
TIPS FOR HOMEMADE ICE CREAM SANDWICHES
- Prep time: Preheat your oven and line a 15×10 pan with a piece of parchment paper. Make the parchment paper big enough to hang over each end of the baking sheet.
- Chocolate wafers: In a large bowl whisk together the butter, sugar, egg, vanilla, and salt. Then sift in the flour and cocoa powder. Mix in the dry ingredients until just combined. You can use an electric mixer for this, or just combine the ingredients by hand.
- Bake: Spread half the batter evenly over the baking sheet. Bake the chocolate wafers for 10 minutes, and then let it cool for 5 minutes. After it’s cooled take hold of the ends of the parchment paper and lift the chocolate wafer from the pan. Line the pan with parchment paper again and repeat the process with the second half of the batter.
- Assemble: Once the pan is completely cooled, line it with plastic wrap that goes over all the edges. You want it to be big enough that it can fold over the top. Carefully place the first cookie sheet in the base of the pan. Add a scoop of vanilla ice cream over the top of the cookie. Scoop the ice cream evenly over the top and spread it out with a spatula. Top if off with the second cookie layer and fold the plastic wrap over the top. Press down to make sure the ice cream and cookies are fused together.
- Freeze: Put the sheet in the freezer for 4 hours to set.
- Serve: After 4 hours, take the sandwiches from the freezer, and carefully unwrap it. Use a serrated sharp knife to cut 16 Ice Cream Sandwich Squares. Wipe the knife before each cut so that there aren’t extra crumbs.

Create a free account to Save Recipes

VARIATIONS ON ICE CREAM SANDWICHES
- Ingredient substitutes: If you want to make the sandwich cake gluten-free, you can replace the all-purpose flour with oat flour, almond flour, or coconut flour. You can also replace the granulated sugar with brown sugar, maple syrup, honey, or coconut sugar.
- Toppings: If you want to add some ice cream toppings, drizzle them over the ice cream scoops before putting the sandwich top on. Caramel Sauce or Hot Fudge would make an indulgent addition. Another option instead of toppings is mixing some chocolate chips into the ice cream before scooping it into the sandwich.
- Brownie Ice Cream Sandwich: The great thing about this recipe is that you can change it up by using any of your favorite ice cream flavors. For a double chocolate recipe try using Brownie Ice Cream.
- Mint Chocolate Chip: Mint chocolate chip ice cream is another traditional ice cream flavor that would taste great.
- Neapolitan Ice Cream: You can scoop up neapolitan ice cream to have three flavors in each Ice Cream Sandwich.
- Chocolate Chip Cookies: Instead of using the chocolate wafer outside, you can sandwich ice cream between two homemade Chocolate Chip Cookies.
MORE SANDWICH DESSERTS

Whoopie Pies
Chocolate Sandwich Cookies

Chocolate Peanut Butter Sandwich Cookies

Hot Chocolate Cookies
HOW TO STORE ICE CREAM SANDWICHES
- Store: To store the ice cream sandwiches wrap them individually in aluminum foil, plastic wrap, or parchment paper. Then you can put them in a freezer bag and freeze them for up to 3 months.


Ingredients
- 1/3 cup unsalted butter , softened
- 1/2 cup sugar
- 1/4 cup brown sugar , packed
- 2 teaspoons vanilla extract
- 1/2 teaspoon salt
- 1 1/4 cup flour
- 1/2 cup unsweetened cocoa powder
- 1/2 teaspoon baking soda
- 2/3 cup whole milk
- 4 cups Vanilla Ice Cream
Instructions
- Preheat oven to 350 degrees and line a 15x10 jelly roll pan with parchment paper hanging over two sides of the pan.
- In your stand mixer on medium speed add the butter, sugar, brown sugar, vanilla, and salt.
- Sift together the flour, cocoa powder and baking soda in a large bowl then add it to the stand mixer on low speed in small cupfuls, alternating with the milk.
- Spread half the batter into the pan and spread evenly.
- Bake for 10 minutes then remove and cool for 5 minutes before lifting out of the pan.
- Add the rest of the batter in a second batch with a new sheet of parchment paper in the pan.
- Bake for 10 minutes and then let cool for 5 minutes before removing from pan.
- When the pan is cool line with plastic wrap that hangs over all the edges enough to cover the top when folded back.
- Add the first cooled cookie sheet carefully, removing the parchment paper backing.
- Spread ice cream over the cookie evenly.
- Top with a second cookie sheet and fold the plastic wrap over it and gently press down to ensure the ice cream and cookie are fused, then remove the parchment paper backing.
- Freeze for 4 hours.
- Remove from pan and unwrap.
- Cut into 16 sandwiches with a serrated knife (wipe clean before cuts).
- If re-freezing them, wrap them individually.
Nutrition
Want to save this recipe? Create a free account to easily save your favorite recipes

