
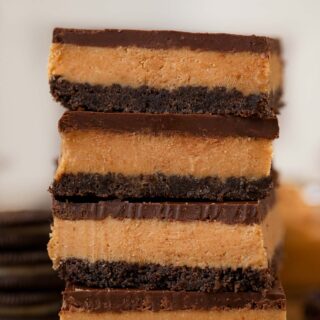
Peanut Butter Oreo Bars have all the rich taste of a Reese’s Peanut Butter Cup with a chewy Oreo crust. An easy no-bake dessert that’s perfect for parties.
When it comes to crowd-pleasing Dessert Recipes it’s hard to think of three ingredients better than Oreo, chocolate, and peanut butter. Putting them together is creamy, crunchy perfection. For another easy Oreo dessert to try at your next party take a look at Magic Oreo Layer Bars.

PEANUT BUTTER OREO BARS
Rich and creamy bars, like Peanut Butter Oreo Bars, are perfect for a simple treat, or dessert to bring to a party. Kids and adults alike will love the sweet chocolate, creamy peanut butter, and crunchy Oreo crust. They’re wonderfully sweet with a nice saltiness from the peanut butter. Bar recipes are always great for a crowd because they’re made in big batches. For another no-bake bar recipe try Chocolate Marshmallow Peanut Butter Bars.
If you do bring this dessert to a party, make sure you don’t take it out of the fridge until you have to. The peanut butter filling and chocolate topping are best served chilled. Otherwise they become melty and sticky. If you know they’ll be left out at the party for a while, try keeping them in your freezer beforehand so they start out colder.
You’ll be glad you did, when you try the cool and refreshing chocolate treat. The most difficult part of this whole recipe is finding the patience to wait for them to harden in the fridge before eating them.

HOW TO MAKE THE LAYERS
- Oreo Crumb Crust: add 14 Oreos to your food processor and blend until they’re in fine crumbs. Mix the oreo crumbs with 2 tablespoons of melted butter, and press the mixture into an even layer along the bottom of your baking dish. Freeze for 10 minutes until hardened.
- Peanut Butter Layer: Add 1 cup melted butter, 2 cups of graham cracker crumbs, and 1 cup of peanut butter to the stand mixer. Mix all the ingredients until combined. Add in 2 cups of powdered sugar with the mixer on its lowest speed. Keep mixing until well combined and fluffy. Use a spatula to spread the peanut butter filling over the oreo crust. Once spread out evenly return the pan to the freezer.

- Chocolate Layer: Put a medium-sized saucepan over medium heat. Add in 4 tablespoons of peanut butter and 1 ½ cups of semisweet chocolate chips. Stir the mixture continuously until melted and creamy. Remove the bars from the fridge and pour the chocolate topping over it. Tilt the pan to get the melted chocolate to spread. Return the completed bars to the fridge for 2 hours before serving.
MORE PEANUT BUTTER DESSERTS
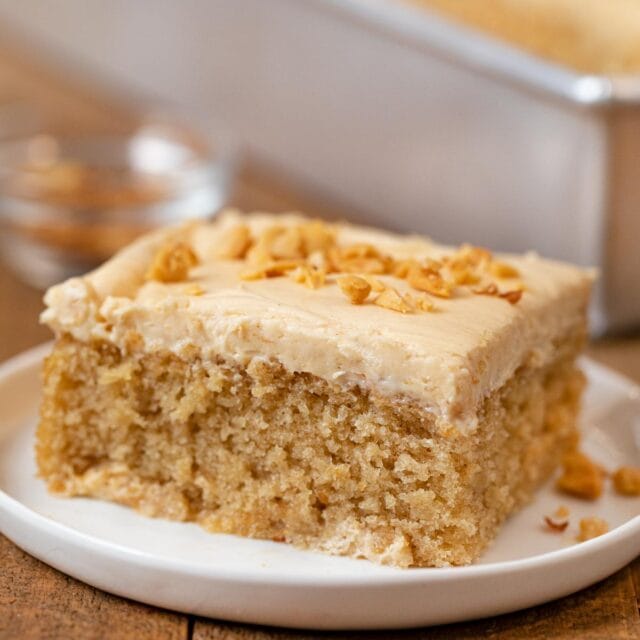
Peanut Butter Sheet Cake
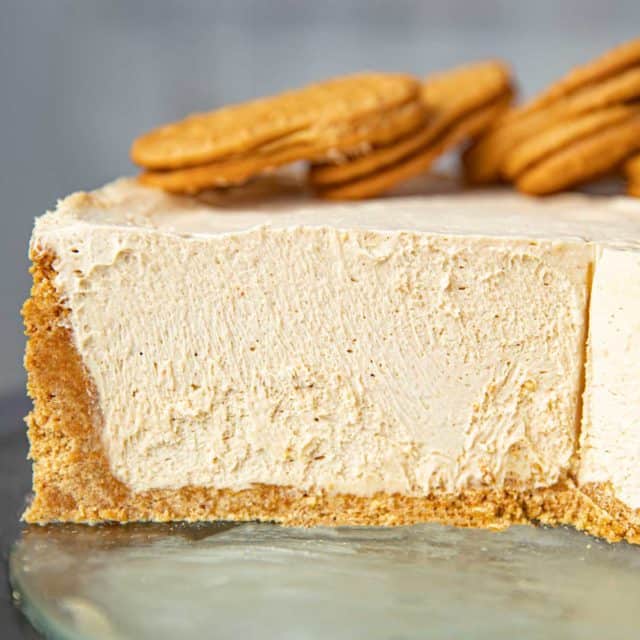
Peanut Butter Pie
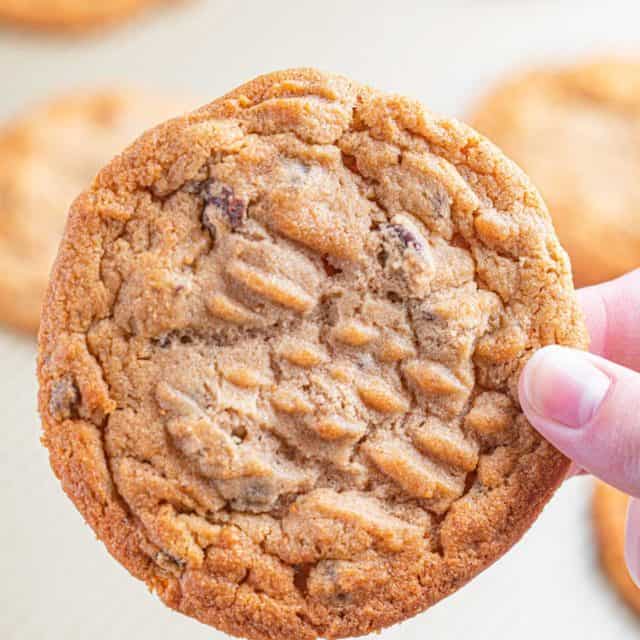
Peanut Butter Chocolate Chip Cookies
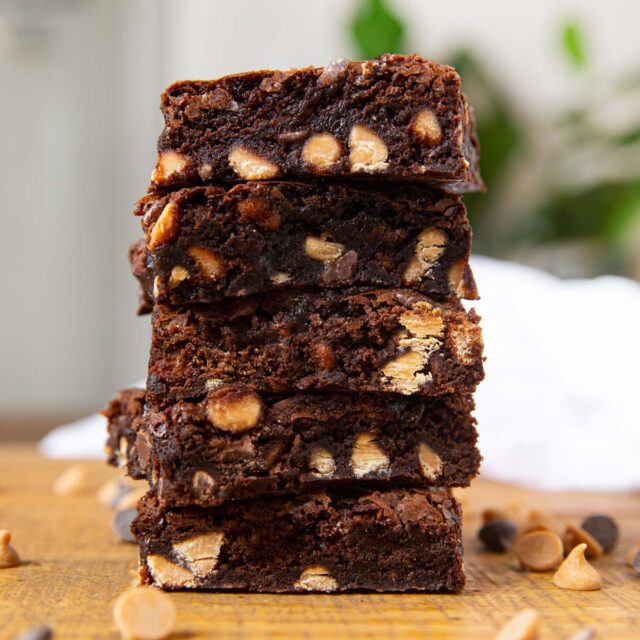
Chocolate Peanut Butter Chip Brownies
Kid Friendly
Other than that, this recipe is so easy it’s a great one to let your kids help out with. The only part you need the stove for is the chocolate topping, so depending on how young your kids are you can just handle that yourself.
If you let your kids help, you do risk some of the Oreos and chocolate chips never making it into the Peanut Butter Oreo Bars. So, just make sure to have some extra on hand. Honestly, snacking on the ingredients is part of the fun of this dessert anyway.

Create a free account to Save Recipes
VARIATIONS ON PEANUT BUTTER OREO BARS
- Graham Cracker Crust: Don’t have Oreos? no worries! Instead of using Oreos in the crust, you can use graham cracker crumbs. Blend them up the same way you would Oreos and combine the crumbs with butter. To keep it chocolate, use chocolate graham crackers.
- Crunchy Peanut Butter: For some extra crunch in your Peanut Butter Oreo Bars, try using your favorite crunchy peanut butter in the filling. If you have creamy peanut butter, you could also mix whole peanuts into the mixture yourself.
- Chocolate Chips: Change up the taste of your chocolate topping depending on what chocolate chips you use. Instead of semisweet chocolate chips try out milk chocolate, dark chocolate, or even white chocolate chips.
- Toppings: For toppings try adding crushed peanuts or coarse sea salt over the top of your Chocolate Peanut Butter Bars. Sprinkle the toppings over the melted chocolate before you put the bars in the fridge.
MORE OREO DESSERTS
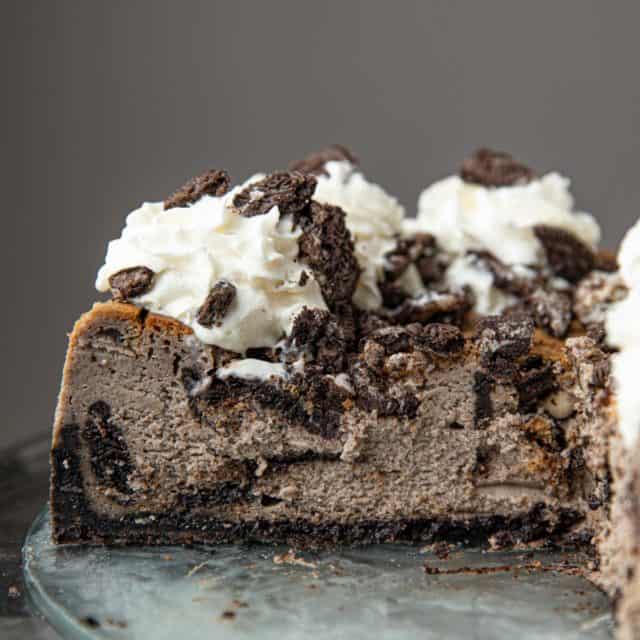
Oreo Cheesecake
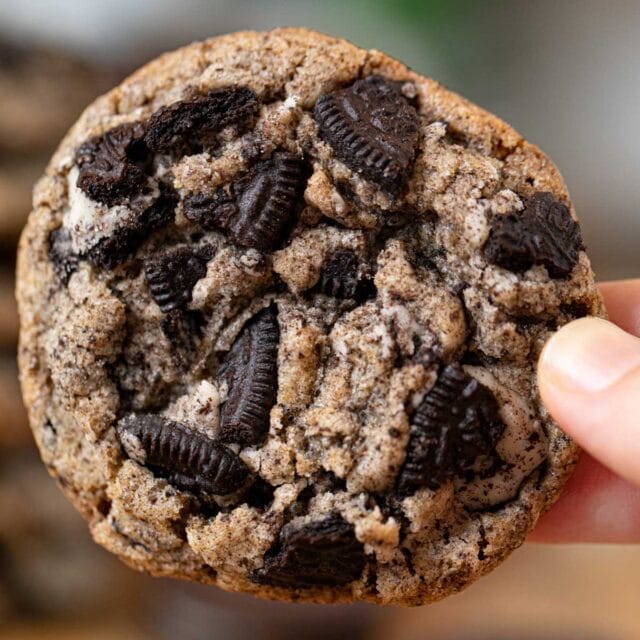
Oreo Chunk Cookies
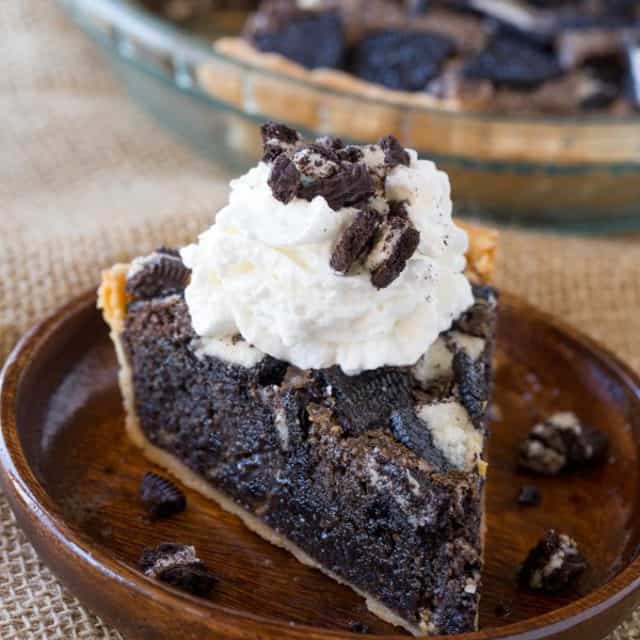
Ultimate Oreo Cookie Pie
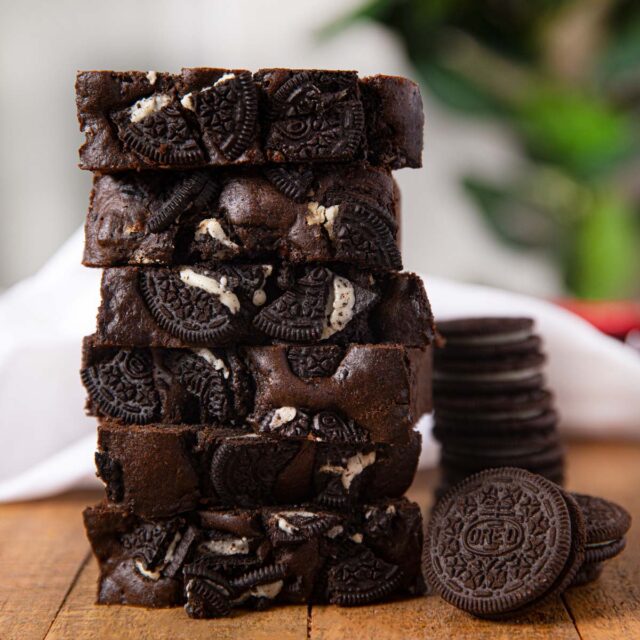
Oreo Chocolate Bread
HOW TO STORE PEANUT BUTTER OREO BARS
- Serve: To keep your Peanut Butter Oreo Bars from melting, don’t leave them at room temperature for more than an hour or two.
- Store: You can store Oreo Bars in the fridge in an airtight container for 3-4 days.
- Freeze: Freeze these delicious Peanut Butter Bars for up to 4 months. Let them thaw in the fridge overnight before eating them.

Ingredients
Oreo Layer:
- 2 tablespoons unsalted butter , melted
- 14 Oreos
Peanut Layer:
- 1/2 cup unsalted butter , melted
- 1 cups graham cracker crumbs
- 1 cups powdered sugar
- 1/2 cup peanut butter
Chocolate Layer:
- 1 1/2 cups semisweet chocolate chips
- 4 tablespoons peanut butter
Instructions
- Add Oreos to a food processor and process until fine crumbs are formed.
- Mix butter and Oreos and press into 8x8 baking pan evenly and freeze for 10 minutes.
- In a stand mixer add the butter, graham cracker crumbs and peanut butter until creamy, about 1 minute.
- Add in the powdered sugar on the lowest speed setting until well combined and fluffy, about 2 minutes.
- Gently spread the peanut butter filling into the baking dish evenly and return to the freezer.
- In a medium saucepan on medium heat add the peanut butter and chocolate chips.
- Stir constantly until smooth then pour over the peanut butter layer and tilt to spread.
- Refrigerate for at least 2 hours before slicing.
Nutrition
Want to save this recipe? Create a free account to easily save your favorite recipes


These are so yummy! I used salted butter and added 1/2 tsp salt to the filling, and it was perfect for me! The Oreo crumb bottom didn’t stick together super well for me, it was a bit crumbly, I’m not sure what happened, but it was still so delicious! I would definitely make this again!
Hmm, not sure what to recommend regarding the crumbly Oreo crust. I’m sure you used your hand or spatula to firmly mold the Oreo crumb crust into the dish. Glad you enjoyed the recipe.
The Oreo layer did not stick together. I was just crumbs. Other than that it was delicious.
I love sweets and often find myself having a few servings in one sitting but this dessert was SO incredibly sweet and rich that I couldn’t even finish the small square I cut out. I figured the peanut butter layer would be pretty sweet due to the 2 cups of powered sugar and while I wanted to add less I figured I’d better stick to the recipe in case this was the magical amount to balance everything together. Aside from it being way too sweet, the pan size was too small. I followed the recipe and my bars came out way thicker than what the photo on here shows. The peanut butter layer almost seemed twice as thick.
I just got done retesting this recipe and have made some adjustments based on your concerns. Thank you so much for giving me the feedback. I’m so sorry that you had issues.
Oh I cannot wait to try this. Looks amazing!
I hope you enjoy them.
So rich! Delicious. I’m going to need a glass of milk or a cup of coffee with this…maybe both!
Not a bad idea, Betsy.
Best bar ever! My two favorites in one dessert! ?
I’m glad you enjoyed it. Thanks for the 5 stars, Melissa.
OMGOODNESS THIS IS HORRIFINGLY… GOOOOOOD!! Don’t recommend to young children or they’ll become phat like me… lol ? Jk these aren’t too shabby… keep up the good work ladies “!”
OMG these are amaizing! My entire family loved them of course. My only complaint, and question, is that the bottom layer did not hold up when cutting them from the pan. I did as the recipe instructed but the oreo crumbs were really dry even with the 2 tbsp of melted butter. Does that mean more butter should be added or does it need to sit in the freezer longer then the 10 minutes?
I went through and made some adjustments after retesting so that should resolve any issues you might have had. Thanks so much for the feedback.