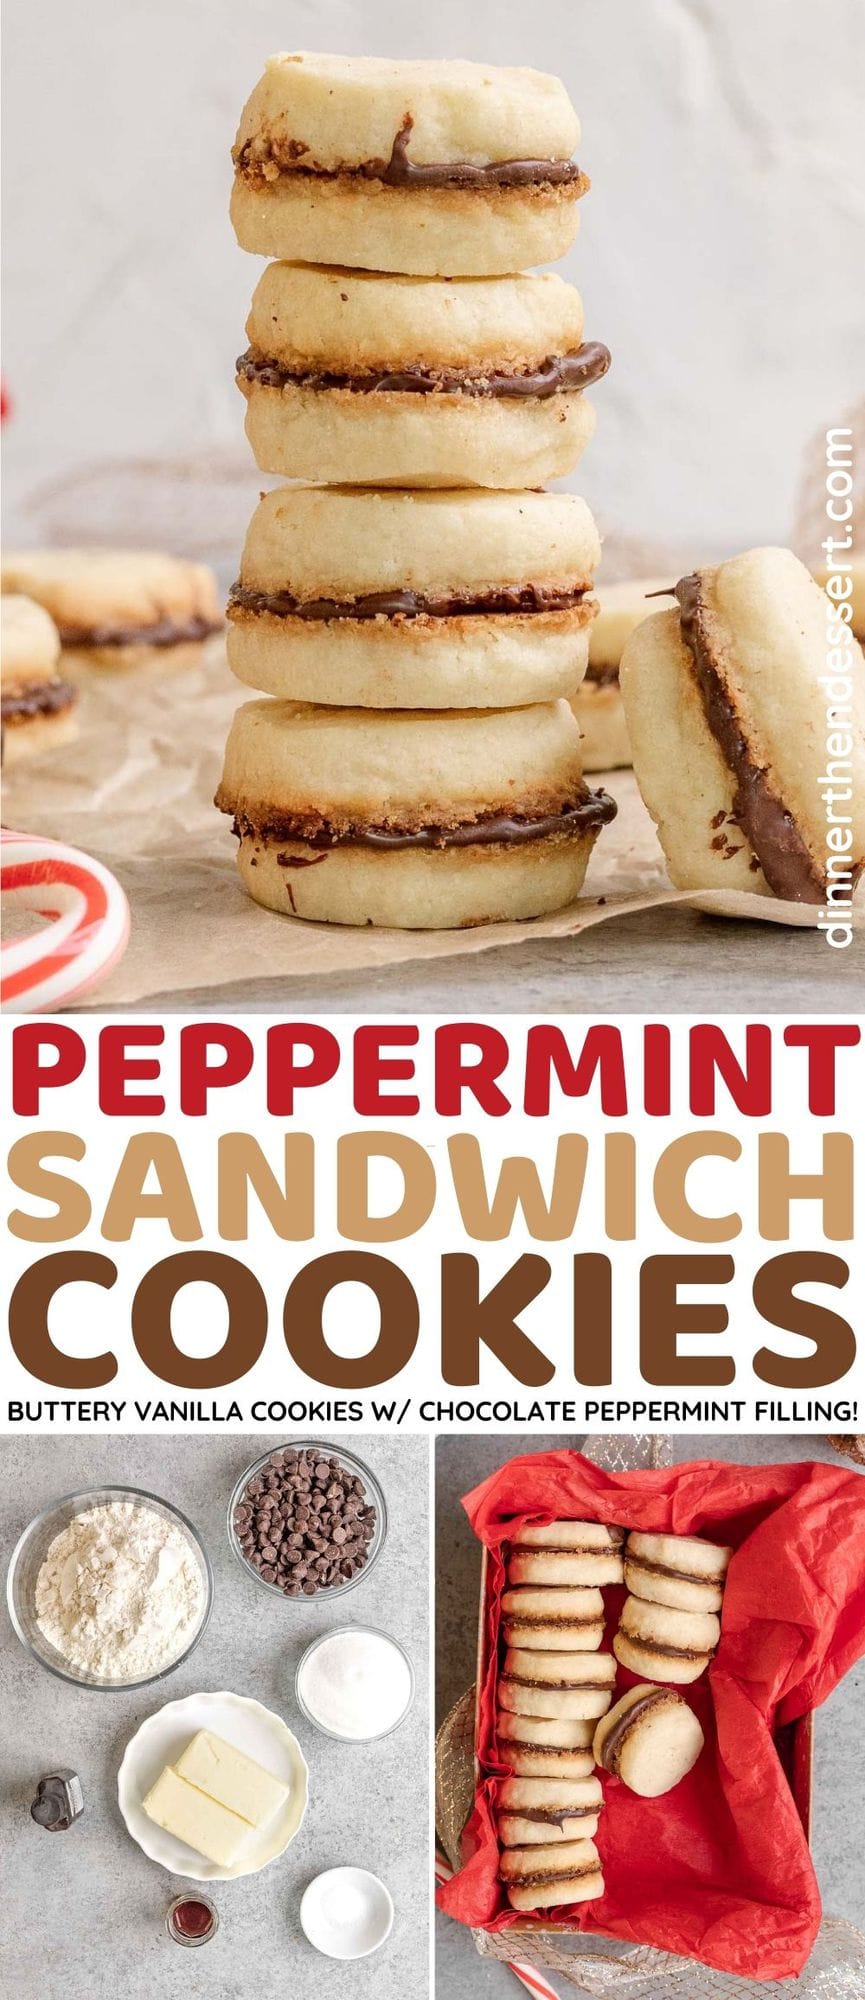
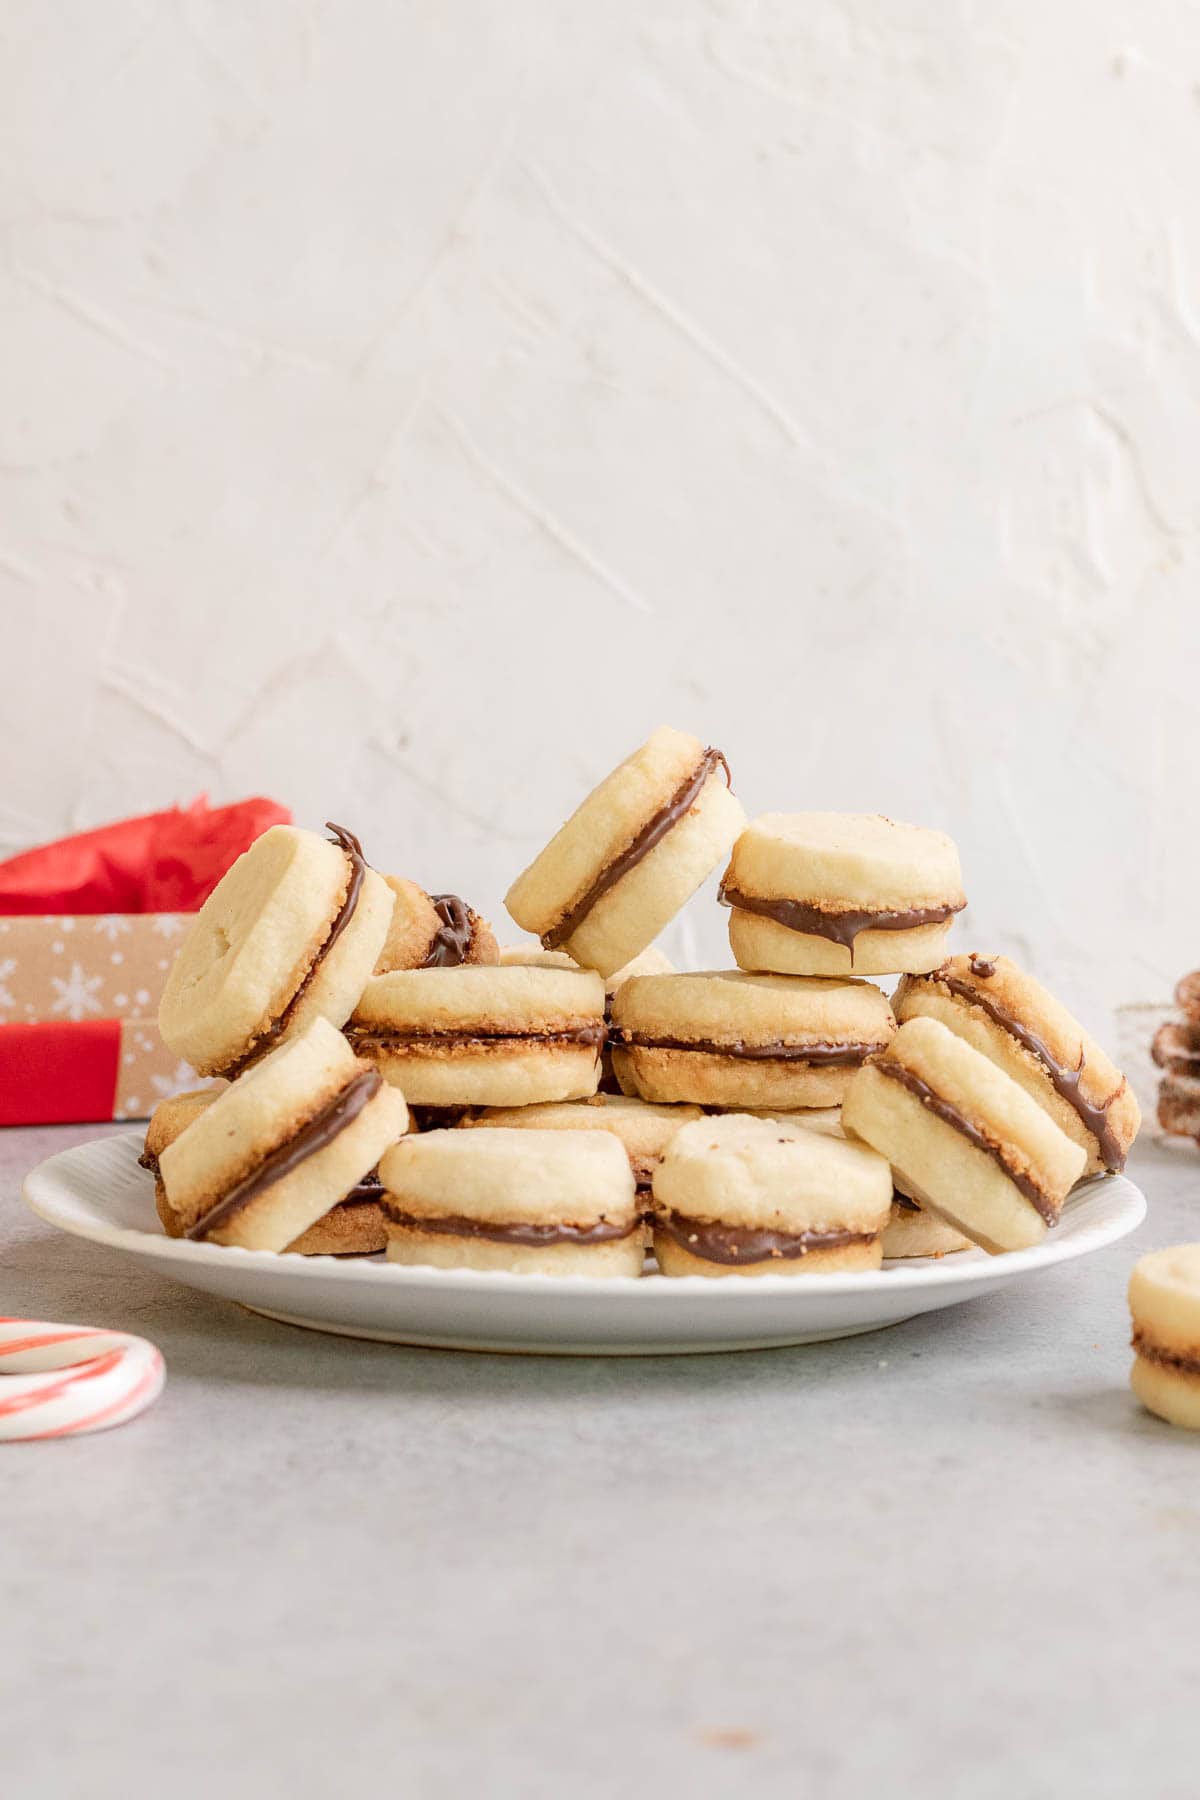
Peppermint Sandwich Cookies are the perfect holiday cookie. Crispy, buttery vanilla cookies with rich chocolate and peppermint filling.
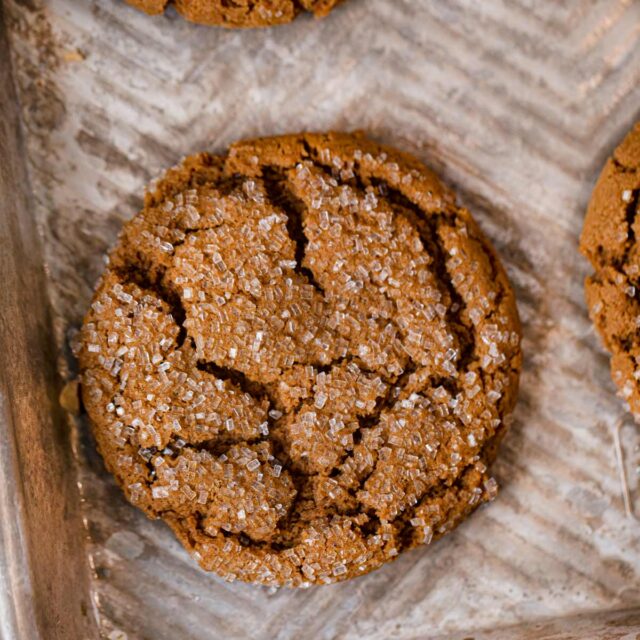
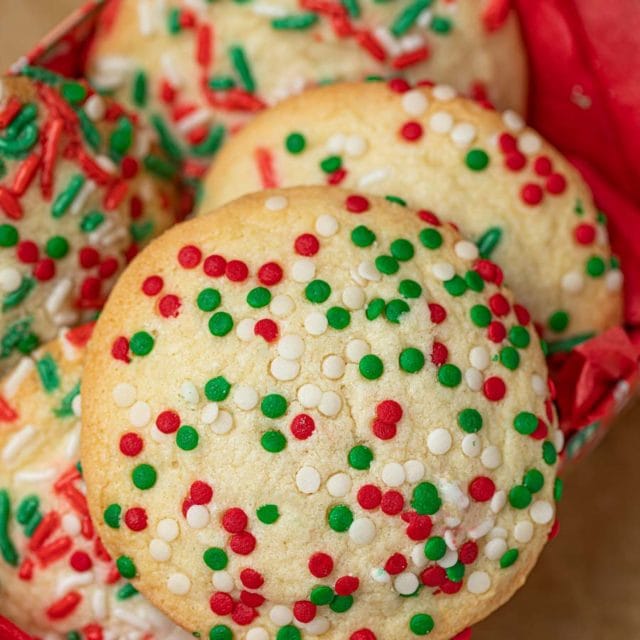
This festive Cookie Recipe is perfect for any holiday party or cookie exchange. For more classic holiday cookies try Classic Gingerbread Cookies, Chocolate Crinkle Cookies, and Sugar Cookies.
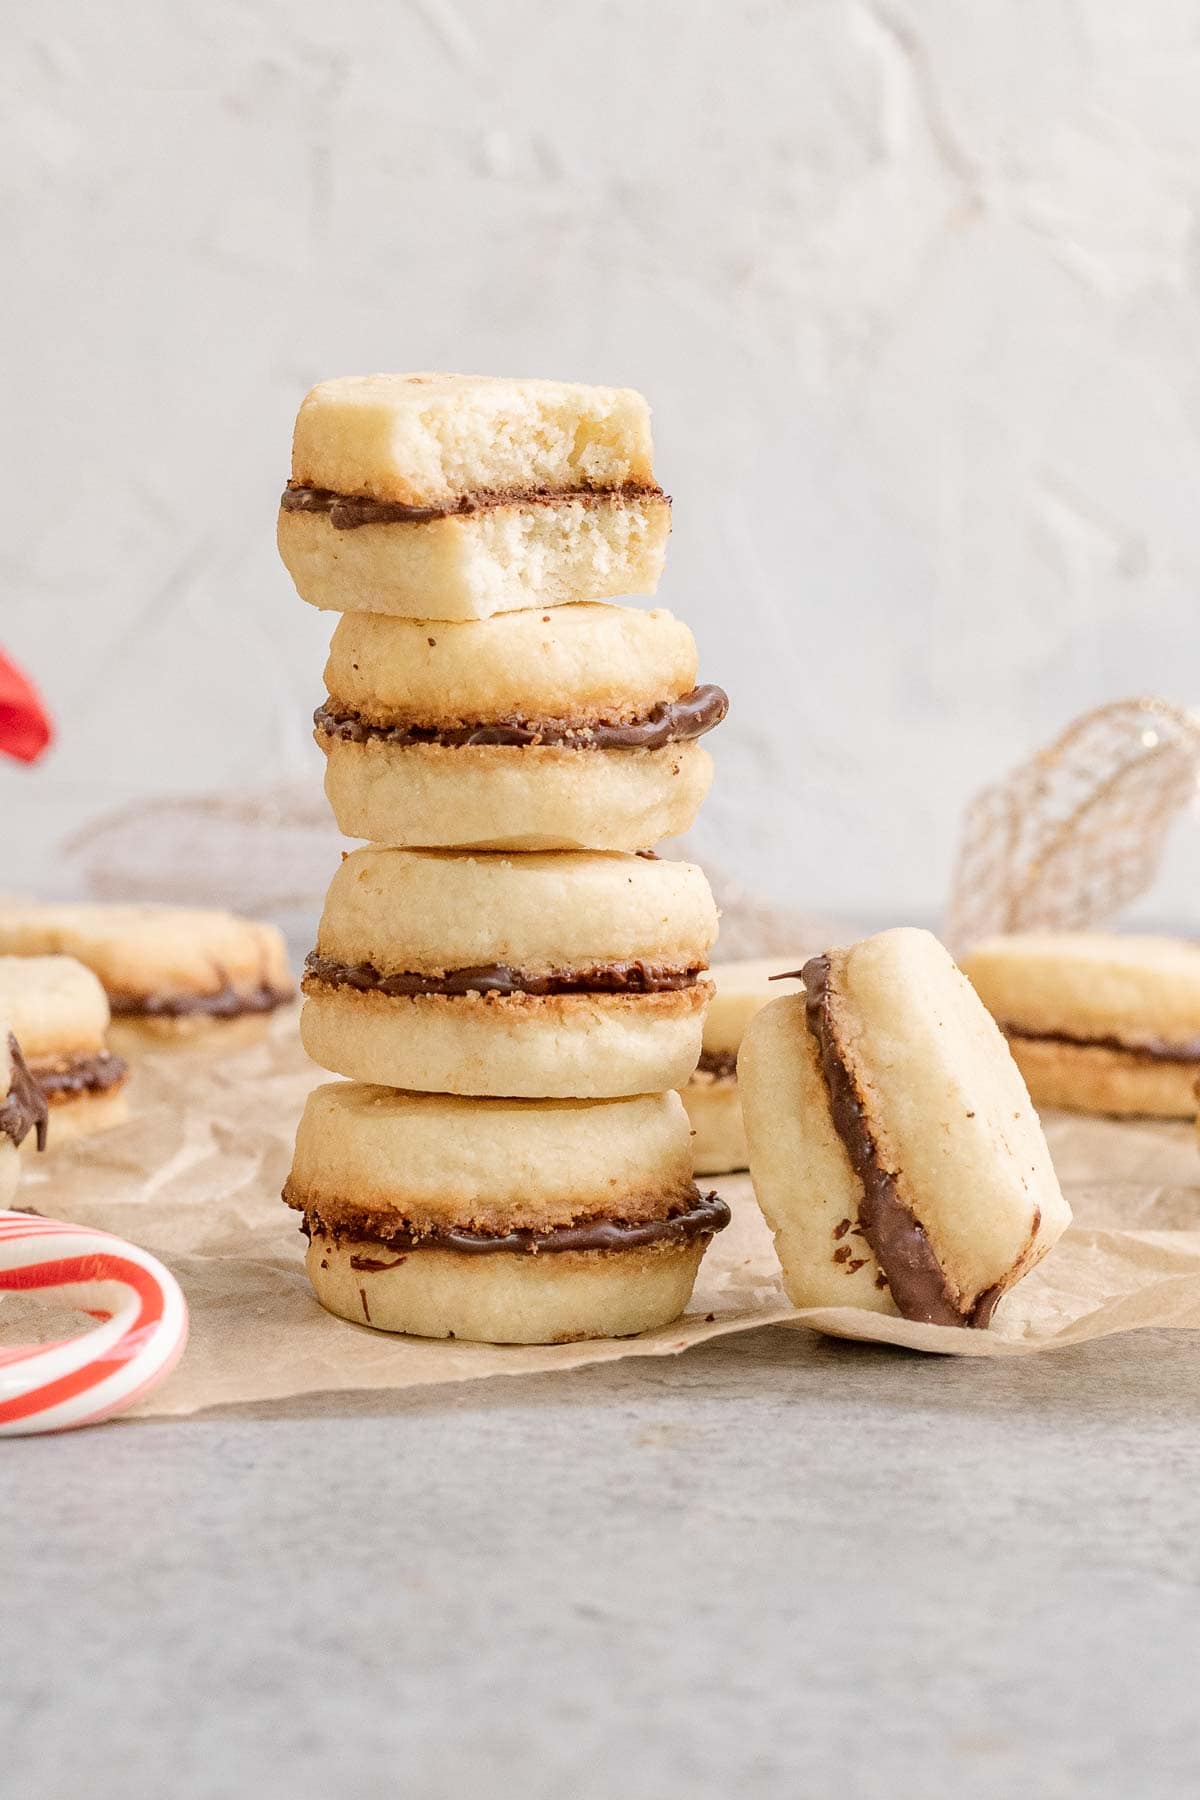
The combination of vanilla, chocolate, and peppermint flavors make these cookies wonderfully festive. The sandwich-style sets them apart from most cookies, making them look fancy but actually they are super easy! All you need is a little extra time to prepare and chill the dough, but it can be done up to 2 days ahead to make these cookies a snap!
Nothing will put you in the mood for Christmas like some happy holiday baking! These delicious cookies have a simple buttery outside with the perfect wintry peppermint filling that’s sure to make them holiday favorites. They’re the perfect treat to enjoy with a mug of Hot Chocolate on a cozy December day.
After you’ve combined them all into the cute sandwiches, one batch of cookies makes 24 finished cookies. They’re perfect for the holidays when you might have more people than usual to feed because there’s plenty to share.
This chocolate-peppermint sandwich cookies recipe is perfect for any occasion! Serve them up for a party, enjoy them on Christmas with your family, or leave them out on a plate for Santa.
These cookies also make easy gifts. You can pack them up in cookie tins or other cute containers to give to friends, family, neighbors, or teachers. It’s always wonderful to have homemade gifts. These cookies are especially great because they’re a little unique but still have traditional holiday flavors that everyone loves.
Wrap up a few of these festive peppermint cookies to personalize a gourmet holiday gift along with a bag of fresh coffee beans and a mug. Or bake up some other holiday favorites like Turtle Cookies, Spritz Cookies, and Christmas Saltine Toffee Cookies for an impressive holiday gift box.
How to Make Peppermint Sandwich Cookies
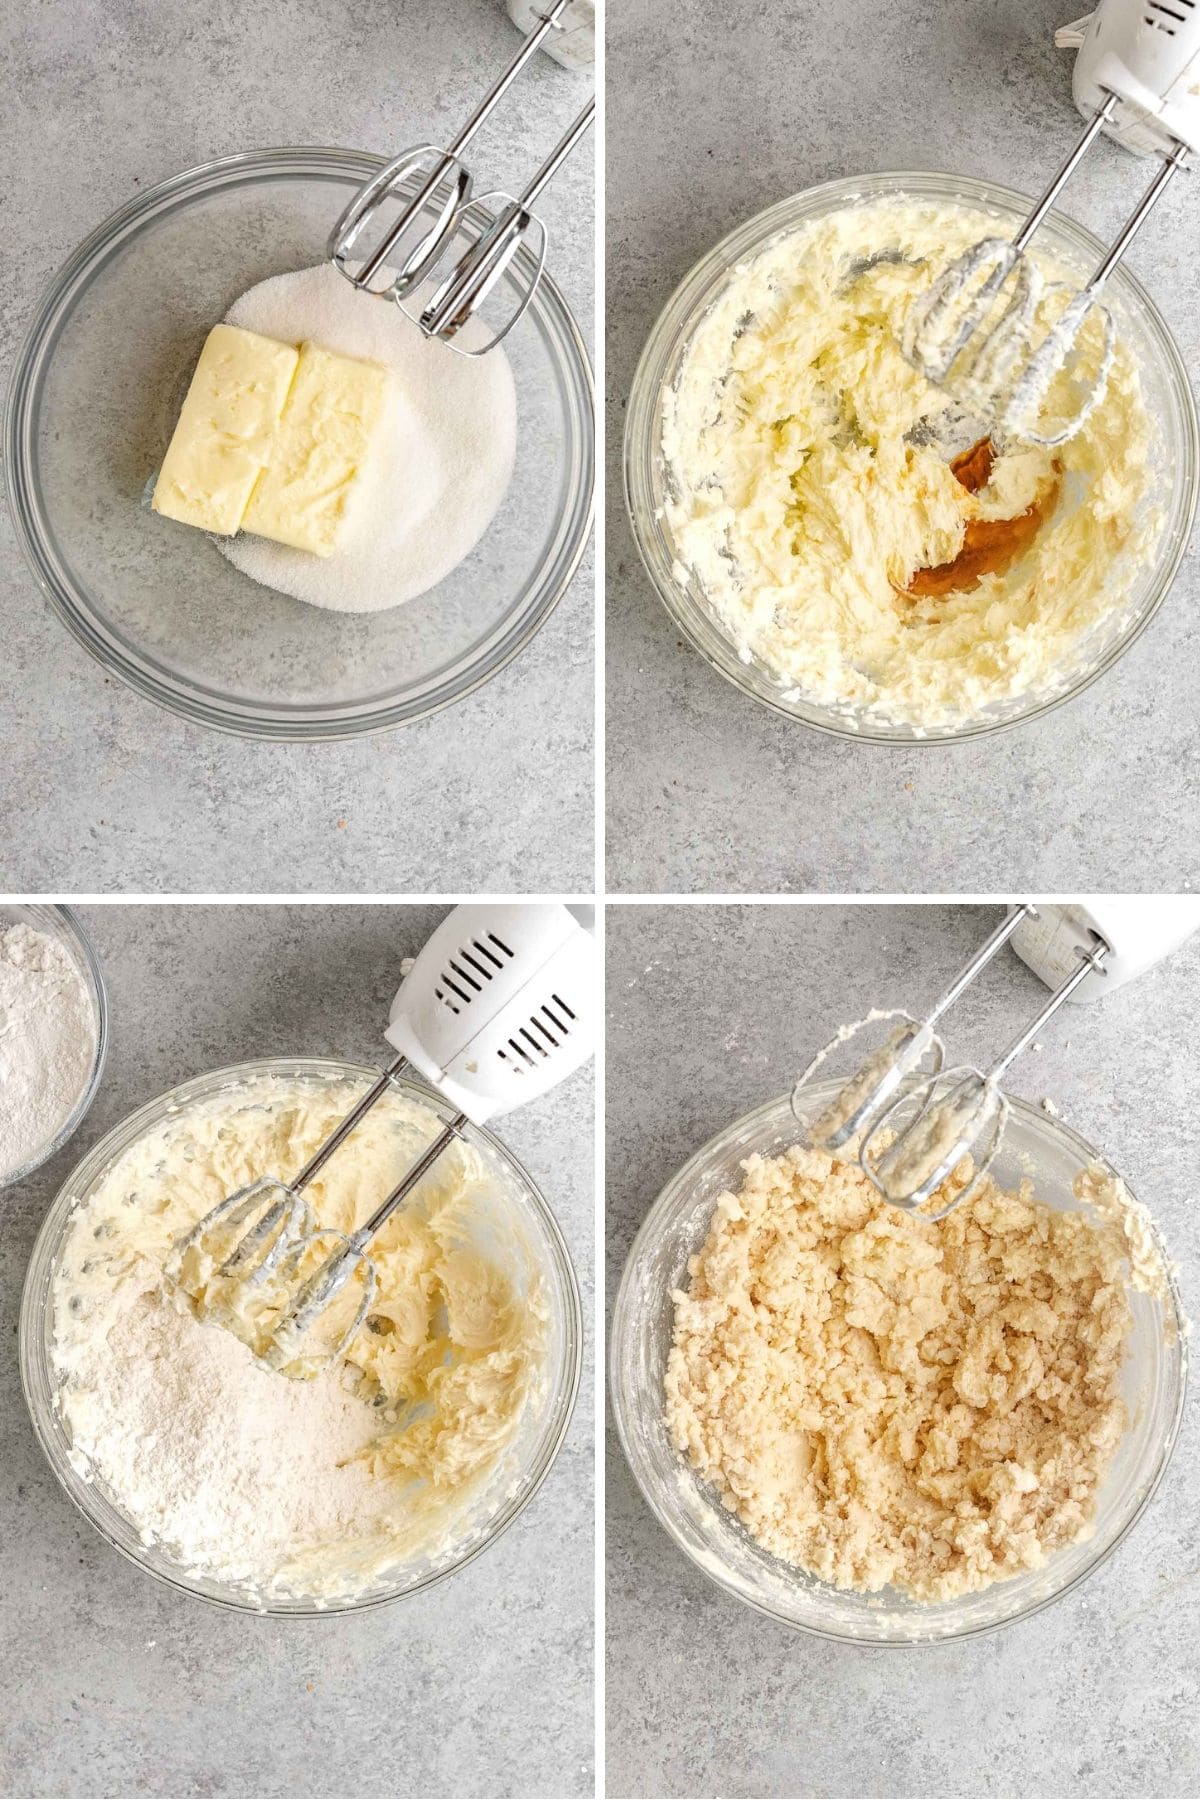
- Dough: In a medium bowl cream together the softened unsalted butter and the sugar. Continue mixing until light and fluffy, then add in the vanilla extract. Combine the flour and salt in a separate bowl. Slowly add the dry ingredients to the butter mixture. Once it’s combined, divide the dough into two even portions.
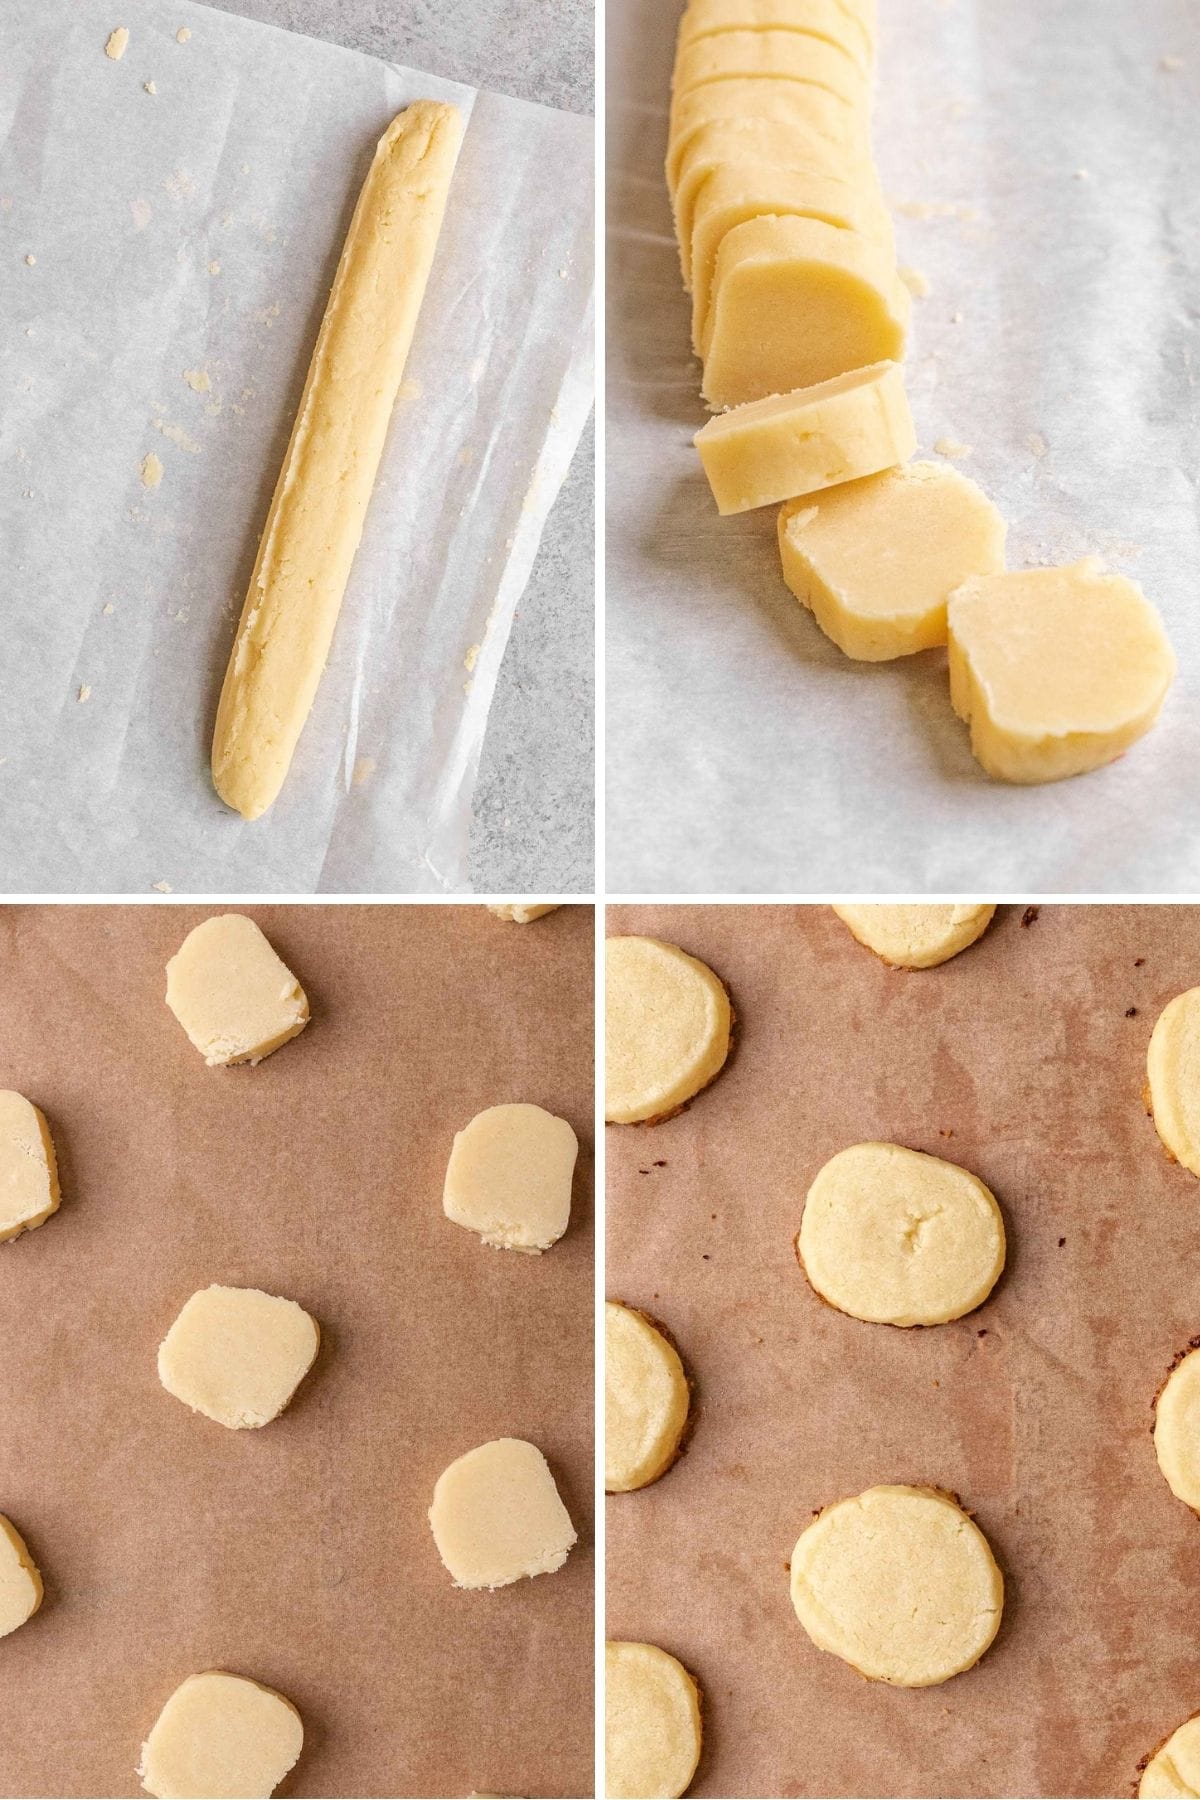
- Shape: Line two cookie sheets with wax paper. Shape each portion of dough into a log-shape about the length of the cookie sheet. Place each one on the prepared baking sheets. Gently roll the dough into the wax paper. Mold them into a more smooth shape. Wrap them in plastic wrap so that the wax paper stays on and put the dough in the fridge for 1 hour.
Baking Time: Near the end of the refrigeration time, preheat the oven to 350 degrees and line cookie sheets with parchment paper. Take the dough out of the fridge and unwrap it. Use a knife to cut dough into ½ inch wafers. Place each one 2 inches apart on a parchment paper-lined baking sheet. Bake for 13-15 minutes. Take the cookies out when the edges start to turn golden brown. Transfer the wafers to wire racks to cool completely.
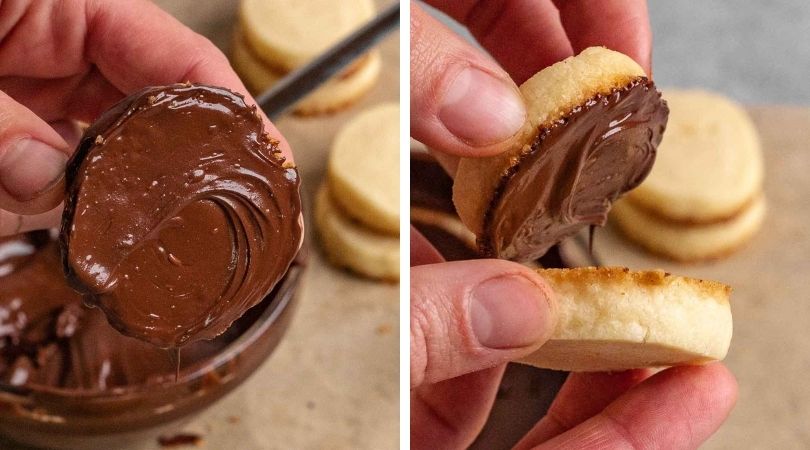
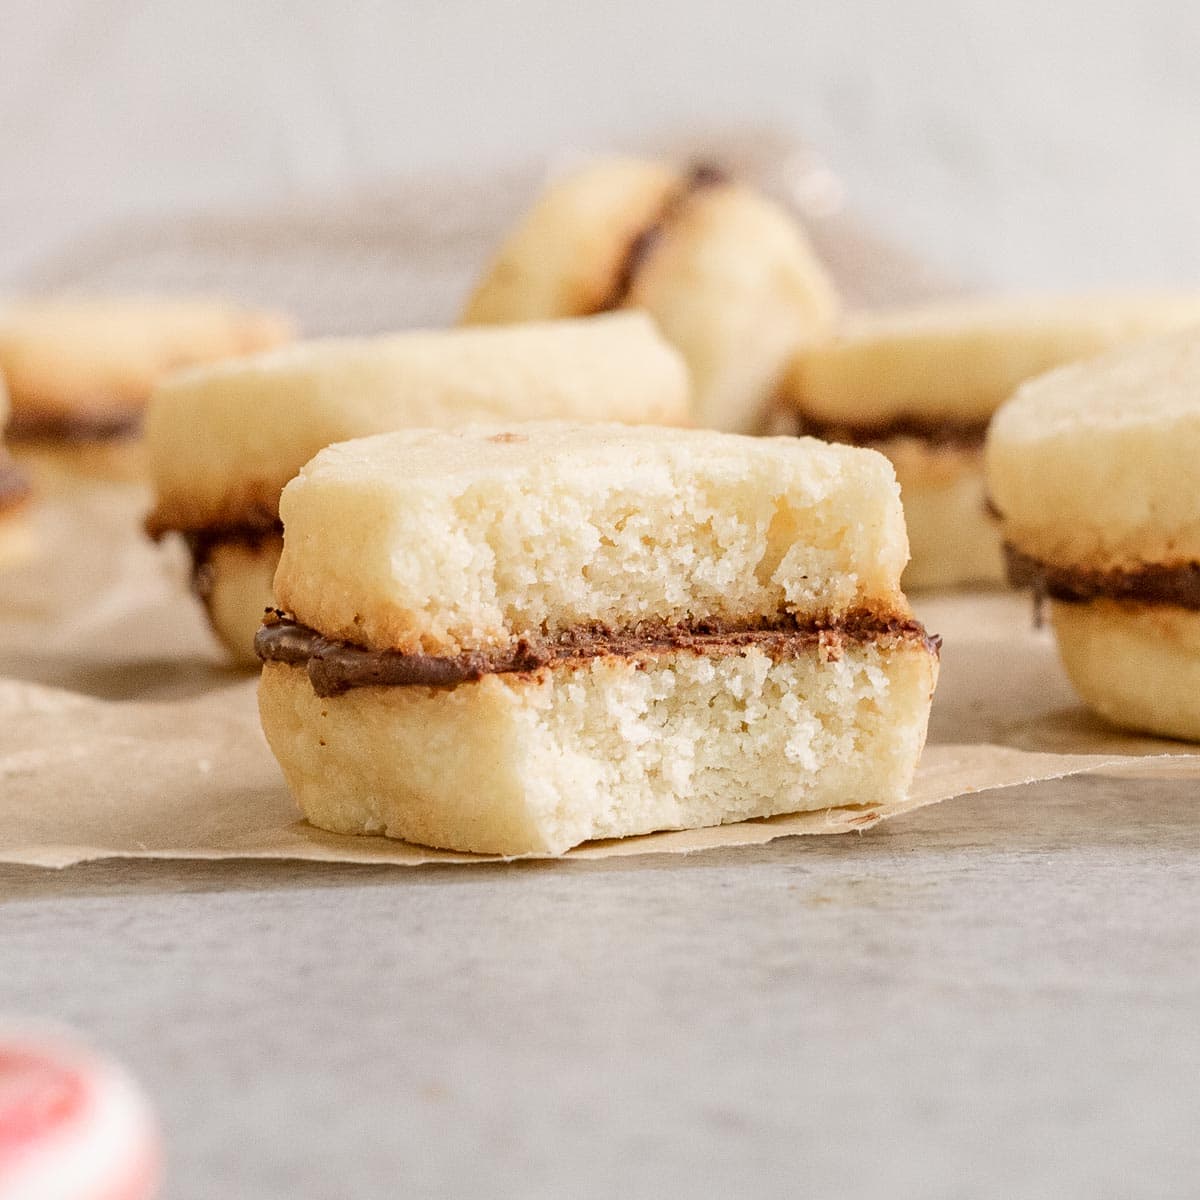
Chocolate Mixture: Heat chocolate chips in the microwave in 30-second increments until melted and smooth. Stir in peppermint extract. Once the cookies are cold spread chocolate over half of them then use the other half as the top. Let the chocolate center set before serving.
More Holiday Cookie Recipes
Frequently Asked Questions
Shortbread style cookies should not be allowed to brown too much. When the edges of the bottoms begin to look golden brown, and the tops look dry, they are ready to be pulled out of the oven. After cooling for a minute or two, transfer to a wire rack to finish cooling and keep them from overcooking on the hot pan.
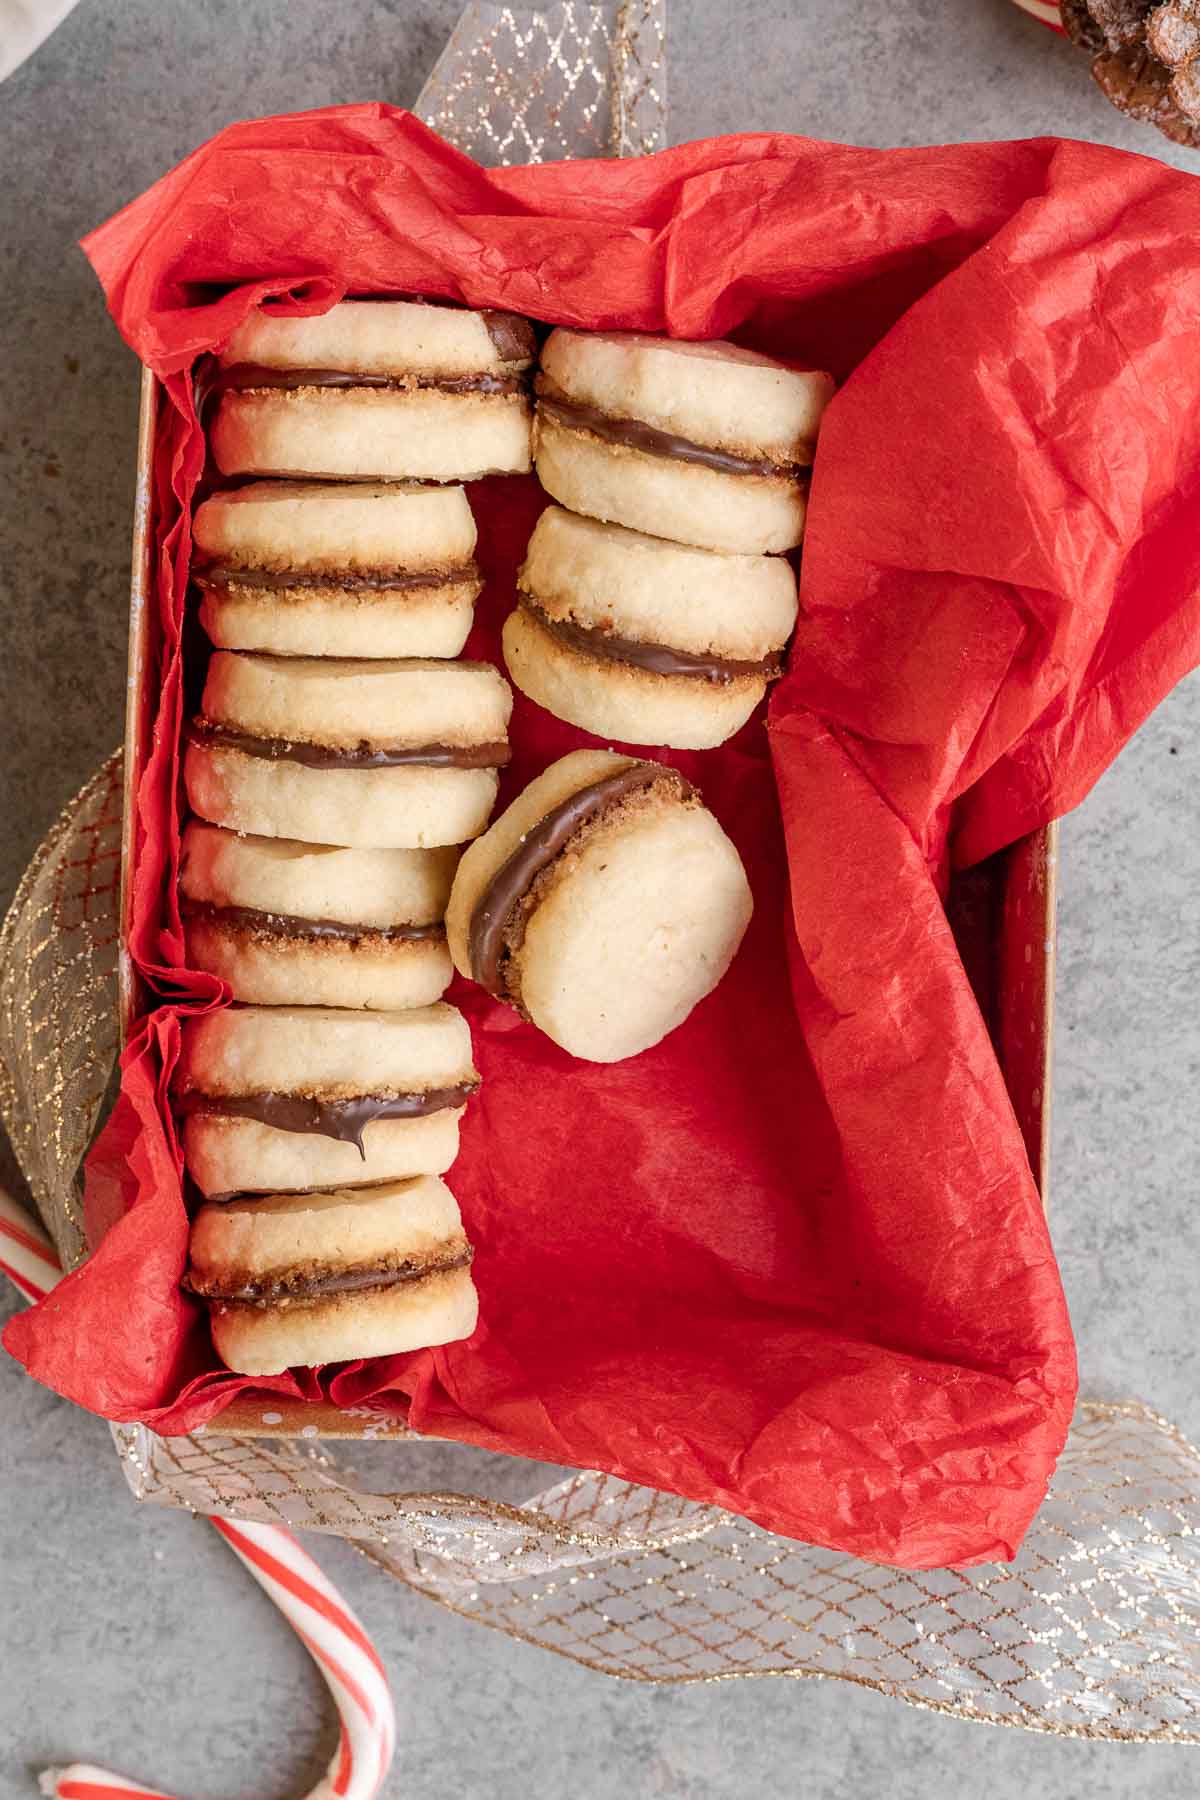
When giving cookies as a gift, you want to bake them as fresh as possible before wrapping and gifting (see the tips below on preparing the dough in advance). Make sure they are cooled completely, and package them in tissue paper to keep them from cracking. If your gift box or tin is not air tight, wrap the entire box in a clear plastic bag and tie with a decorative ribbon. Then your gift wrap also serves to help keep the cookies fresh!
If any water gets into the chocolate, or if any portion of it overheats in the microwave, then your melted chocolate will seize up and become clumpy. It is important to microwave in 30 second increments and stir every time, even for the first few increments when the chocolate chips haven’t started melting yet. This helps the heat distribute evenly. If your chocolate becomes clumpy, try smoothing it by whisking in a little melted coconut oil. If this doesn’t work, you will need to throw it out and start over.
Create a free account to Save Recipes

Key Ingredients in Peppermint Sandwich Cookies
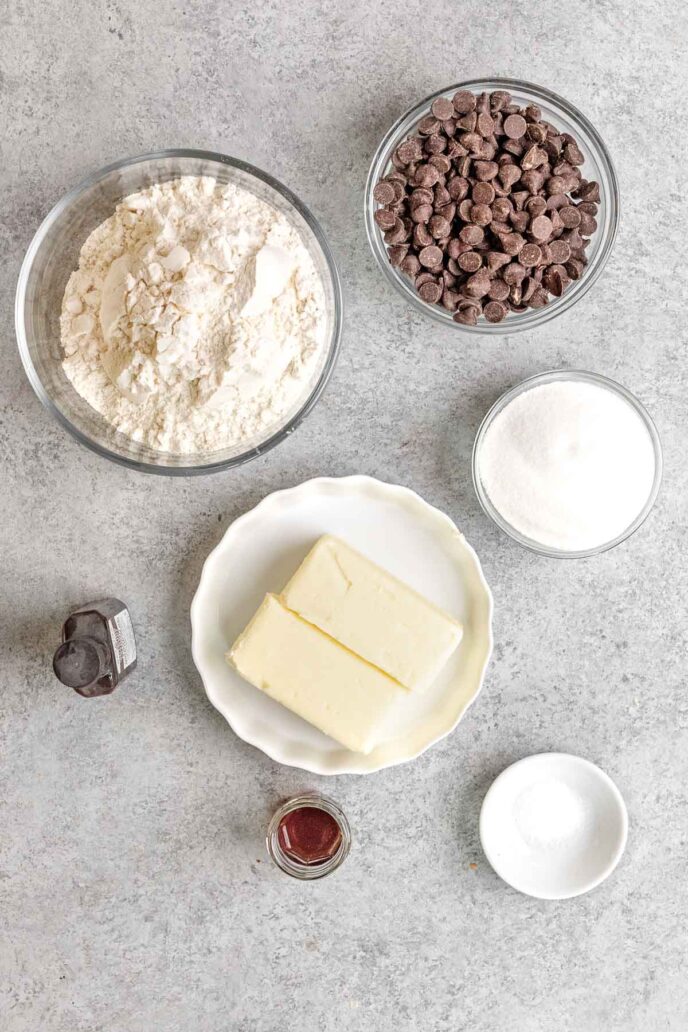
- Cookies: Simple pantry ingredients come together to make a delicious buttery cookie similar to shortbread. Flour, salt, butter, sugar, and vanilla are combined, rolled, and sliced, and chilled to make perfectly uniform cookie rounds for your peppermint chocolate sandwich cookies.
- Chocolate: Chocolate and peppermint make a delicious flavor combination. The semi-sweet chocolate chips adds just enough bitterness to balance the buttery sweet vanilla cookies.
- Peppermint:Make sure you buy peppermint extract, not peppermint oil, which is much stronger. Peppermint extract contains peppermint oil combined with alcohol, and is an easy way to add delicious peppermint flavor to your holiday treats.
Can Peppermint Sandwich Cookies be Made Ahead?
A little secret of many holiday bakers is utilizing the freezer! You can store cookie dough in the refrigerator for up to 2 days, and in the freezer up to 1 month. Make several doughs ahead of time so you can bake off an assortment of cookies all at once without the extra work of mixing. You can even freeze the baked cookies in an airtight container. Just defrost at room temperature and assemble with the melted chocolate before serving. This is a great trick to reduce holiday stress by preparing some of your gifts and holiday treats weeks in advance.
Variations on Peppermint Sandwich Cookies
- Chocolate Sandwich Cookies: If you’d prefer homemade chocolate cookies for the outside wafers, you can add some unsweetened cocoa powder. Reduce the amount of flour in the recipe to 1 ½ cup so that there are not too much of the dry ingredients. Then add in ¼ cup of cocoa powder for rich chocolatey cookies.
- Candy Canes: For an extra festive look, add red-and-white-striped candy canes to the cookie filling. Put your candy canes in a Ziploc bag and use a rolling pin or another heavy tool to break them into small candy cane pieces. Sprinkle them over the chocolate layer before adding the top cookie.
- Colored Cookies: Another way to make the recipe look more festive is to add food coloring to the vanilla dough for bright, cheery, Christmas cookies. You can divide the dough in half and add green food coloring to one half and red food coloring to the other. Then use both colors for half of each cookie.
- Decorations: For some simple decorations you could sprinkle sanding sugar, powdered sugar, or holiday sprinkles over the cookies when they’re still warm. Make sure to add any toppings before the cookies cool so that they stick.
- Chocolate Chips: Use different flavor chocolate chips like dark chocolate, white chocolate, or milk chocolate to change up the flavors in your Peppermint Sandwich Cookies.
- Orange Chocolate Cookies: Another classic holiday flavor combination is orange and chocolate. Instead of peppermint extract, use orange extract. You can also add orange zest to the dry ingredients of the cookie dough for more orange flavor that also looks pretty.
More Sandwich Cookie Recipes
How to Store Peppermint Sandwich Cookies
- Serve: After baking, let the cookies cool down before filling, then let the filling set for before serving. You can store them in an airtight container at room temperature for up to 1 week.
- Store: Keep your sandwich cookies fresh longer by storing them in the refrigerator in plastic bag for 2-3 weeks.
- Freeze: For longer storage, put them in a freezer bag or another airtight container and freeze them for up to 3 months.


Ingredients
- 1 cup butter , softened
- 1/2 cup sugar
- 2 teaspoons vanilla extract
- 1-3/4 cups all-purpose flour
- 1/4 teaspoon salt
- 1 cup semisweet chocolate chips
- 1/4 teaspoon peppermint extract
Instructions
- Cream butter and sugar until light and fluffy.
- Beat in vanilla.
- In another bowl, whisk flour and salt; then gradually beat into the creamed mixture.
- Divide dough in half.
- Roughly shape each portion into a 12-in. roll along the edge of a 12×12-inch sheet of waxed paper.
- Tightly roll the waxed paper over the dough, using the paper to mold the dough into a smooth roll.
- Securely wrap waxed paper-covered roll in plastic; refrigerate until firm, about 1 hour.
- Preheat oven to 350 degrees.
- Unwrap and cut dough crosswise into 1/2-inch slices.
- Place 2 inches apart on parchment paper-lined baking sheets.
- Bake until the edges begin to brown, 13-15 minutes.
- Remove from pans to wire racks to cool completely.
- In a microwave, melt chocolate chips; stir until smooth.
- Stir in peppermint extract.
- Spread on the bottoms of half of the cookies; cover with remaining cookies.
- Let stand until set.
Nutrition
