
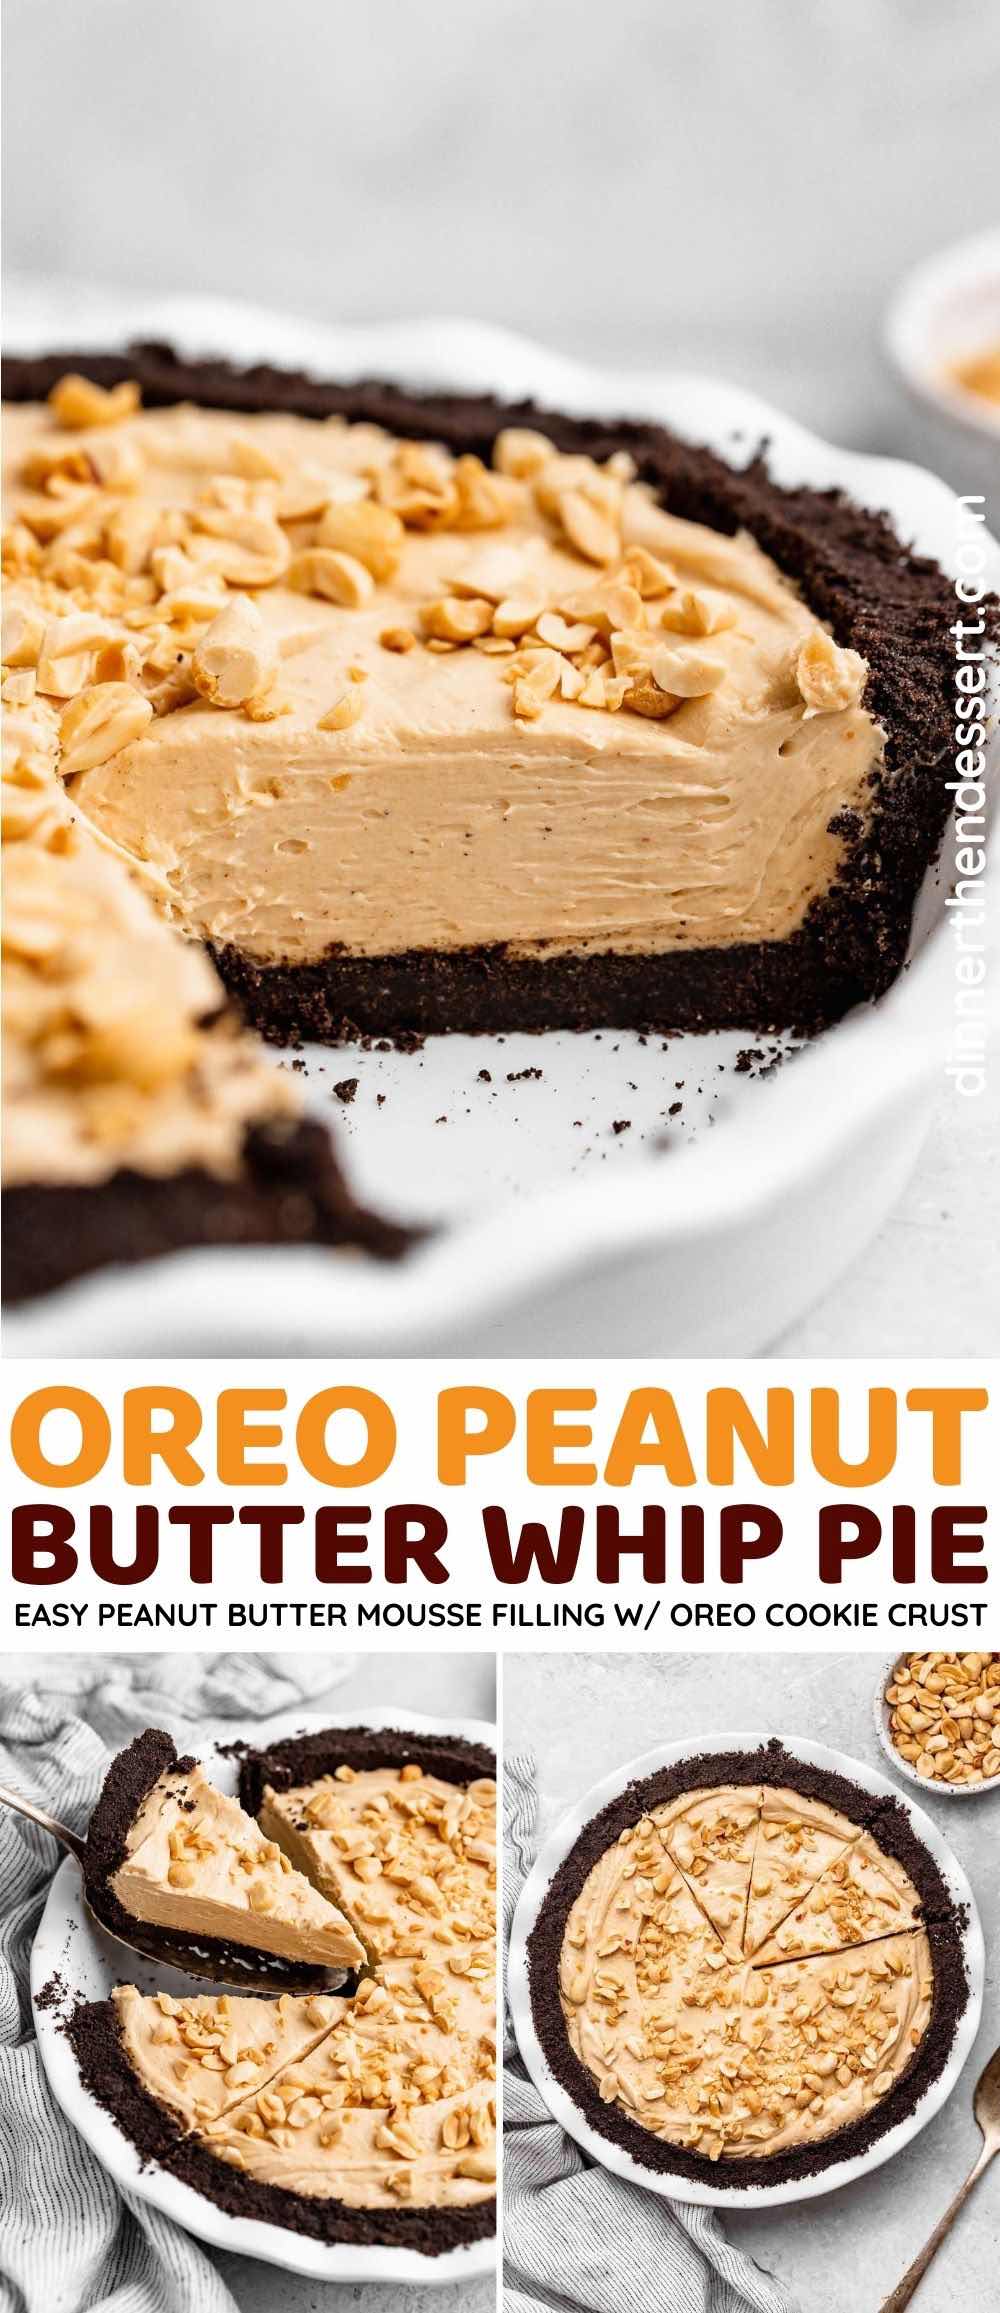
Oreo Peanut Butter Whip Pie has an easy no-bake mousse filling. The perfect fluffy pie to serve your guests! Try it today!
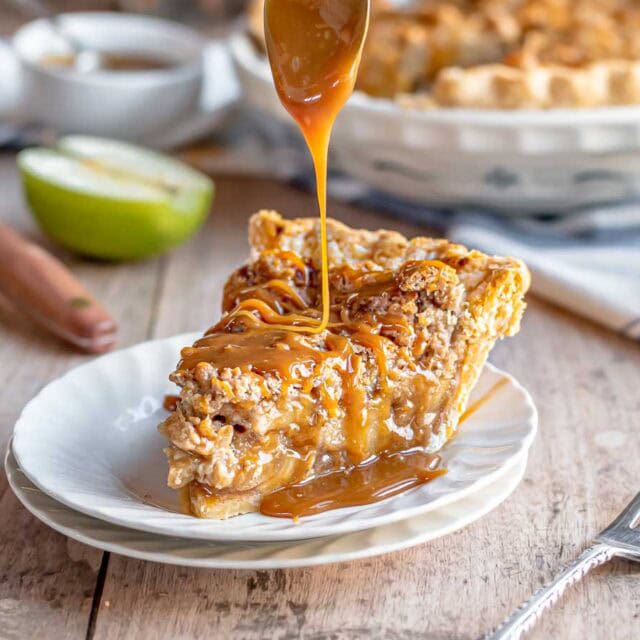
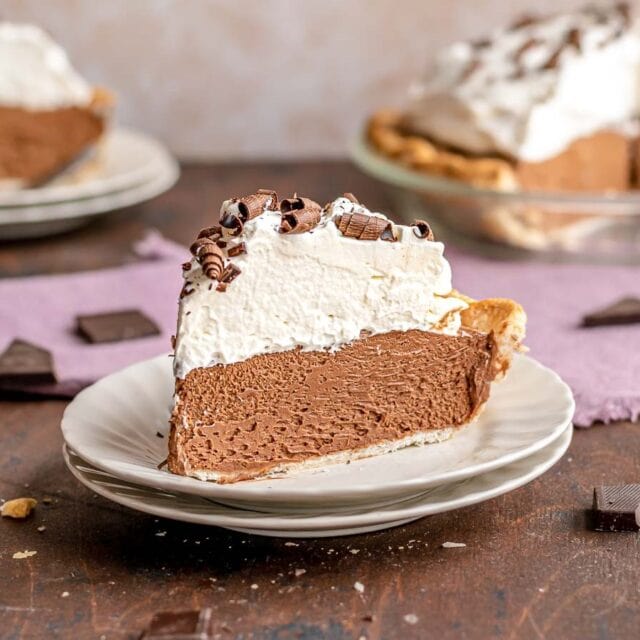
If you’ve ever made a tasty Chocolate Cream Pie or Peanut Butter Pie (with Nutter Butter crust!), you know that there are few things better than a fluffy, whipped pie filling! It is the perfect Pie for people who don’t like pie!
Sabrina’s Oreo Peanut Butter Whip Pie Recipe
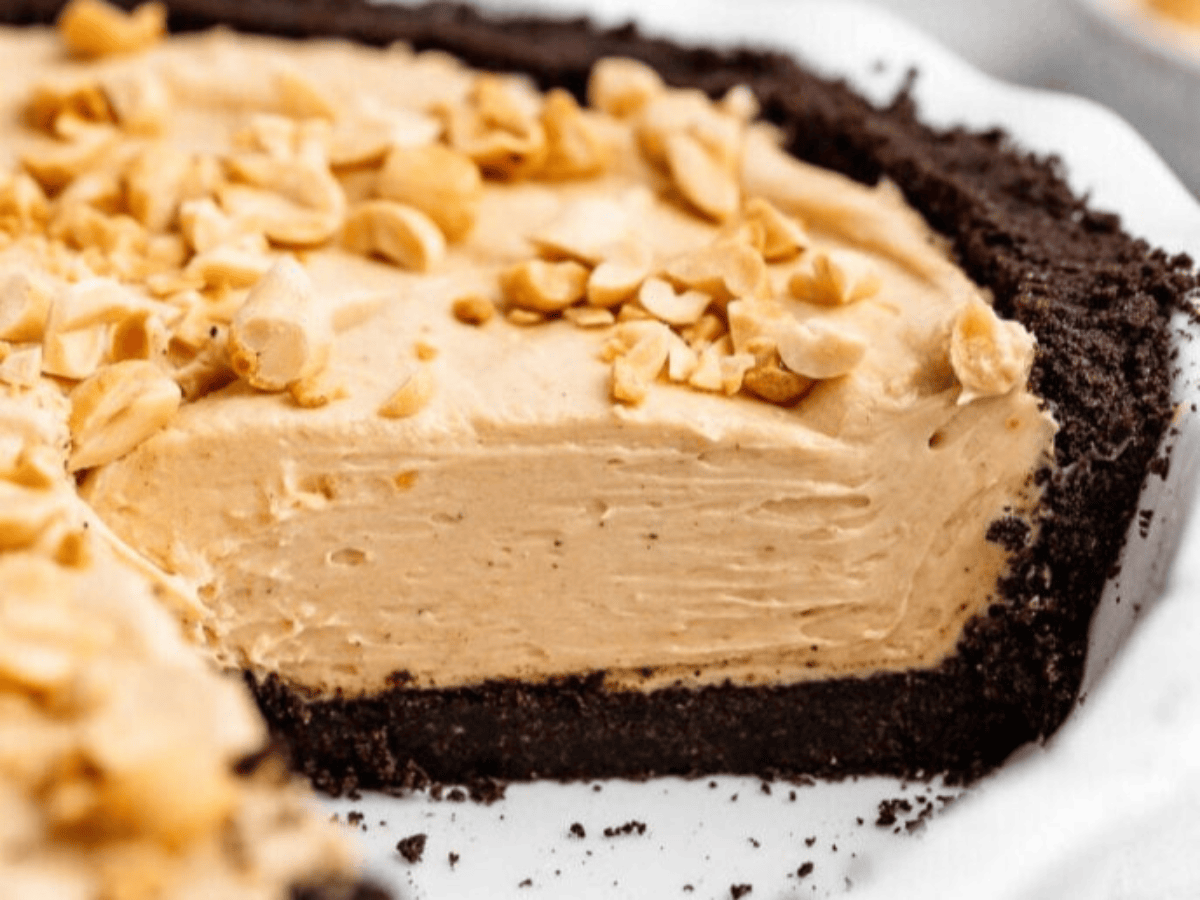
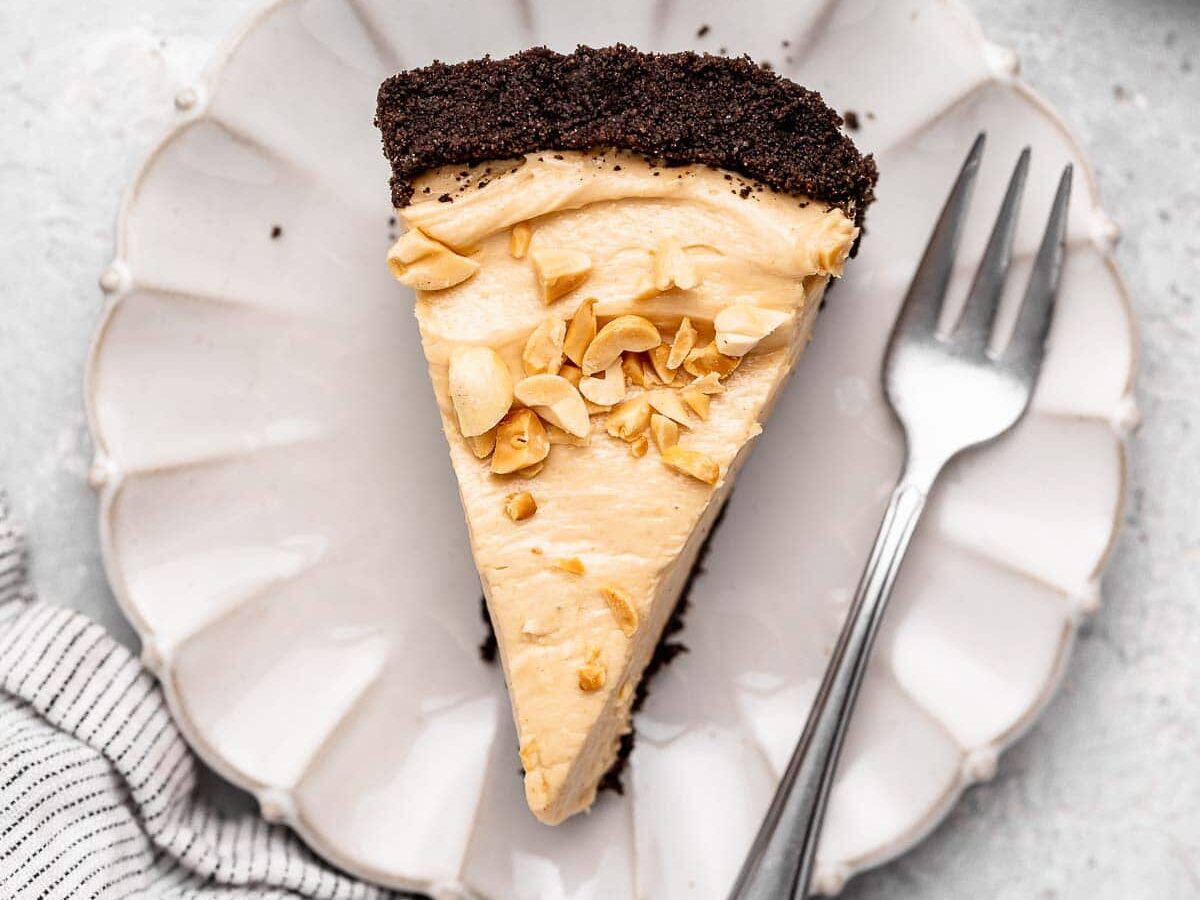
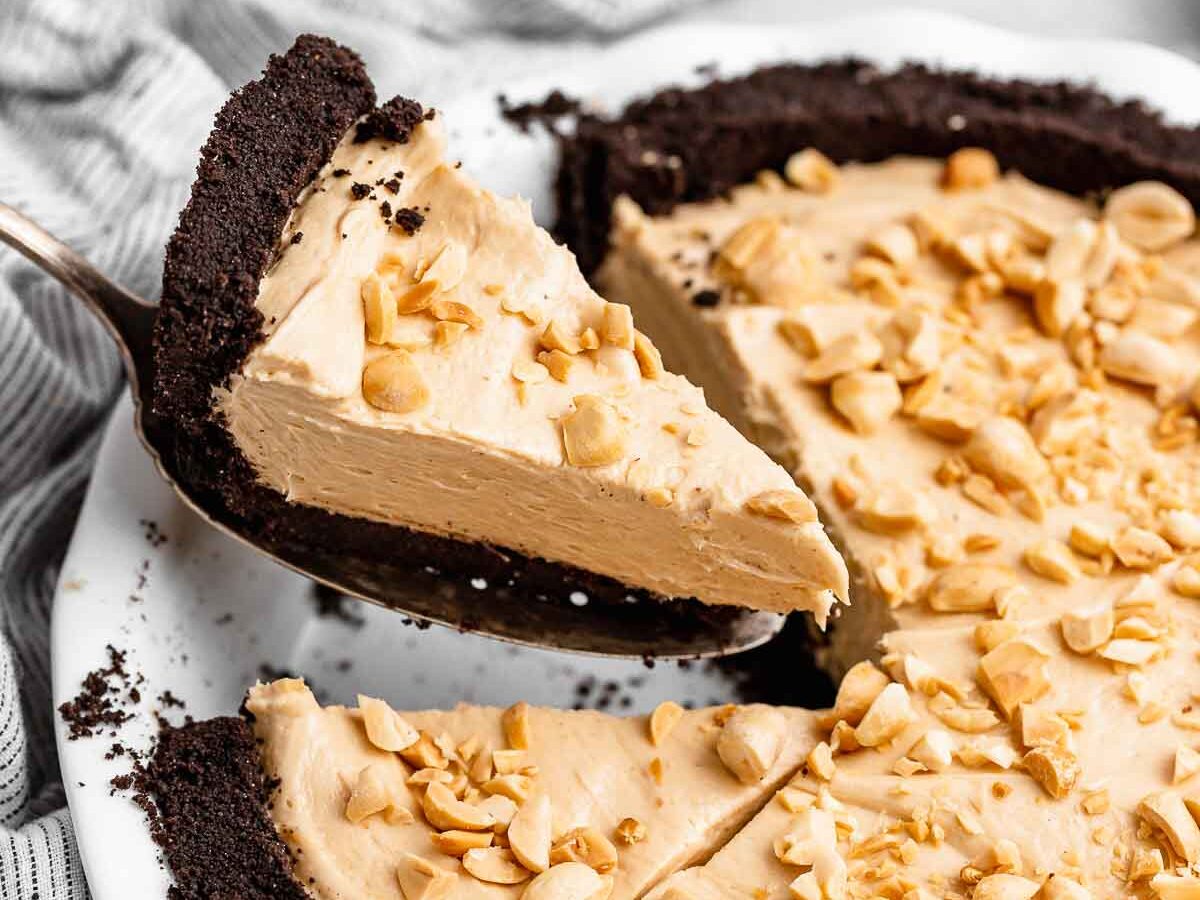
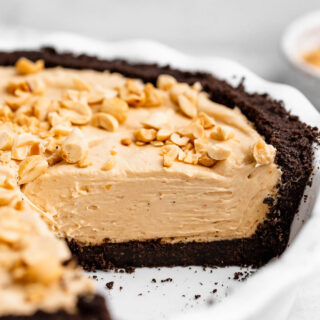
This light and fluffy peanut butter mousse pie is beyond easy! All you need is a jar of creamy peanut butter, a tub of Cool Whip, a bag of Oreos, powdered sugar, butter, and cream cheese. Maybe a handful of crushed peanuts for a crunchy topping. That’s it! Yes, most of these are pre-made ingredients, but this sweet treat is worth the almost homemade method!
Recipe Card
Ingredients
- 26 Oreos , one standard package
- 4 tablespoons unsalted butter , melted
- 8 ounces cream cheese , softened
- 1 1/4 cups powdered sugar
- 1 cup peanut butter , creamy
- 8 ounces Cool Whip , (about 2 cups)
- 1/4 cup peanuts , chopped
Instructions
- Preheat oven to 350 degrees.
- Add Oreos to a food processor and process until crumbs.
- Add in butter and process until combined evenly.
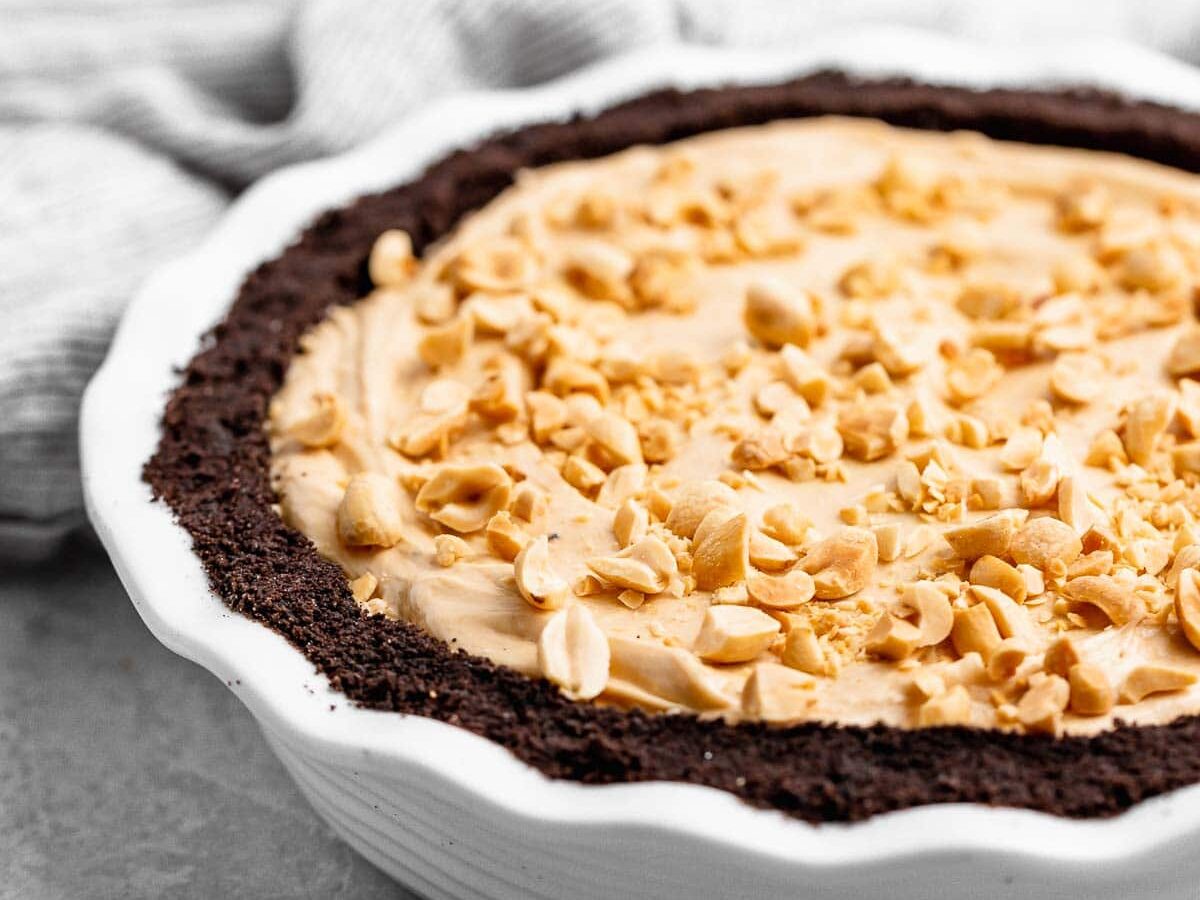
- Press mixture into the bottom of a pie plate.
- Bake for 7 minutes, turn off oven and let cool completely.
- To your stand mixer add the cream cheese and powdered sugar on low speed at first then moving to medium speed until well combined.
- Add in the peanut butter until smooth then finally add in the cool whip.
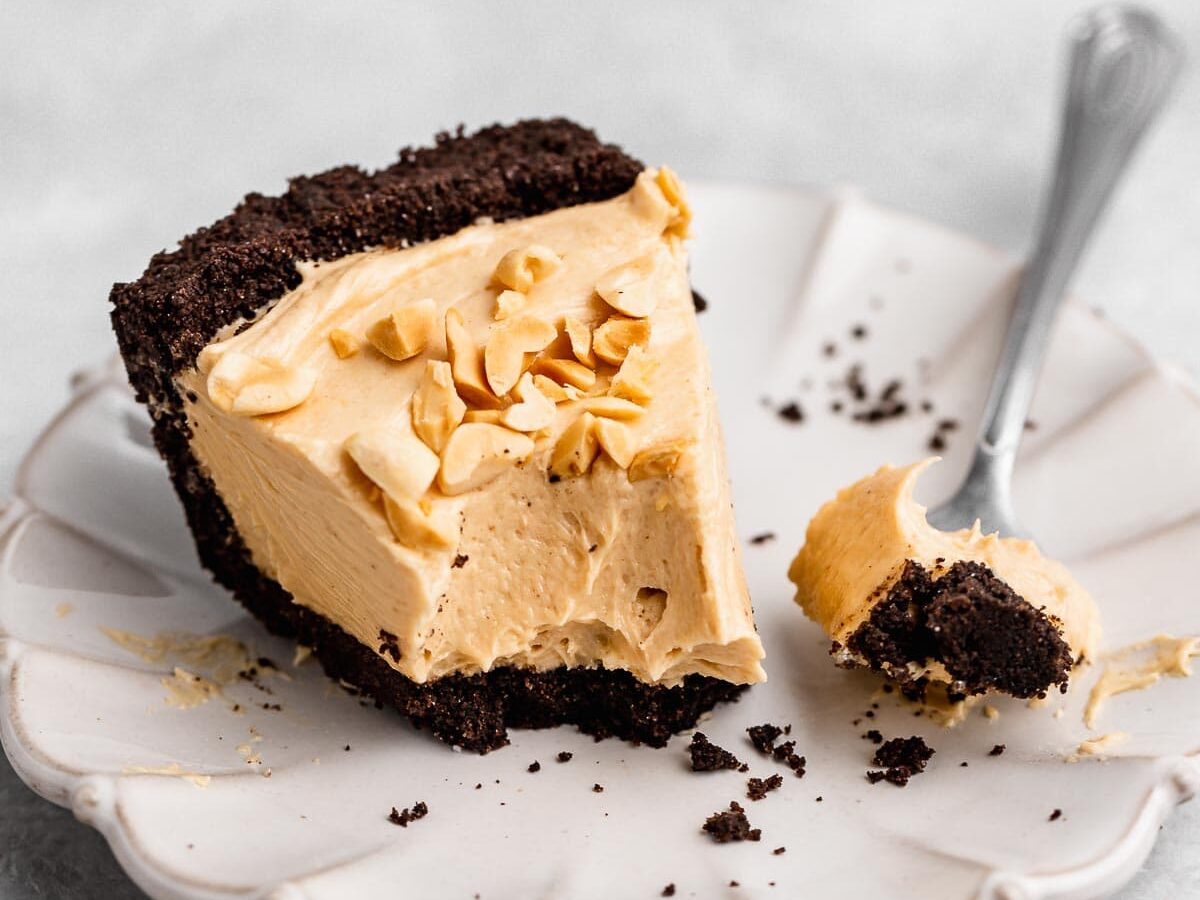
- Pour the mixture into the cooled pie plate, top with crushed peanuts and refrigerate for 2 hours before serving.
Nutrition
Want to save this recipe? Create a free account to easily save your favorite recipes
Table of contents
About this Recipe
If you absolutely aren’t a fan of store bought whipped topping you can easily make Homemade Cool Whip that is shelf stable and freezable. Make a big batch to use in this recipe and freeze the extra for your holiday baking. One of the best holiday baking hacks to have on hand! For the peanut butter, you want to use the plain cheap version with oils that don’t separate. It’s best to use creamy peanut butter for this Oreo Peanut Butter Whip Pie because it mixes better. If you want crunchy bits, gently fold in about ½ cup chopped peanuts after the cool whip is mixed.
Recipe Tips & Tricks
The best part of this pie, besides the peanut buttery chocolate flavor, is the light and fluffy filling. To keep it fluffy, be sure not to over-mix it in your stand mixer so the air doesn’t deflate or get whipped out. Bring all your ingredients to room temperature, especially the peanut butter and cream cheese, so you only have to mix for a few seconds to combine everything. If you are using hand beaters, use the whisk attachment to create more air than regular beater attachments.
What to Pair With
Serve your pie with Whipped Cream and a drizzle of Chocolate Ganache and Salted Caramel Sauce. If you are making your whipped pie ahead of time, use a Stabilized Whipped Cream that won’t melt before you serve it. Use mini chocolate chips or chopped Peanut Butter Cups along with the crushed peanuts as a tasty, chocolate peanut butter combo.
How to Store
- Serve: Mousse pies like this are best served chilled or frozen. For parties, cover and place pie tin in a larger dish with ice water, up to rim of pie tin. Keep out up to 2 hours or 1 hour if the weather is hot.
- Store: Cover pie dish tightly with plastic wrap or a lid and store pie in the refrigerator for up to 4 days.
- Freeze: Wrap pie with plastic wrap and aluminum foil tightly. Freeze whipped pie up to 2 months and thaw overnight in the refrigerator to serve or serve from frozen.
Variations
- Peanut Butter: Swap any creamy nut butter for peanut butter like almond butter or sunflower butter. You can use non-nut butters like Cookie Butter or Nutella, too!
- Pie Crust: Instead of an Oreo cookie crust, use a regular Graham Cracker Crust. You can also use hard pretzels, peanut butter sandwich cookies, vanilla wafers, ginger snaps, or crispy chocolate chip cookies.
- Chocolate Chips: Fold in a ½ cup baking chips like dark chocolate chips, milk chocolate chips, white chocolate chips, peanut butter chips, butterscotch chips, or toffee bits.
- Chocolate Peanut Butter: Add a 1-2 packages of chocolate instant pudding mix to your peanut butter filling for a thick, rich Chocolate Peanut Butter Whip Pie. The consistency will be more like a no-bake cheesecake. Top with chocolate shavings!
- Mini Oreo Peanut Butter Whip Pies: Line a 6 cup muffin tin with paper liners or grease 4 small small ramekins. Divide the pie crust mixture between the muffin cups and bake for 5-6 minutes. Fill with peanut butter mousse filling and set as usual.
Related Recipes
More Yummy Pie Recipes


amazing!!!!!!!