
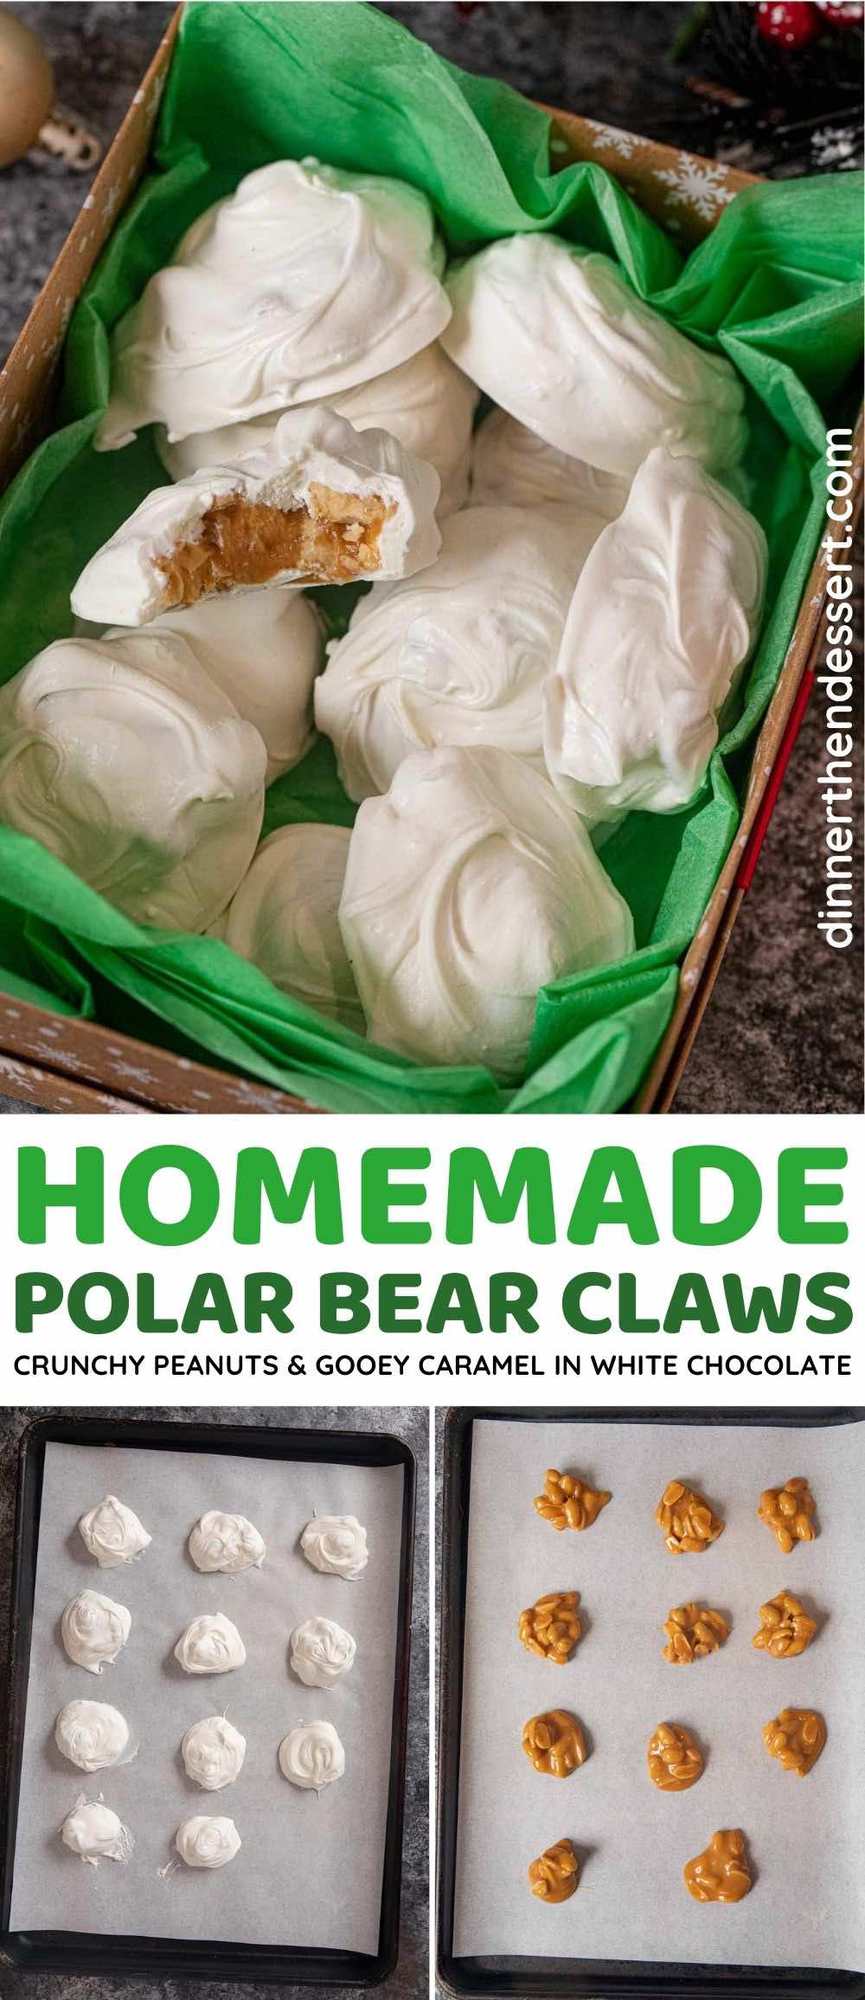
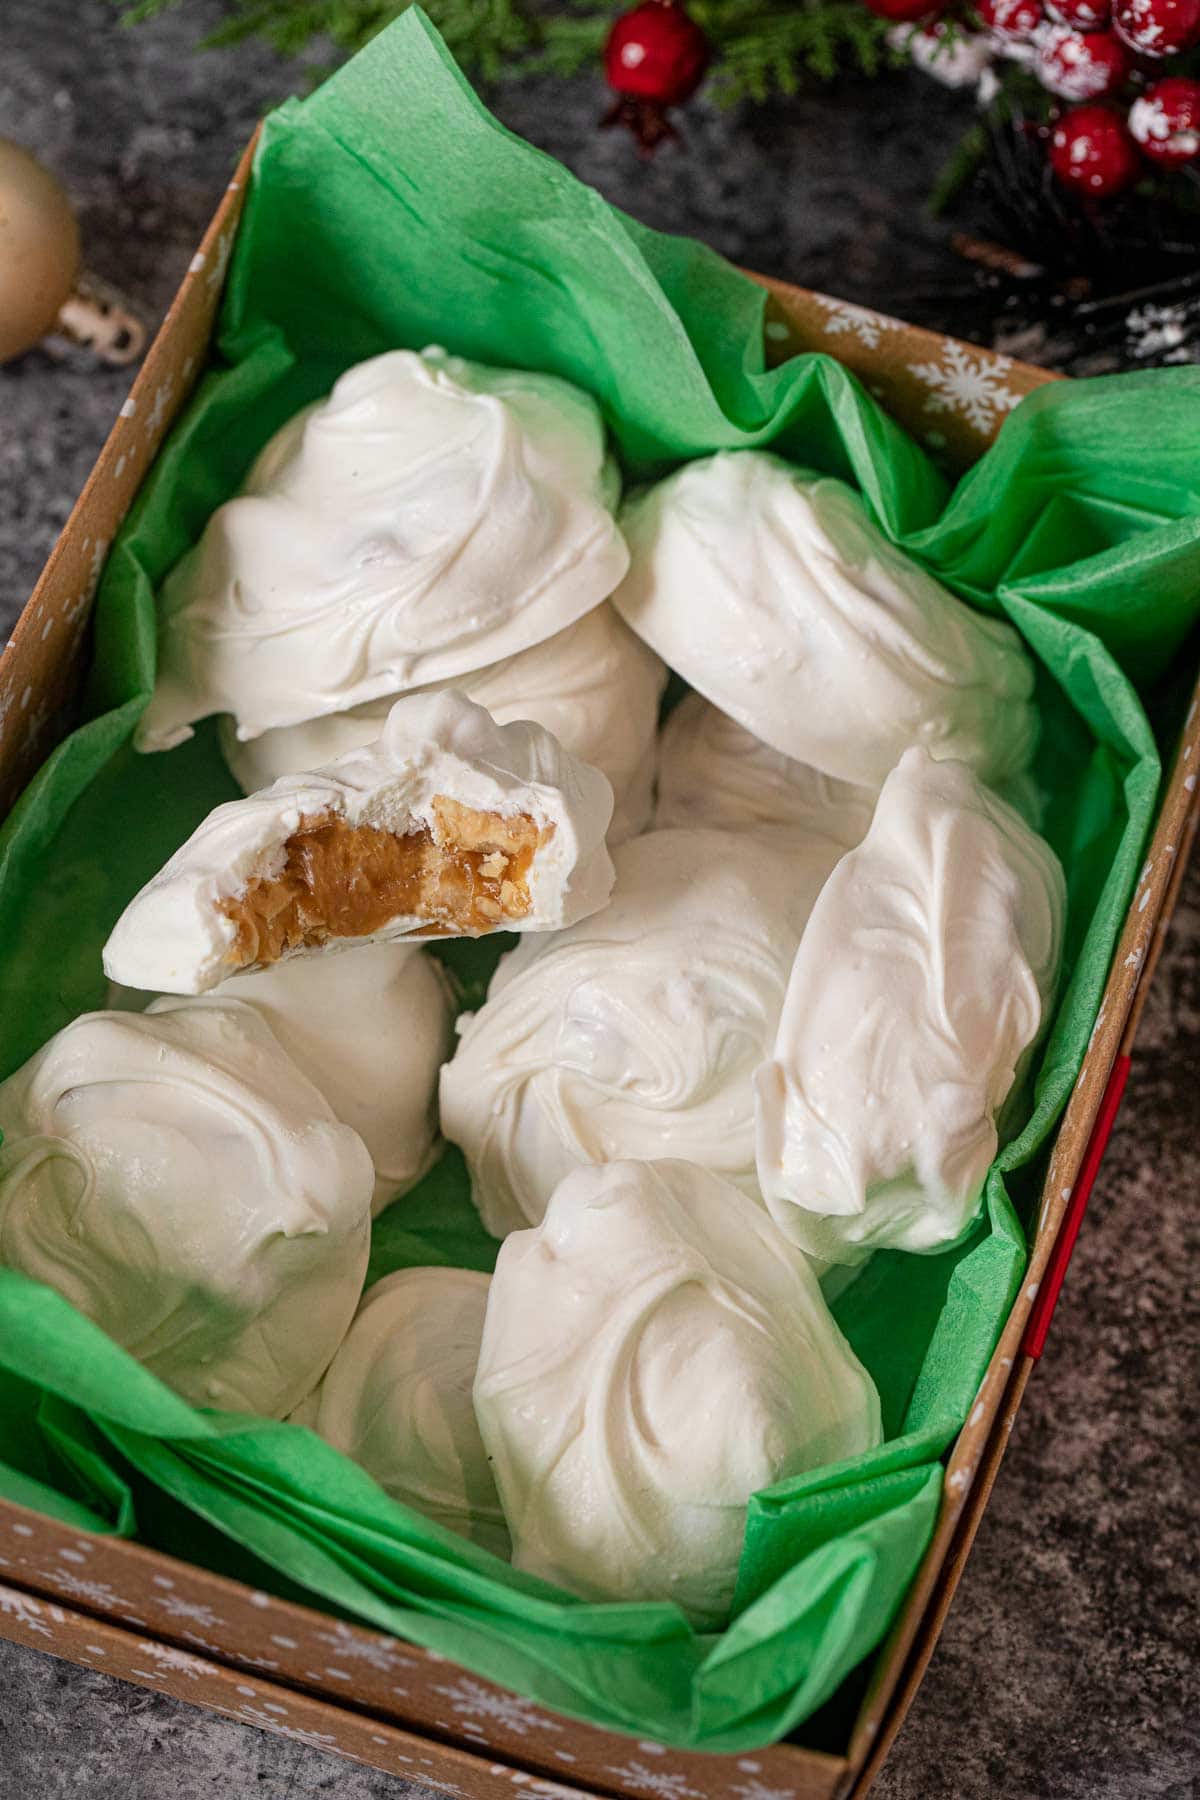
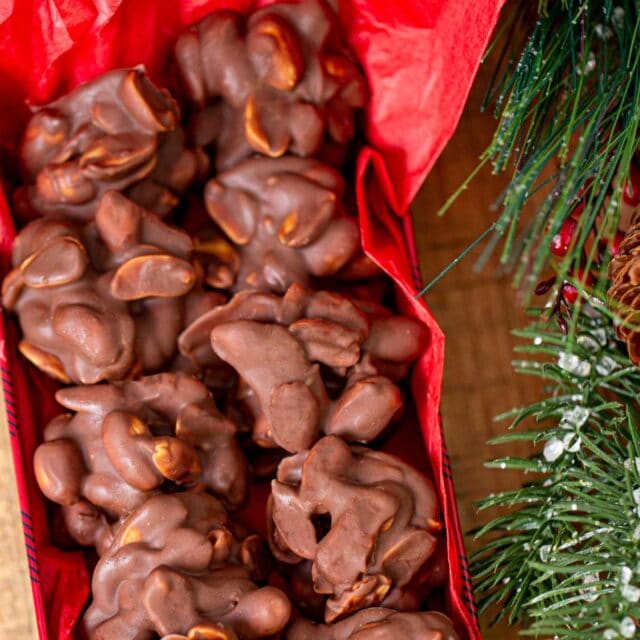
Polar Bear Claws are a delicious homemade treat with crunchy peanuts and buttery caramel clusters coated in rich white chocolate.
Homemade Candy Recipes are always fun to make, and they’re great edible gifts. These Polar Bear Claws just take a few delicious ingredients and come together easily. They’re the perfect peanut treat sort of like a white chocolate version of Peanut Clusters with added caramel bits.
POLAR BEAR CLAWS
Polar Bear Claws, or Polar Bear Paws, get their name from arctic polar bears. They were named after polar bears because the white chocolate coating has the same color as polar bears fur. Then when you bite into the rich caramel and chocolate treat the crunchy peanuts inside look like polar bears’ claws. It’s a cute and whimsical name for an unbelievably delicious treat!
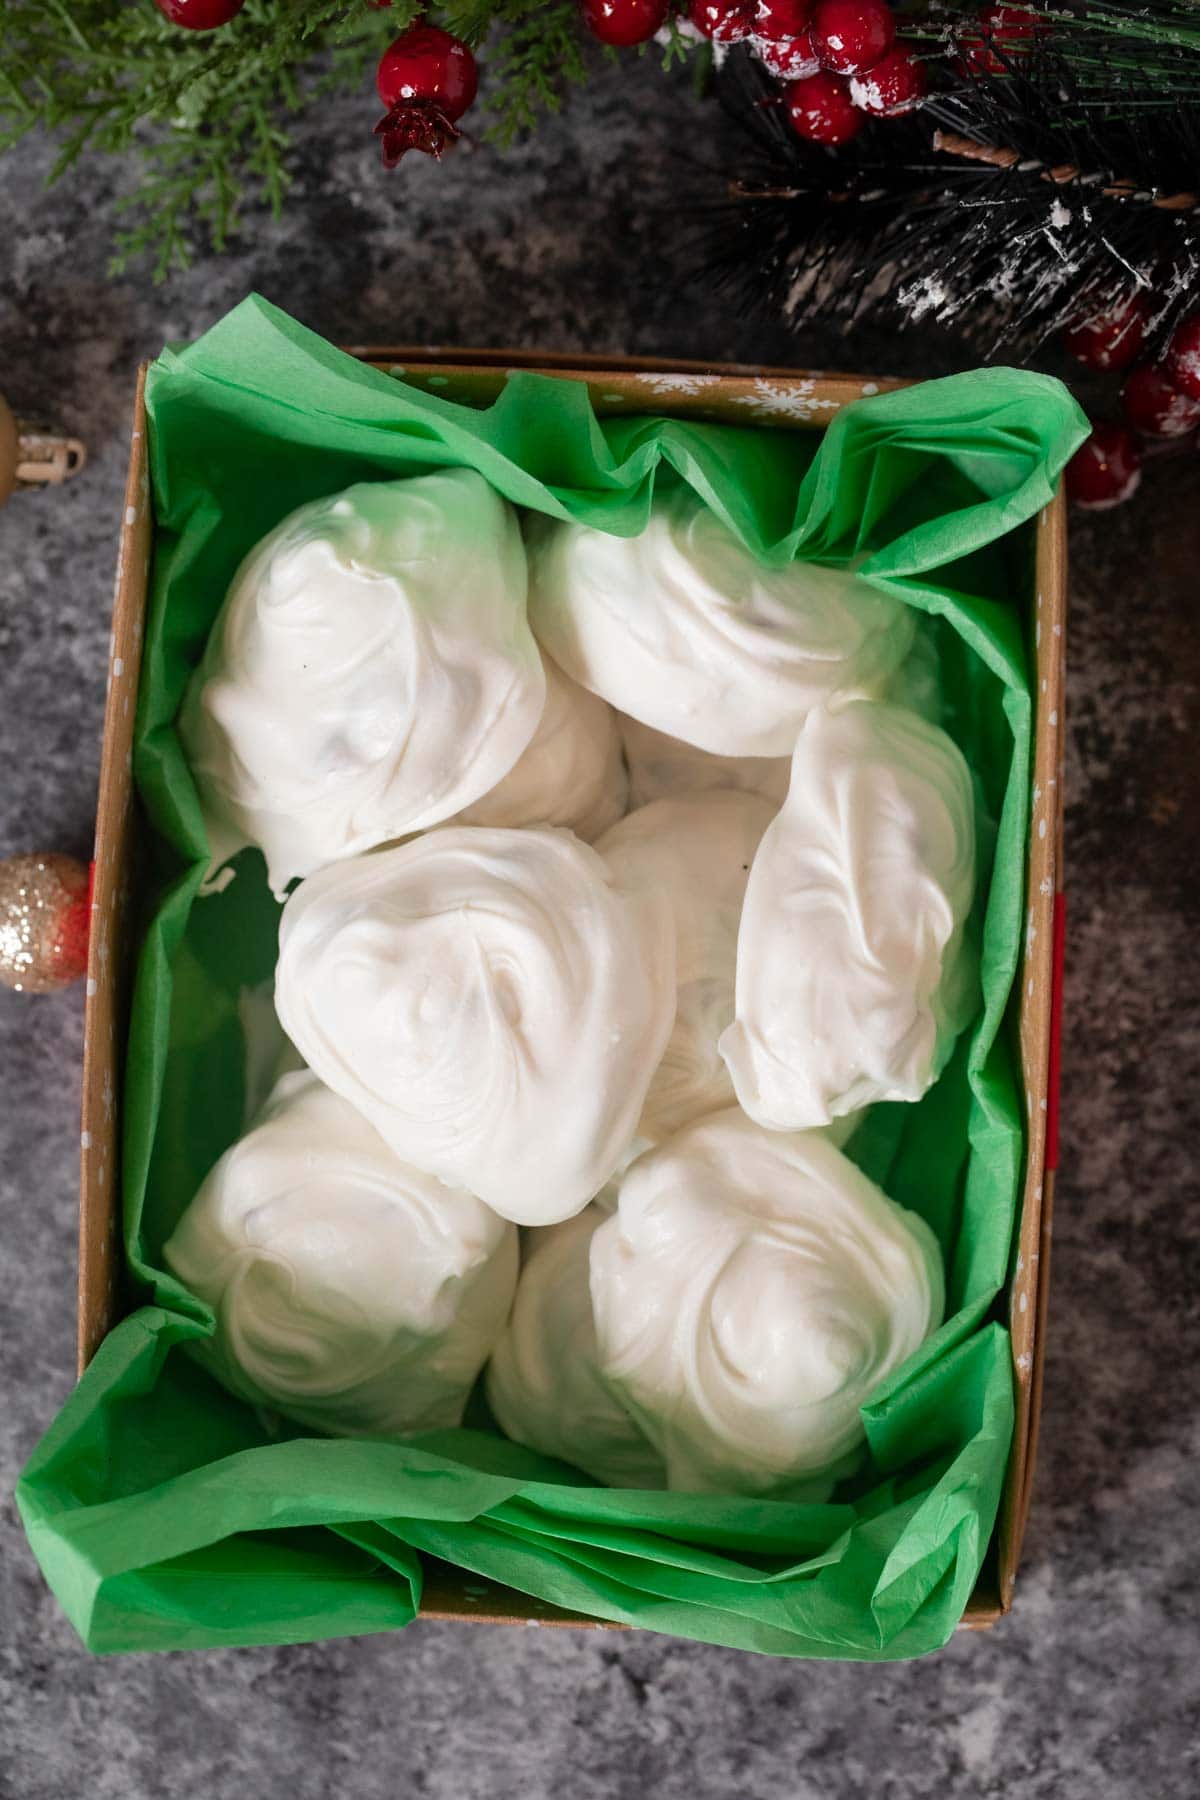
The winter-themed name and wonderful taste make Polar Bear Paws perfect for the holidays. You can put them out on a plate for your family to enjoy throughout the season or package them up to send as gifts. If you’re giving them as a gift, just make sure to separate the candies with parchment paper so they don’t get stuck together in transit.
We love making boxes of assembled homemade treats to give to our neighbors and friends. Some of the classic candies we use are Homemade Caramels, Chocolate Fudge, and Chocolate Covered Pretzels. Polar Bear Claws are a newer addition, but they’ve quickly become one of our favorite holiday candies, and they’ve been a big hit with everyone we’ve gifted them to!
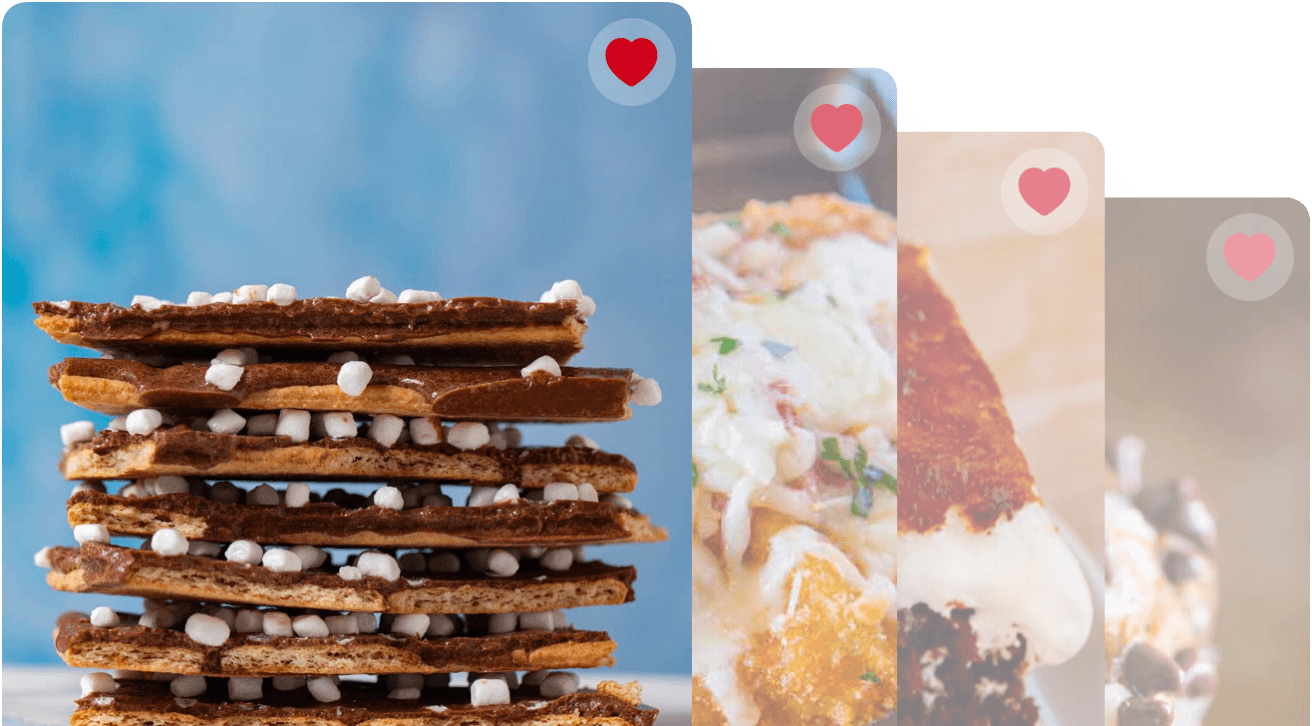
MORE CANDY RECIPES
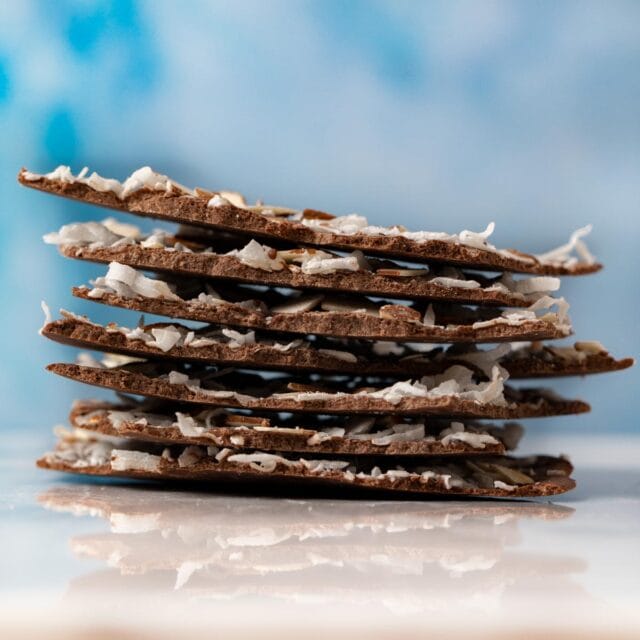
Coconut Almond Chocolate Bark
Turtle Bars
Peanut Clusters
Reese’s Bark
TIPS FOR MAKING POLAR BEAR CLAWS
- Prep time: Start the recipe by lining 2 cookie sheets with parchment paper.
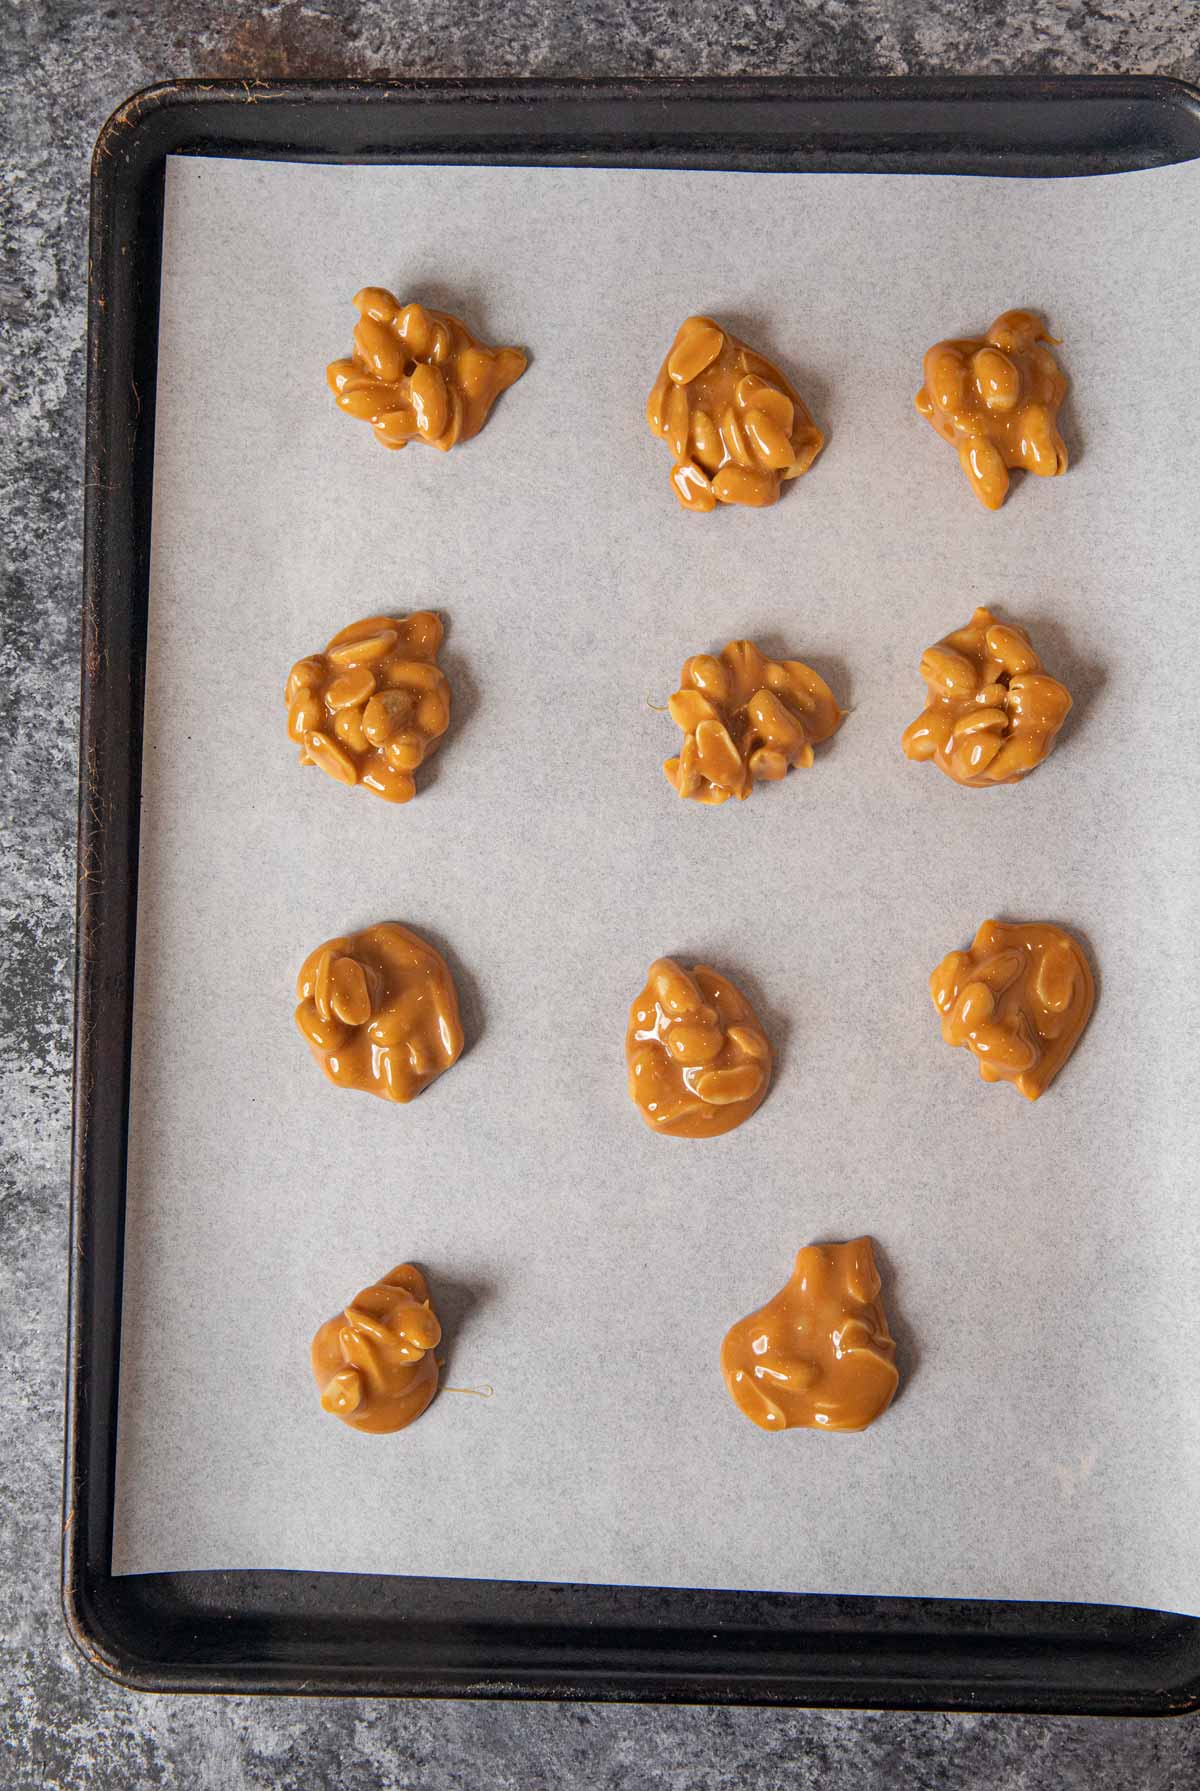
- Caramel mixture: Add the caramel squares, heavy cream, and butter to a microwaveable bowl. Microwave for 30 seconds, stir, and microwave for 15 more seconds. If the mixture isn’t smooth, continue melting in 30-second increments until it is. This will be faster or slower depending on the wattage of your microwave.
- Peanuts: Add the peanuts to the bowls and mix until they’re well coated in the caramel. Leave the peanut mixture in the bowl to cool for 20 minutes, but stir every 5 minutes to make sure it doesn’t harden.
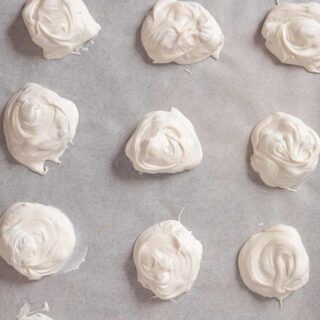
- Refrigerate: Use a tablespoon-sized cookie scoop to scoop the caramel and peanut mixture onto the prepared baking sheets. Put them in the fridge to harden for 30 minutes.
- White Chocolate: Towards the end of the 30 minutes, put the white melting wafers in a microwaveable bowl. Microwave and stir in 30-second increments until the chocolate is melted and smooth. Dip the peanut mounds in the white chocolate. Tap off any extra chocolate before you put them back on the baking sheet.
- Refrigerate: Put the baking sheets back in the fridge to harden again for 30-60 minutes.

Create a free account to Save Recipes
VARIATIONS ON POLAR BEAR CLAWS
- Vanilla almond bark: If you prefer, you can use vanilla almond bark instead of white chocolate melting disks. It will melt in the microwave just like white chocolate, so the rest of the recipe can remain the same.
- Nuts: You can add different kinds of nuts to your Polar Bear Paws. Try mixing in almonds, pecans, cashews, or macadamia nuts with the peanuts.
- Fruit: For other delicious mix-ins try adding dried fruit. Dried cranberries, raisins, or dried apricots would all make an interesting and flavorful addition.
- Decorations: Try adding toppings to the Polar Bear Claws. Drizzle some melted chocolate over the top, or add sprinkles, coconut flakes, or sea salt. Add the toppings before the white chocolate hardens so that they stick to the chocolate.
MORE WHITE CHOCOLATE TREATS
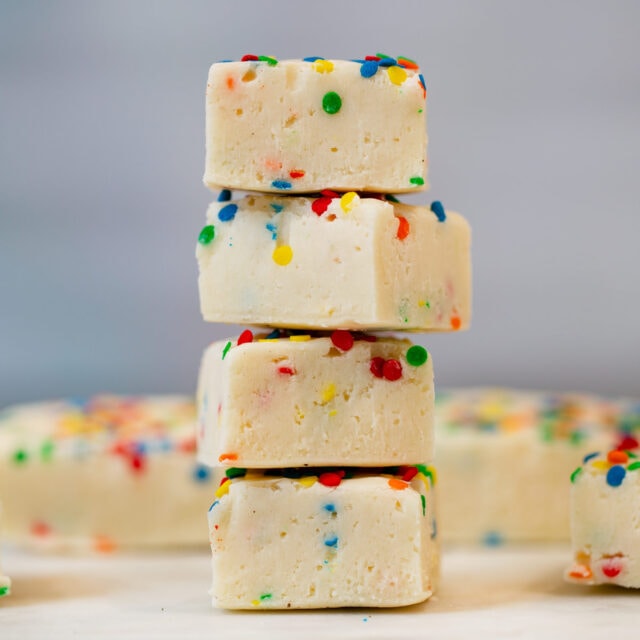
Birthday Cake Fudge
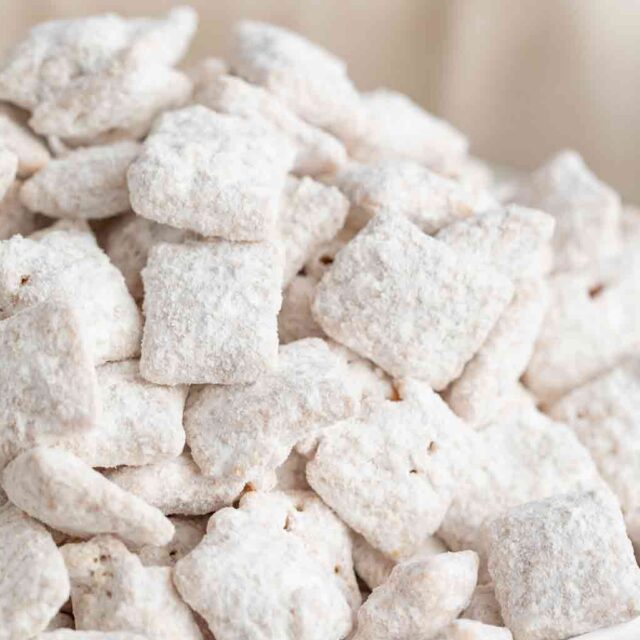
White Chocolate Puppy Chow (Muddy Buddies)
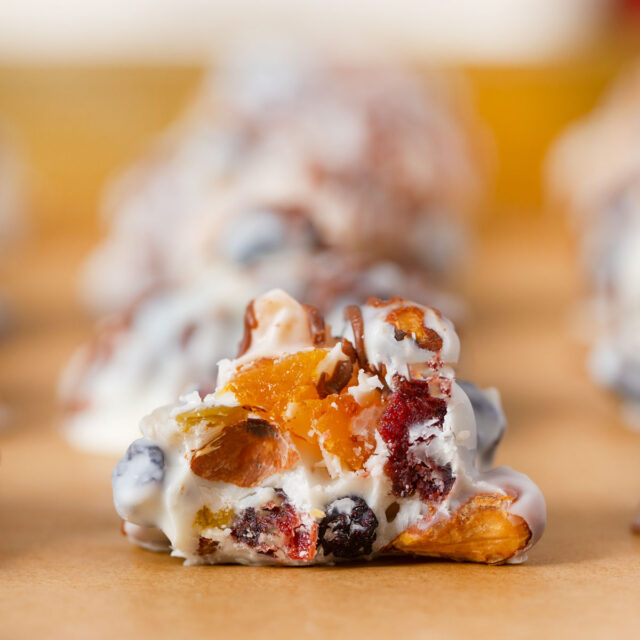
White Chocolate Fruit and Nut Clusters
Oreo Bark
HOW TO STORE POLAR BEAR CLAWS
- Serve: Let the Polar Bear Paws fully harden in the fridge before you serve them. You can store them in an airtight container at room temperature. Keep them in a dry, cool place so that the chocolate doesn’t melt.
- Store: Kept sealed in an airtight container, Polar Bear Claws will be good in the refrigerator for up to 2 weeks.
- Freeze: You can also store the candy in the freezer. Put the chocolate in a freezer bag with the layers separated by parchment paper so that they don’t freeze together. They’ll stay good for up to 6 months.
Ingredients
- 14 ounces chewy caramels , unwrapped
- 1/4 cup heavy whipping cream
- 1 tablespoon unsalted butter
- 1 cup salted peanuts
- 1 teaspoon vanilla extract
- 12 ounces white chocolate melting disks
Instructions
- Line 1-2 baking sheets with parchment paper and set aside.
- Add the caramels, heavy cream, and butter to a microwave-safe bowl and microwave for 30 seconds, then stir and microwave for 15 seconds until smooth.
- If needed microwave an additional 30 seconds.
- Mix in the peanuts and vanilla until well combined.
- Let mixture cool for 20 minutes, stirring every 5 minutes to prevent hardening.
- Scoop 1 tablespoon-sized scoops of the peanut caramel mixture onto the baking sheets.
- Refrigerate for 30 minutes to harden.
- Add the white chocolate melting disks to a microwave-safe bowl and microwave for 30 seconds, then stir and microwave for 15 seconds until smooth.
- If needed microwave an additional 30 seconds.
- Dip the caramel peanut mounds into the white chocolate, tap off excess chocolate, and place back onto baking sheets to harden.
- Let fully harden for 30 minutes in the refrigerator before eating or storing in covered containers for holiday gifts.
Nutrition
Want to save this recipe? Create a free account to easily save your favorite recipes

