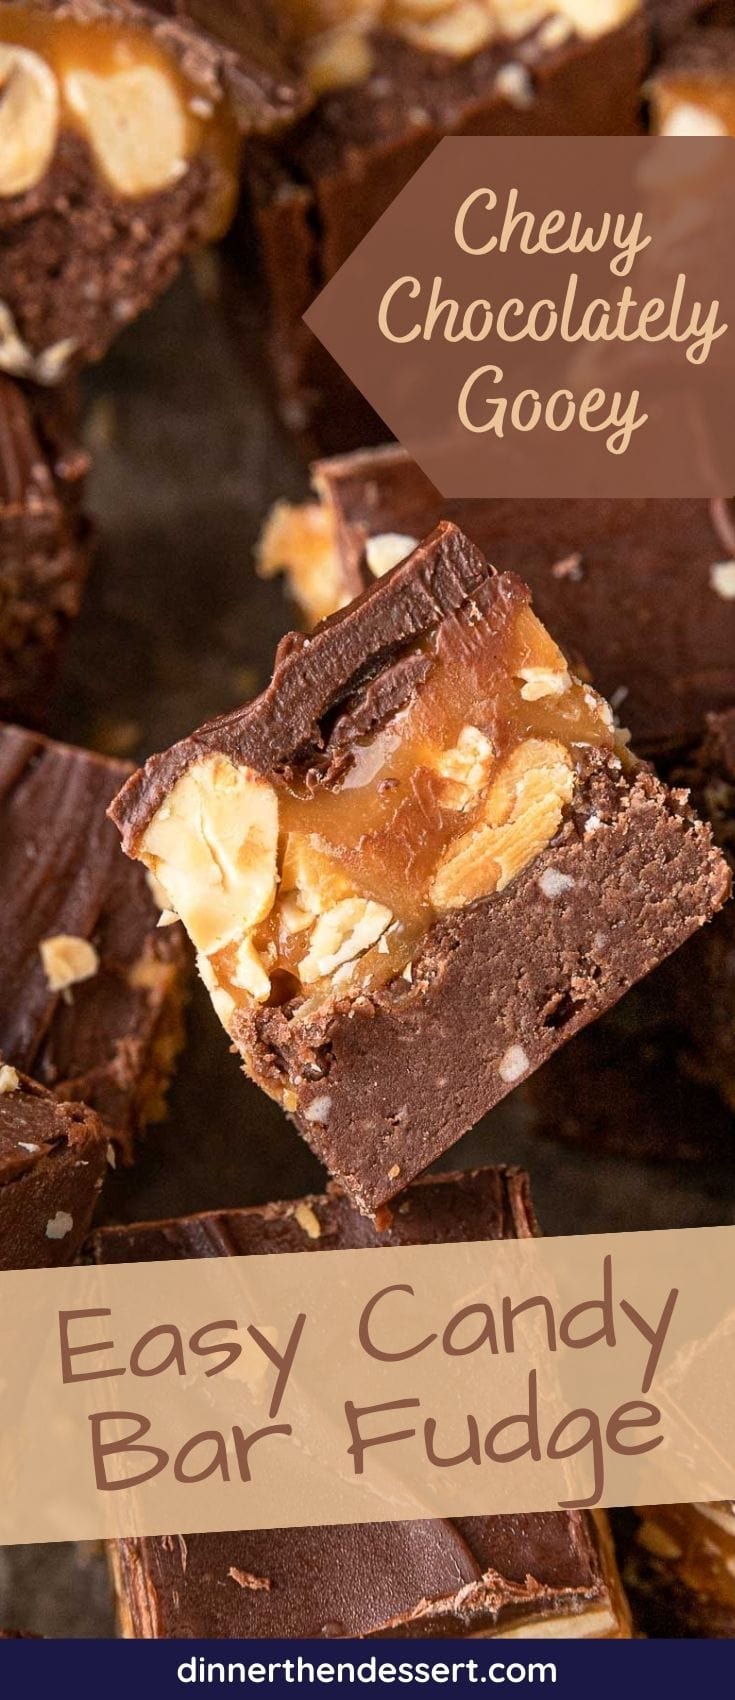
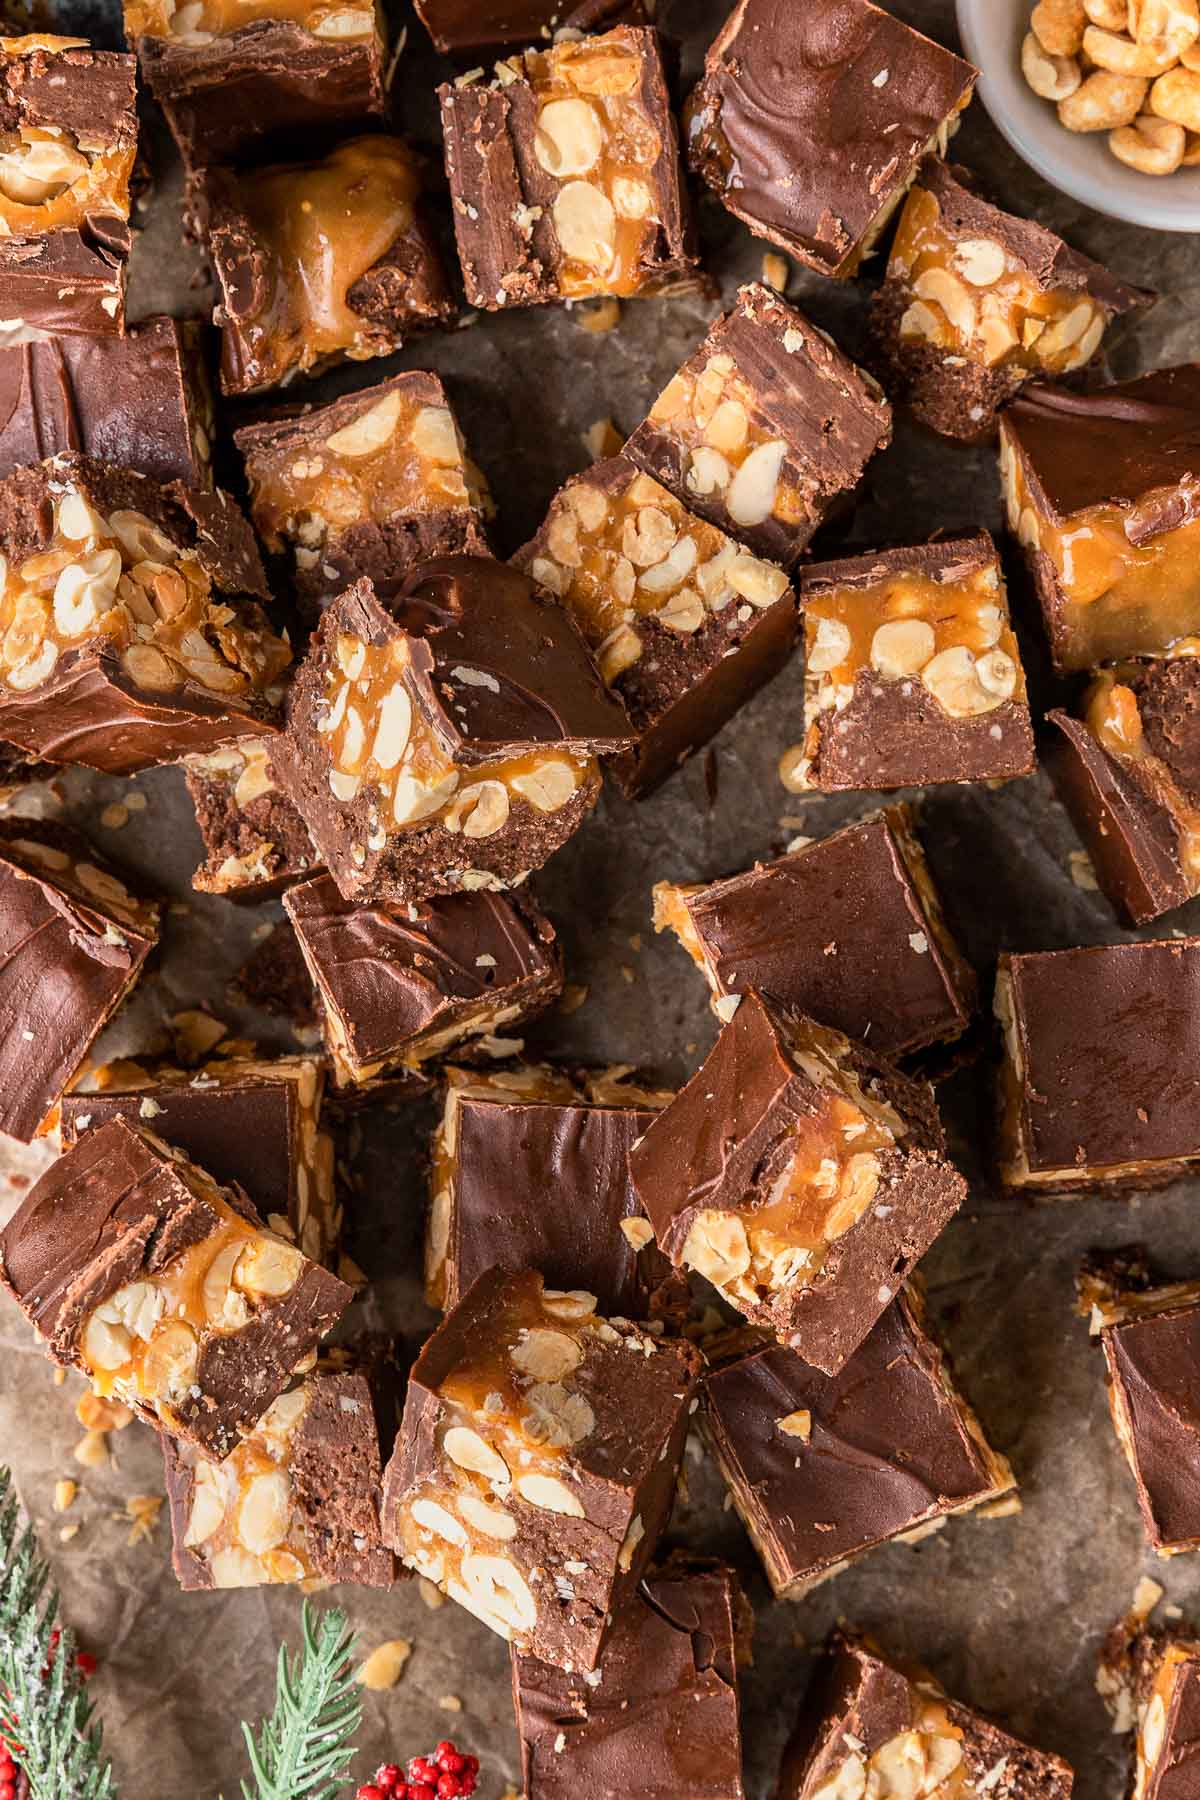
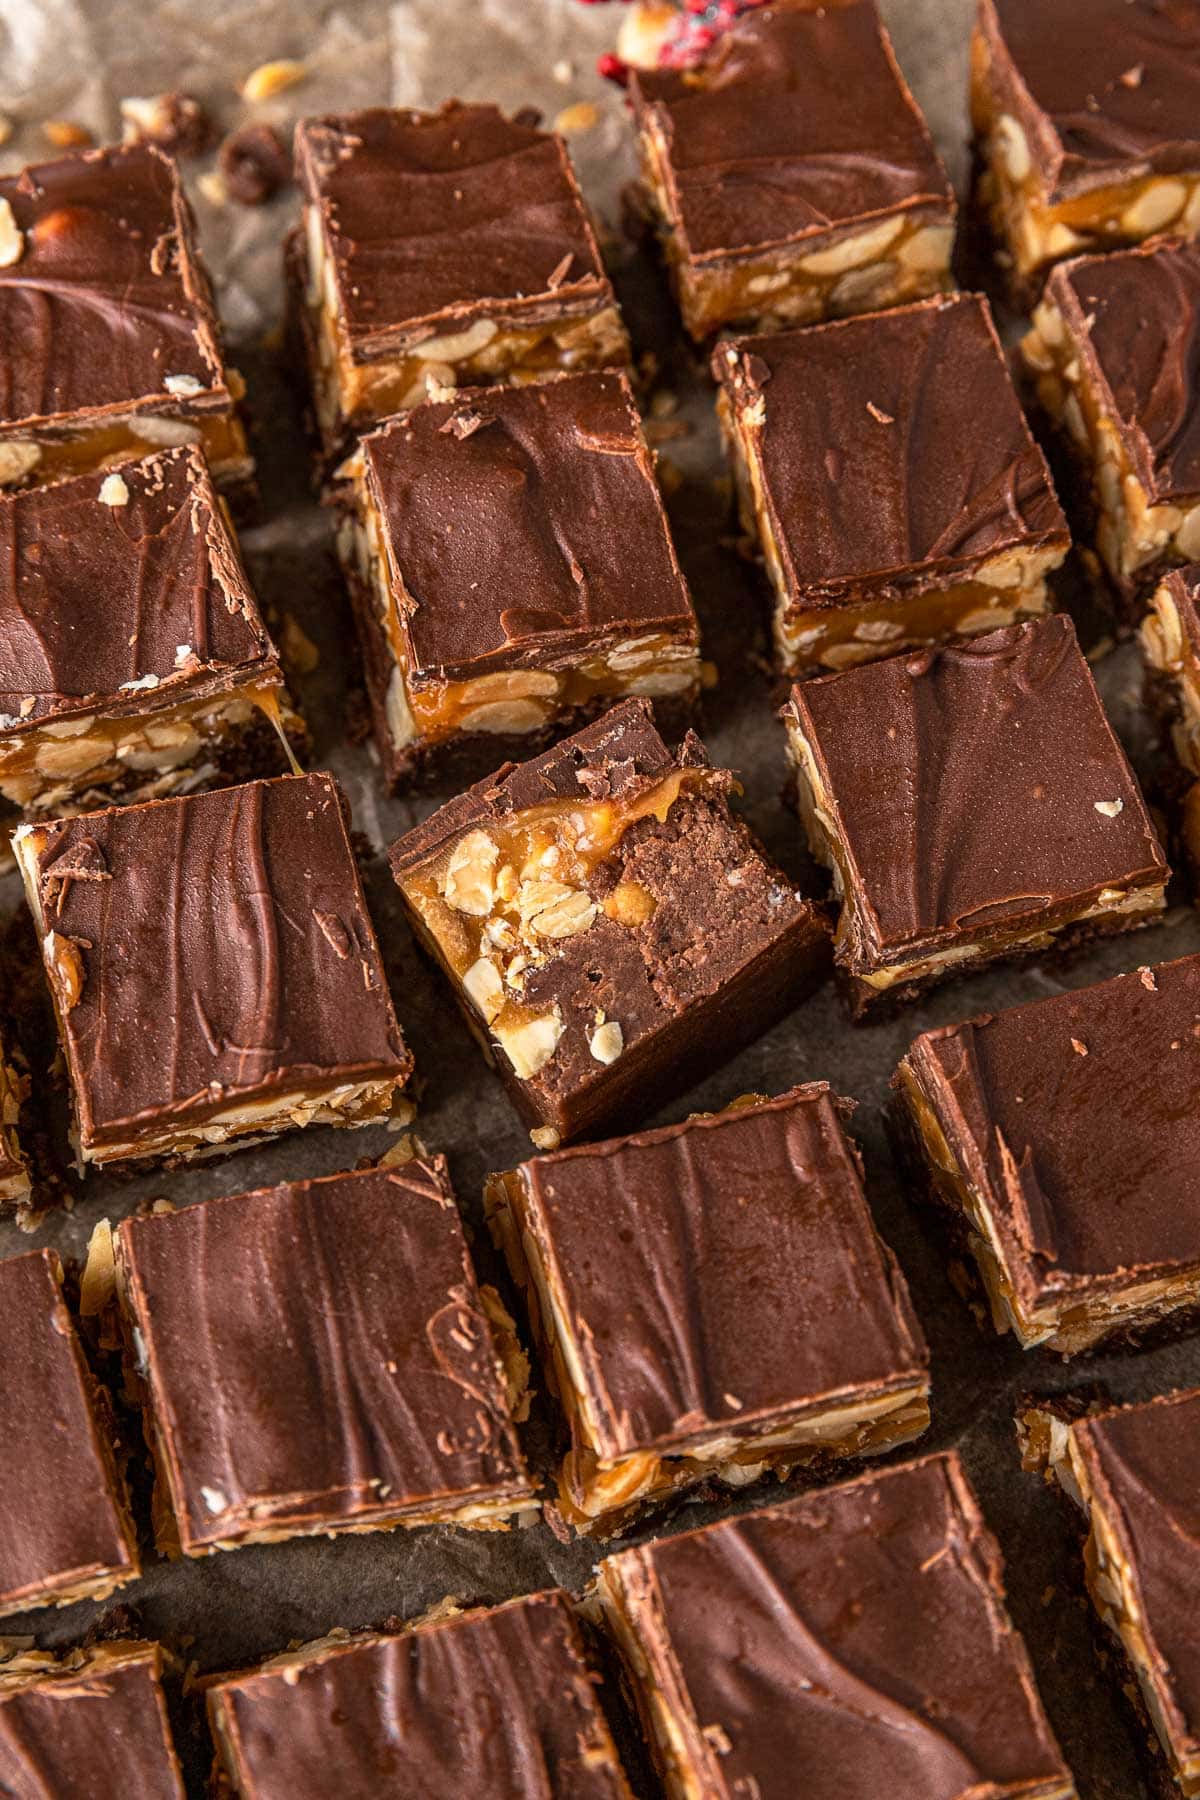
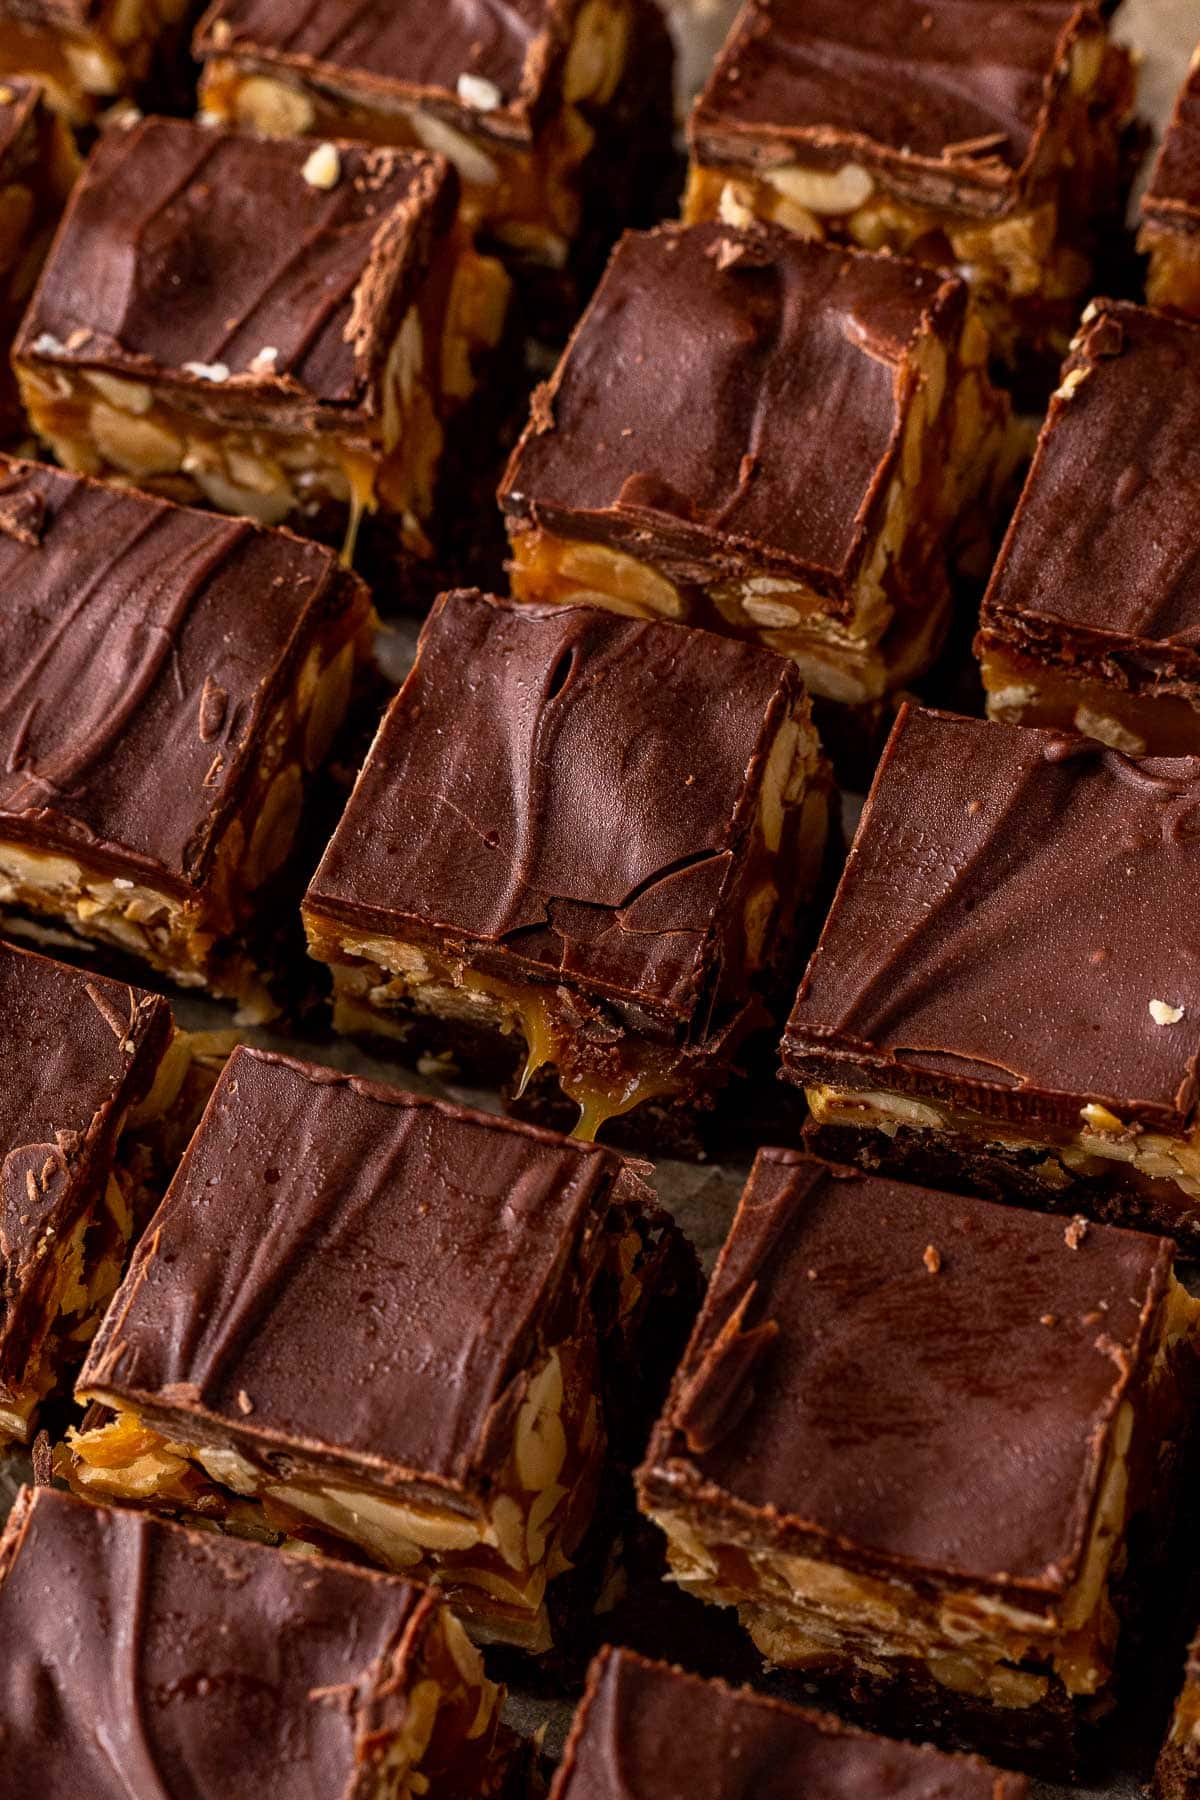
Candy Bar Fudge made with brown sugar, caramel, and chocolate chips is the easiest Christmas treat. Tastes just like your favorite candy bar!
Have a last-minute dinner you need a dessert for or forgot you signed up to bring cookies for the class party? Don’t worry, check out all of these Dessert Recipes. You are sure find not only your favorites, but maybe be inspired to try something new.
Table of Contents
About Our Candy Bar Fudge Recipe
You’ve probably noticed you’re up to your knees in fudge around here. It can’t be helped! This time of year just puts everyone in a festive mood to make dessert tins for all the special people in your life. Each tin is filled with cookies, brownies, and of course fudge. People love sharing Chocolate Fudge and Peanut Butter Fudge, but it would be fun to really step it up and make Candy Bar Fudge. You aren’t likely to hear any complaints!
Making fudge without using the stovetop is a very easy process and bonus, there’s less to clean up. The process can move quite quickly, so you should have your prepared pan out and ready. To make clean up even easier, use a rubber spatula to scrape your bowls into the baking dish, and rinse right away with hot water to prevent the sticky ingredients from clinging to the bowls.
“What is Candy Bar Fudge?”
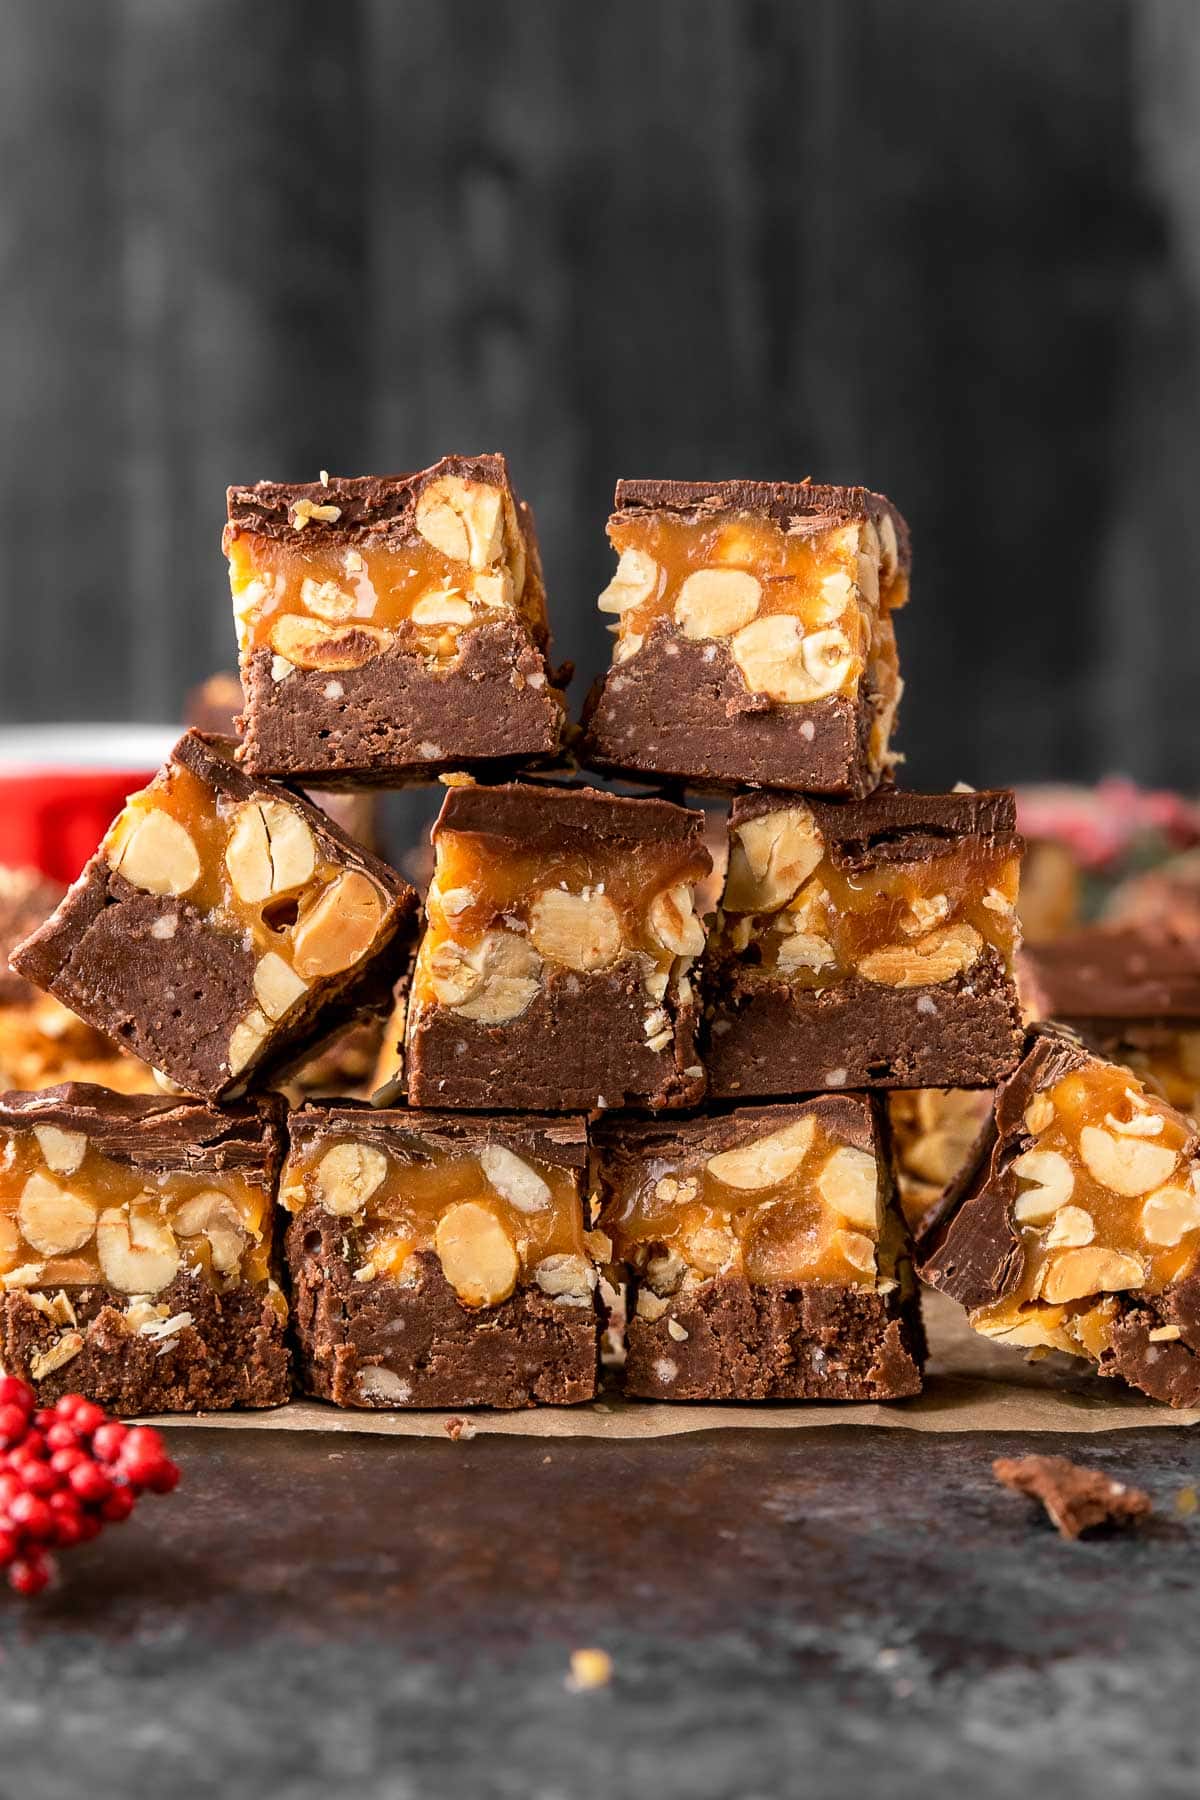
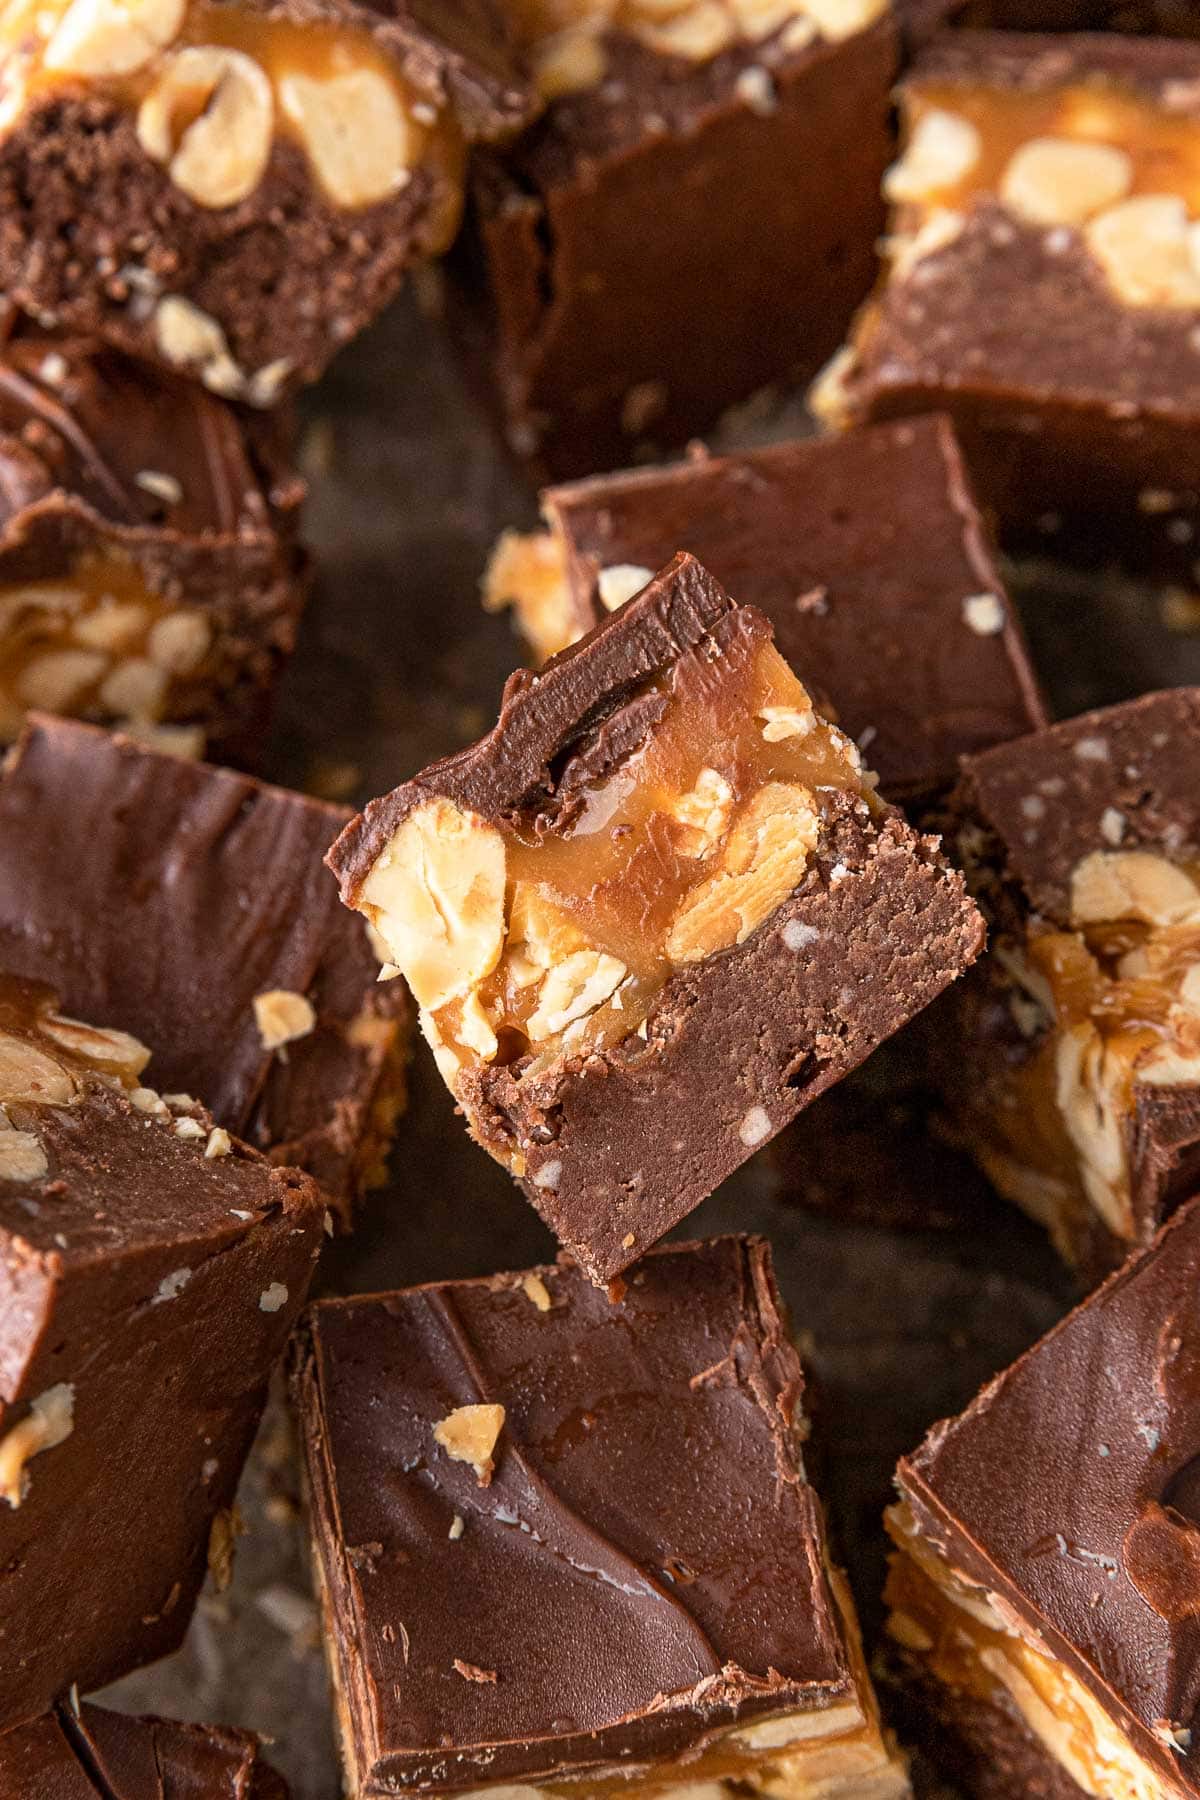
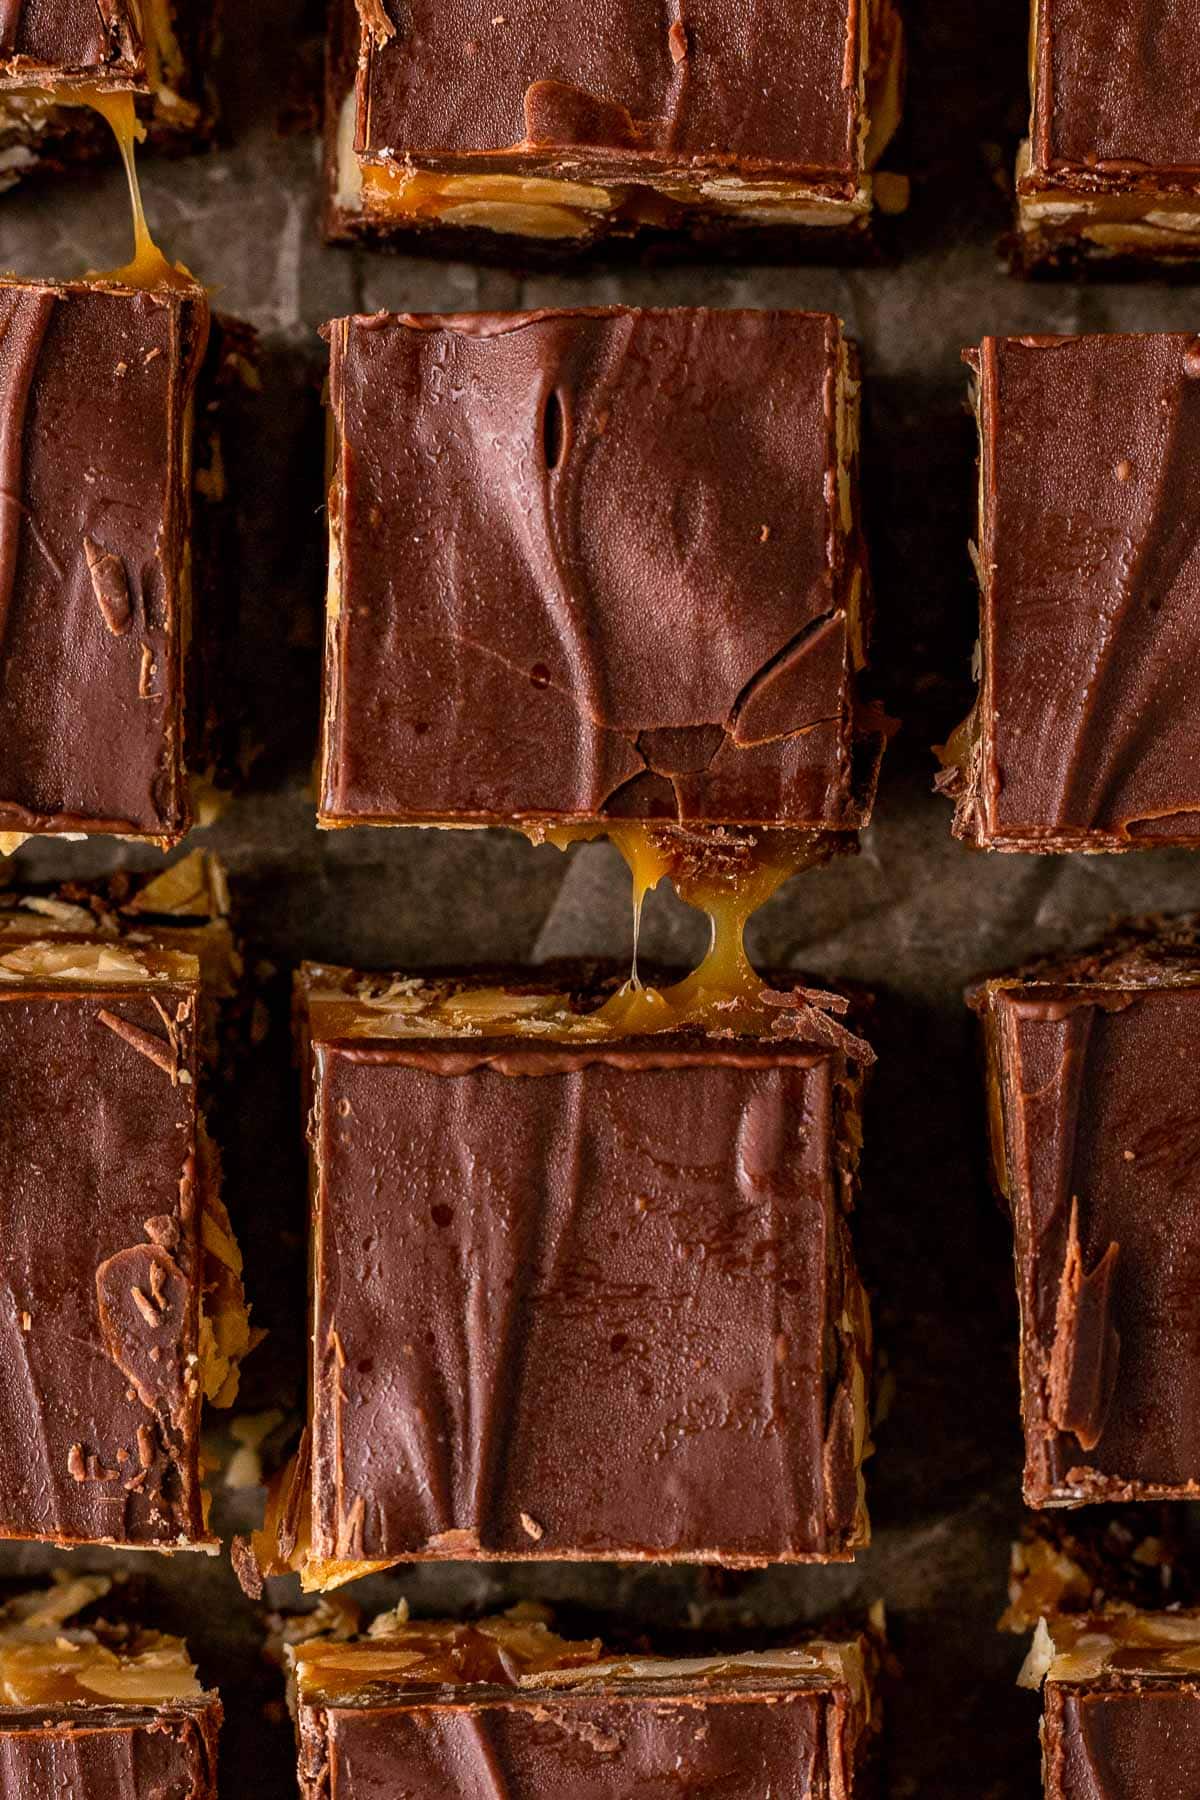
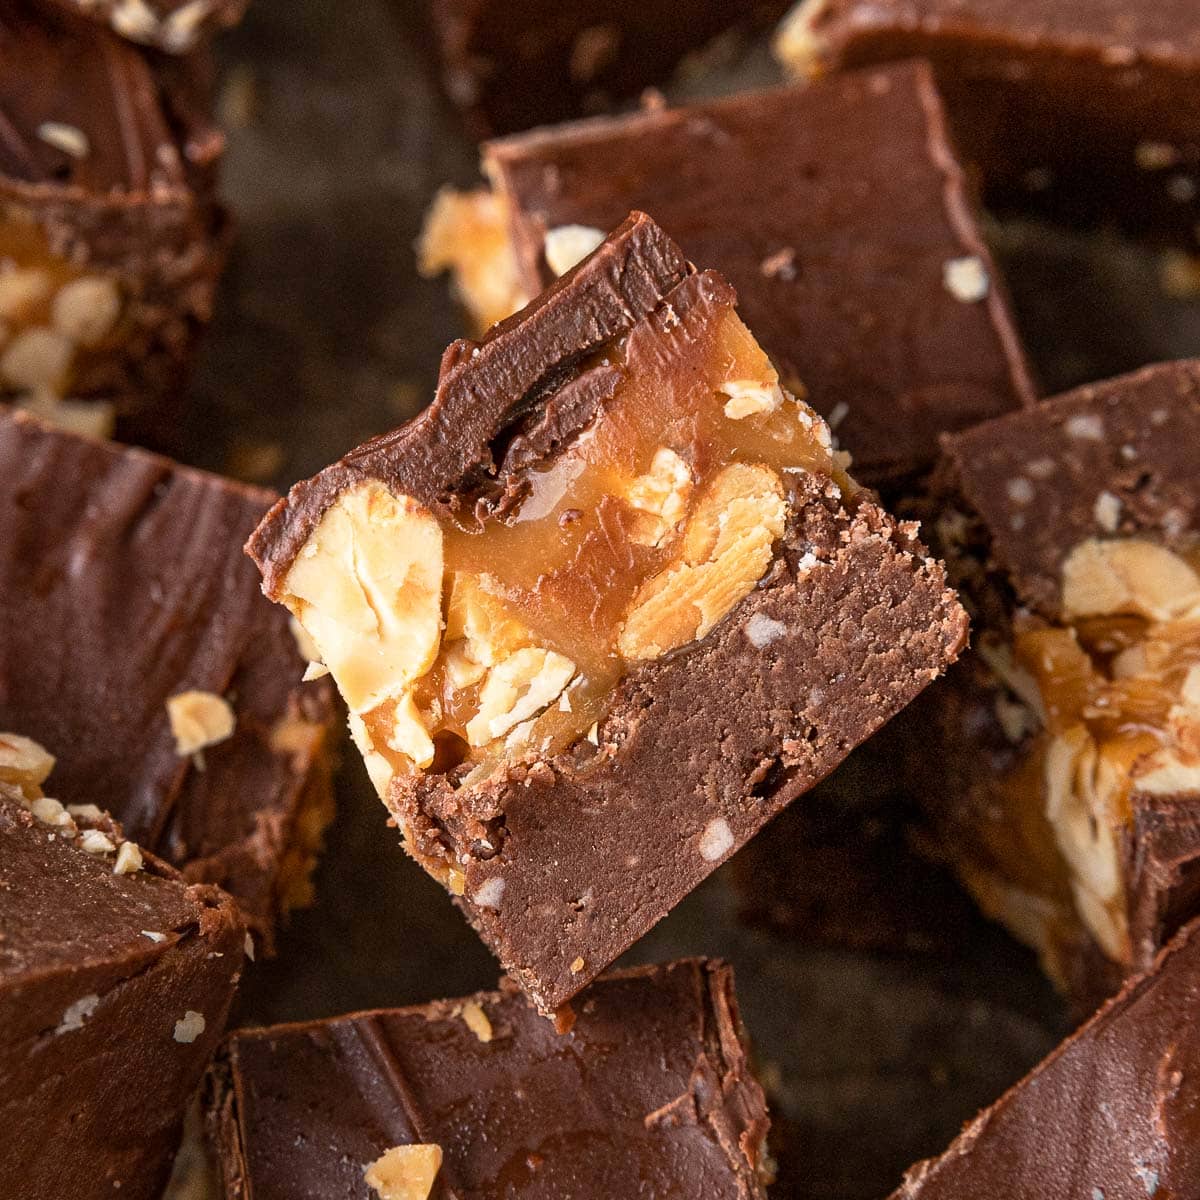
It tastes just like a yummy, fudgy Snickers bar. The top and bottom layers are delicious, fudgy chocolate and the middle is a mix of caramels and peanuts creating an irresistible nougat layer. Don’t be intimidated by the layers though, this recipe couldn’t be simpler. The hardest part is trying not to eat all the caramels before you start.
“Can Candy Bar Fudge be made ahead?”
Yes, it is so easy to make Candy Bar Fudge ahead of time. Finish the recipe and leave it in the refrigerator for a day or two before slicing and serving it. It will look just as beautiful and taste just as fresh as the day it was made. It will also save you a little bit of time on the holiday, event, or dinner you plan to serve it.
Candy Bar Fudge Ingredients
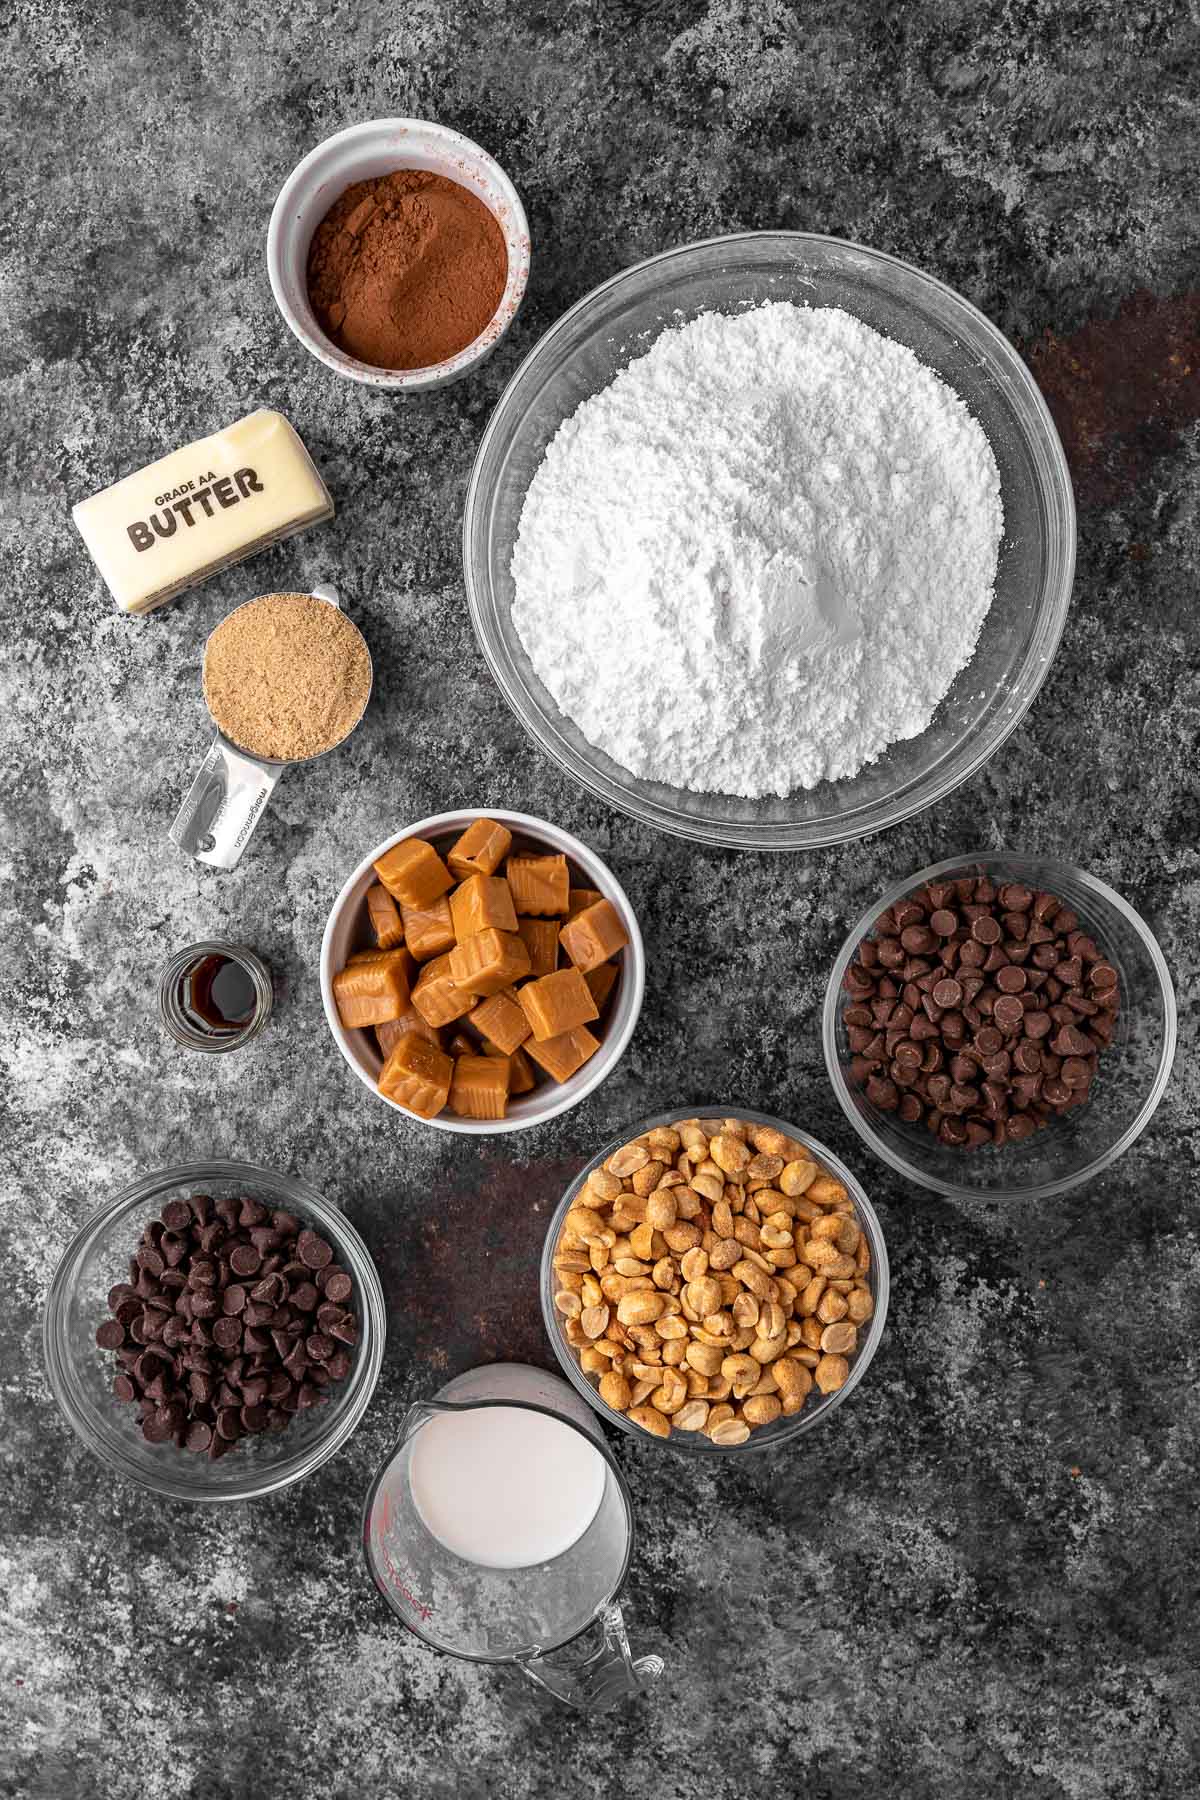
- Fudge Layer: The chocolate fudge layer consists of a mix of ½ cup butter, ⅓ cup baking cocoa, ¼ cup brown sugar, and ¼ cup whole milk melted together. 3 ½ cups powdered sugar and 1 teaspoon vanilla extract the come in to bring flavor, sweetness, and thicker consistency.
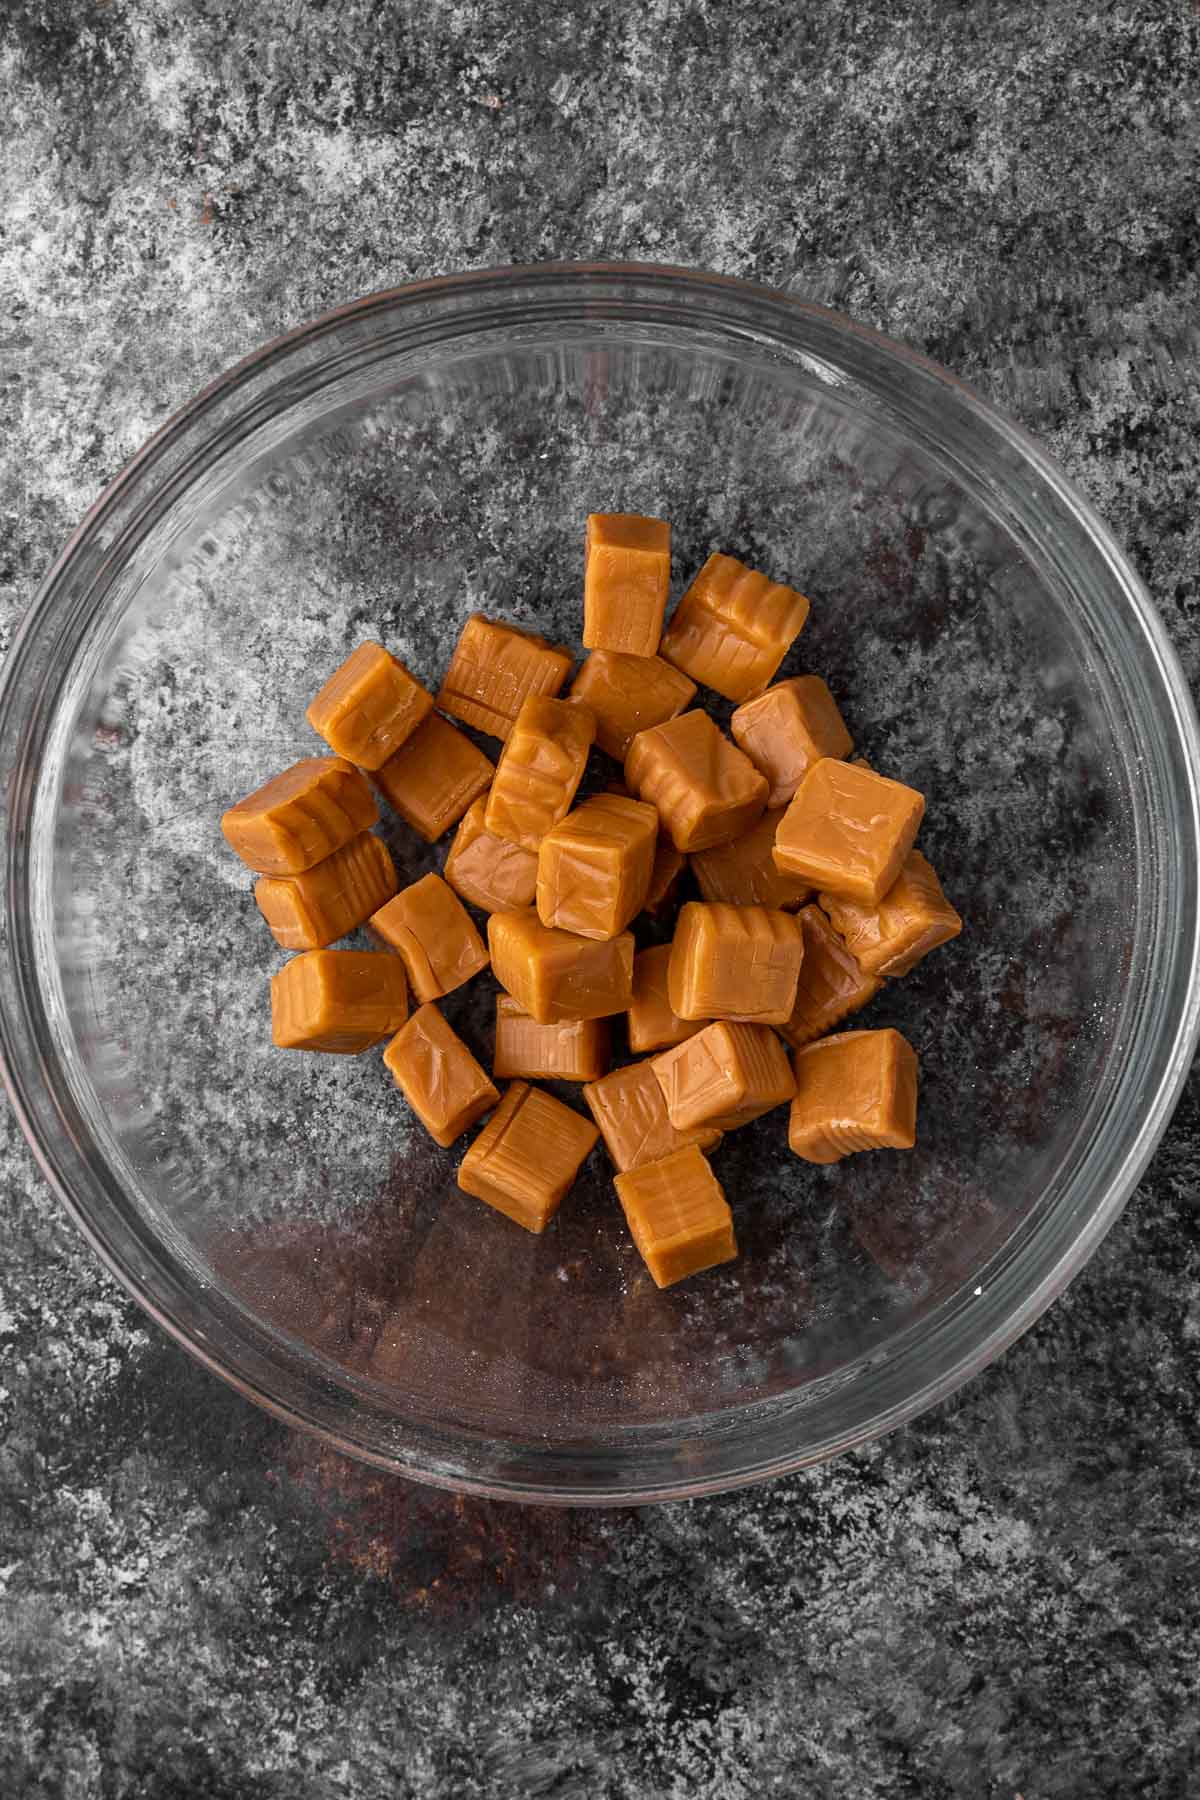
- 30 caramels: These are the classic caramel candy squares that come individually wrapped from the candy store or the grocery store. You’ll unwrap and melt them with 1 tablespoon of water and 2 cups peanuts for the second fudge layer.
- ½ cup semisweet chocolate chips and ½ cup milk chocolate chips: Melted chocolate chips create a harder chocolate coating as the top layer of the Candy Bar Fudge.
Kitchen Tools & Equipment
- Baking Dish: An 8-inch square dish is perfect for layering your fudge. Grease it with butter to ensure it releases easily.
- 3 Microwave-Safe Bowls: This fudge has 3 different layers and each one comes together in a separate bowl, melted in the microwave. Use medium-sized bowls that are big enough to hold and stir your ingredients, but not so large that they don’t fit in the microwave.
- Rubber Spatula: Use a rubber spatula to stir your ingredients, to scrape the inside of each bowl, and to spread your layers evenly.
How to Make Candy Bar Fudge
Time needed: 20 minutes.
- Melt Chocolate for Fudge
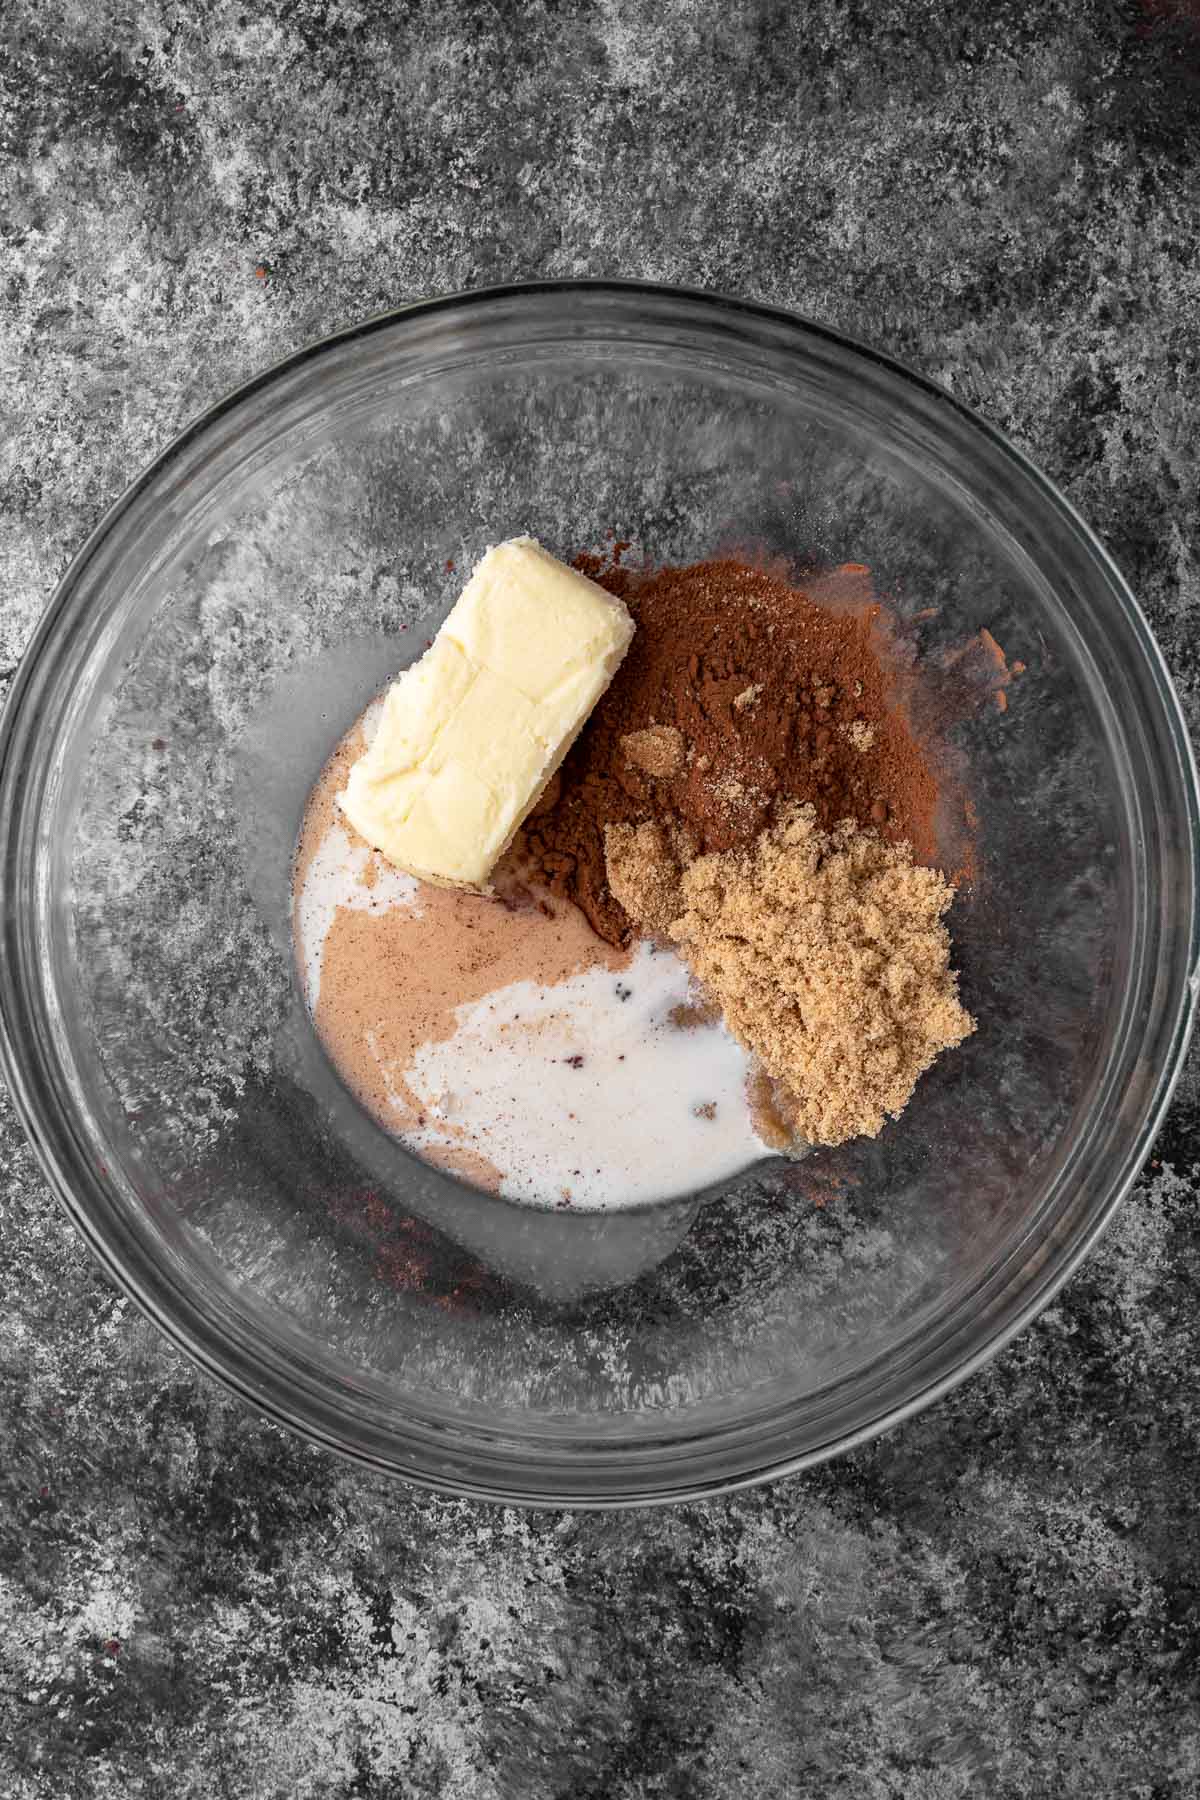
In a microwave-safe bowl, combine the butter, cocoa, brown sugar and milk. Microwave on high until mixture boils, about 2 minutes.
- Finish Chocolate Fudge
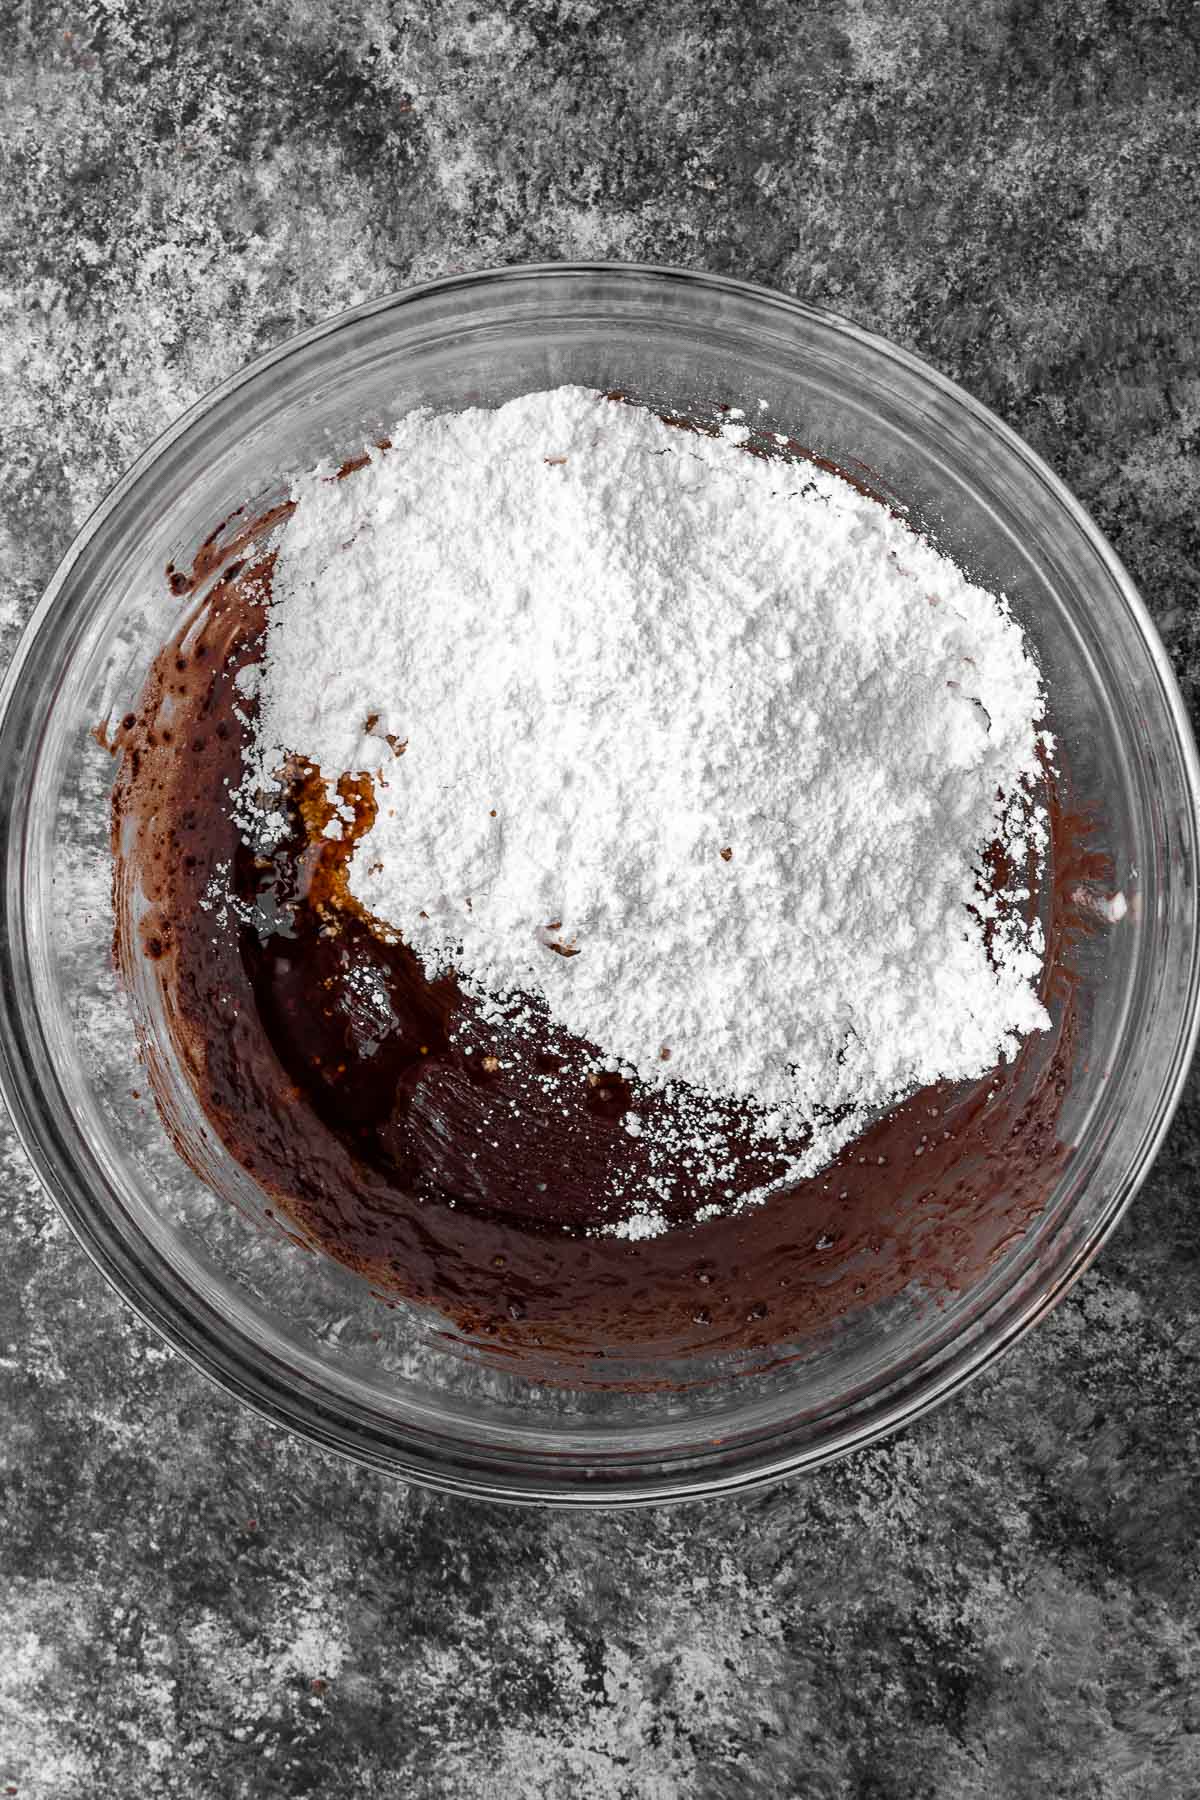
Stir in confectioners’ sugar and vanilla.
- First Layer
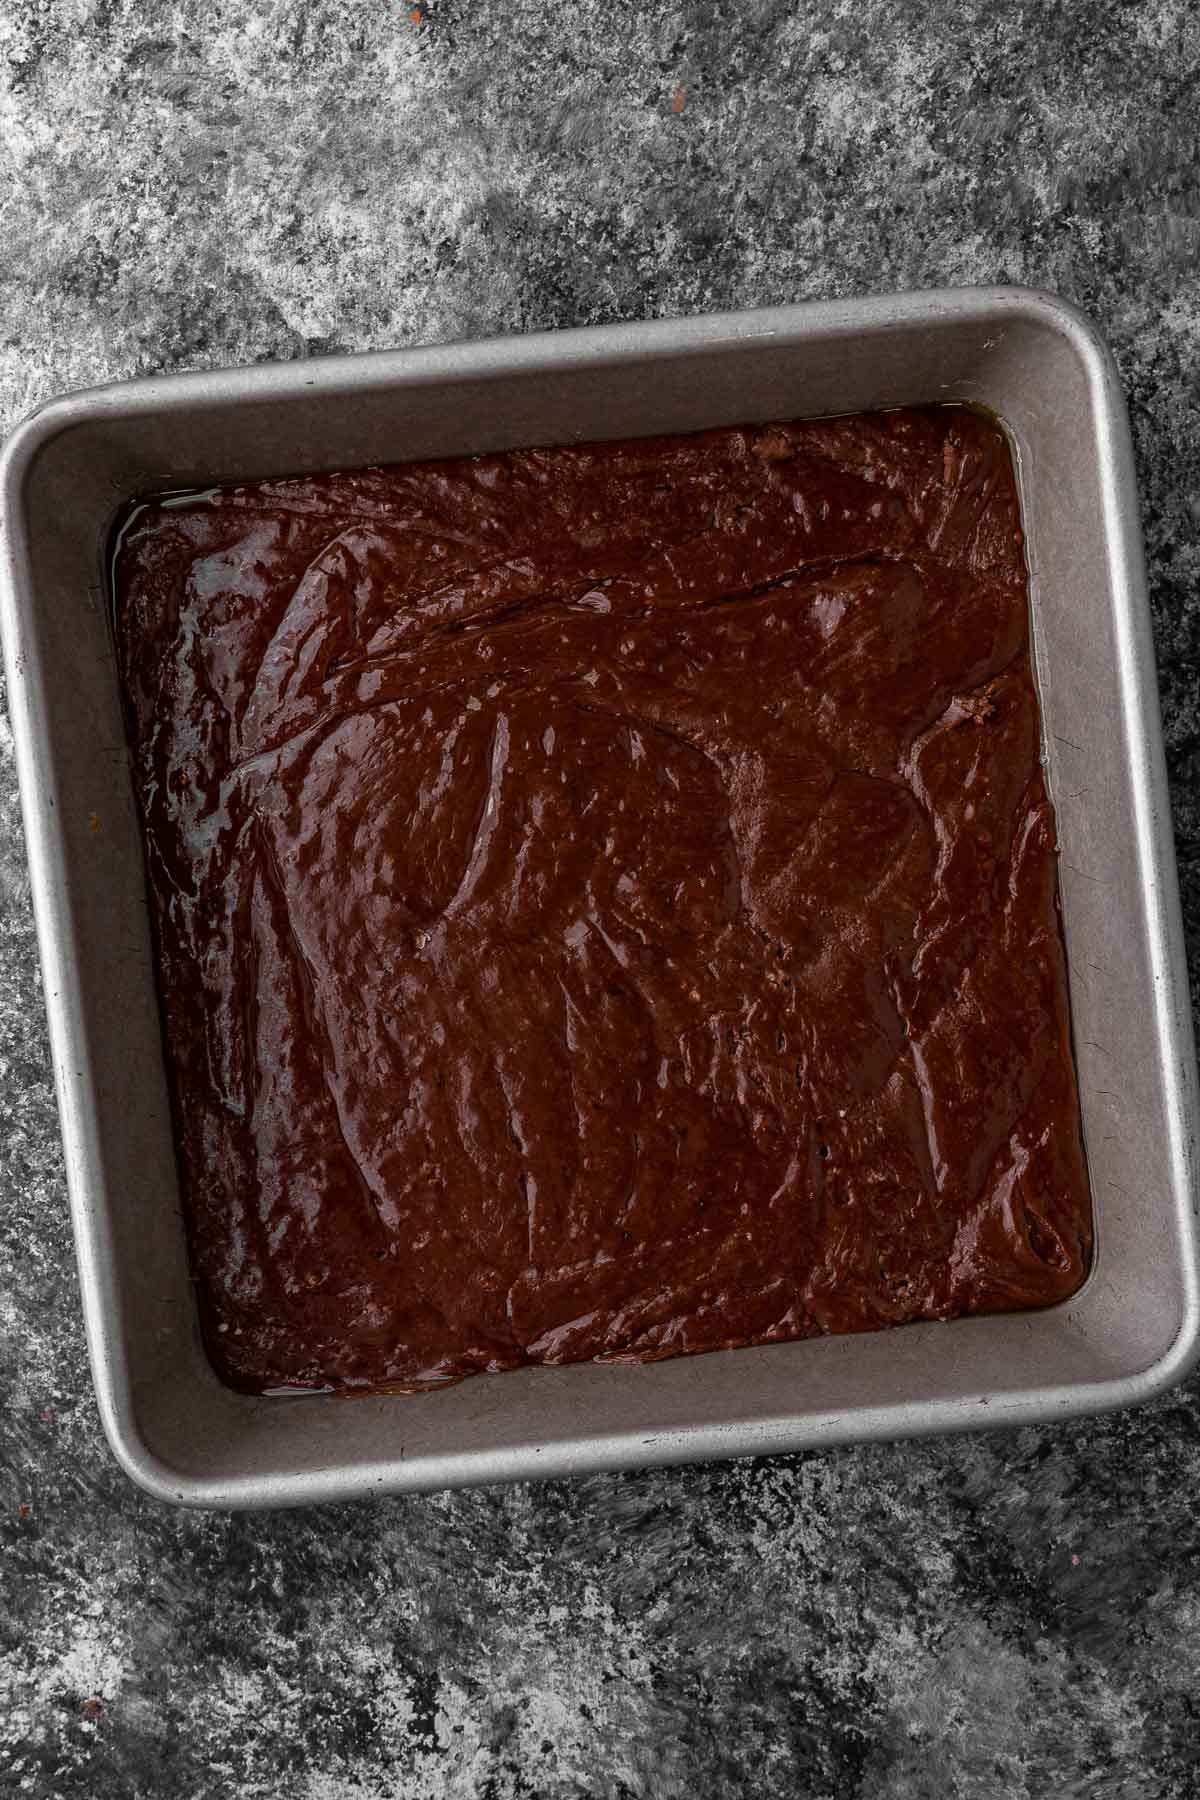
Pour into a greased 8-in. square dish.
- Melt Caramel Mixture
In another microwave-safe bowl, heat caramels and water on high for 1.5 minutes or until melted.
- Peanuts
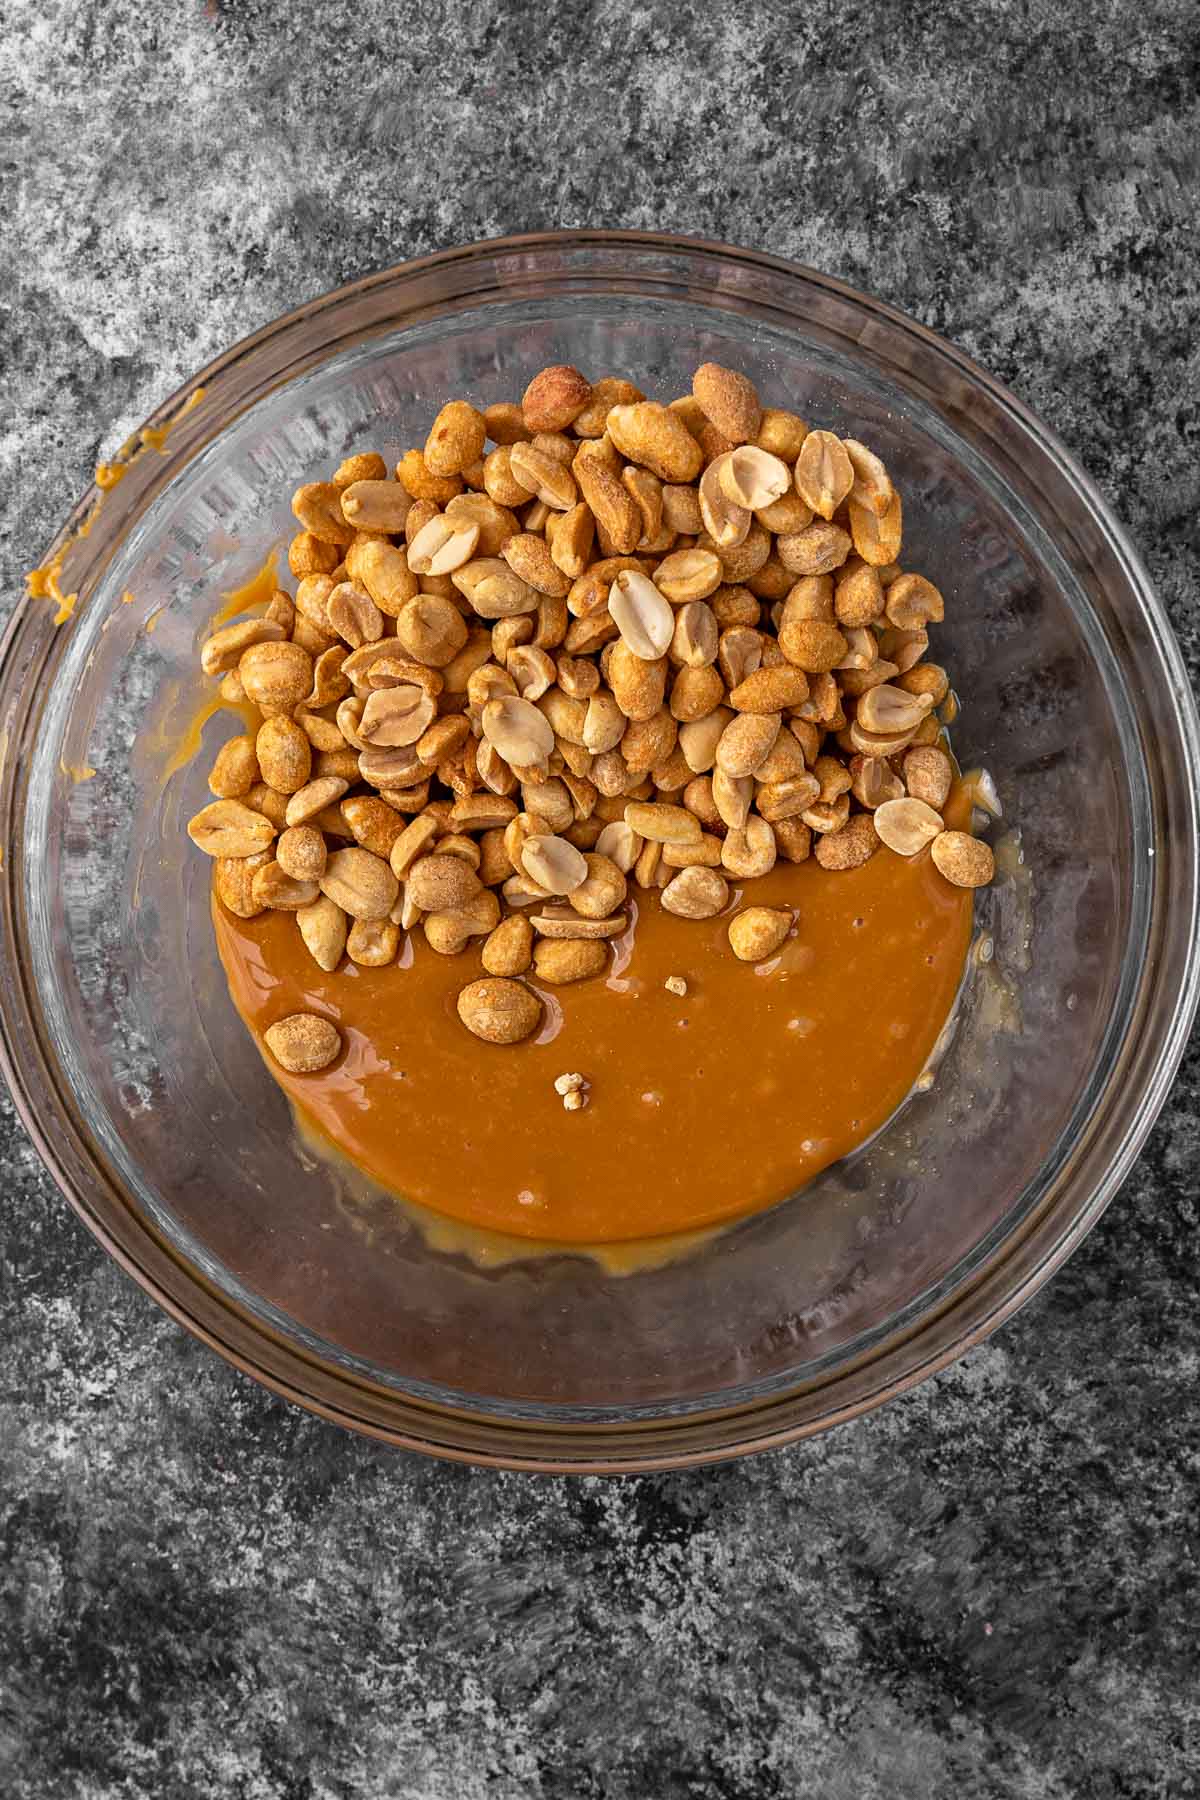
Stir peanuts into the melted caramel.
- Second Layer
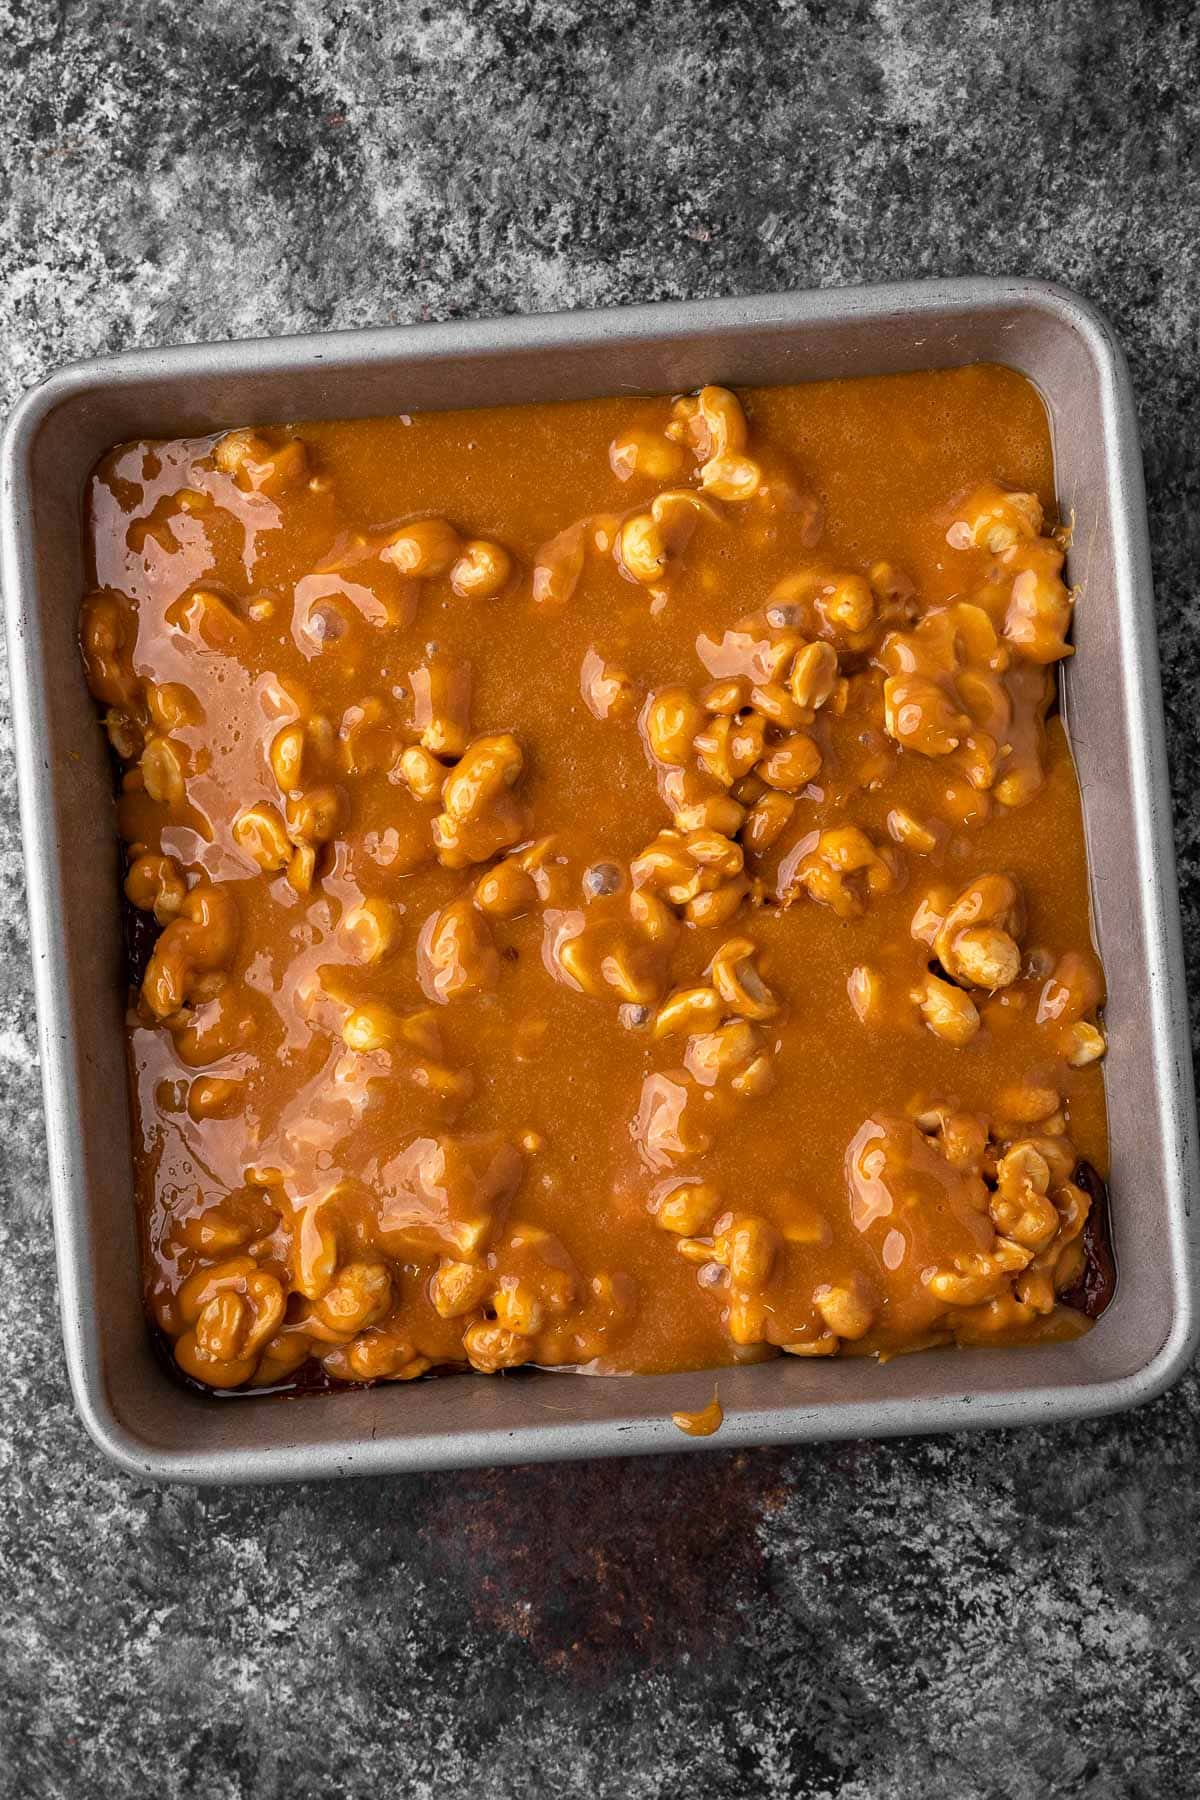
Spread caramel nut layer over chocolate fudge layer.
- Third Layer
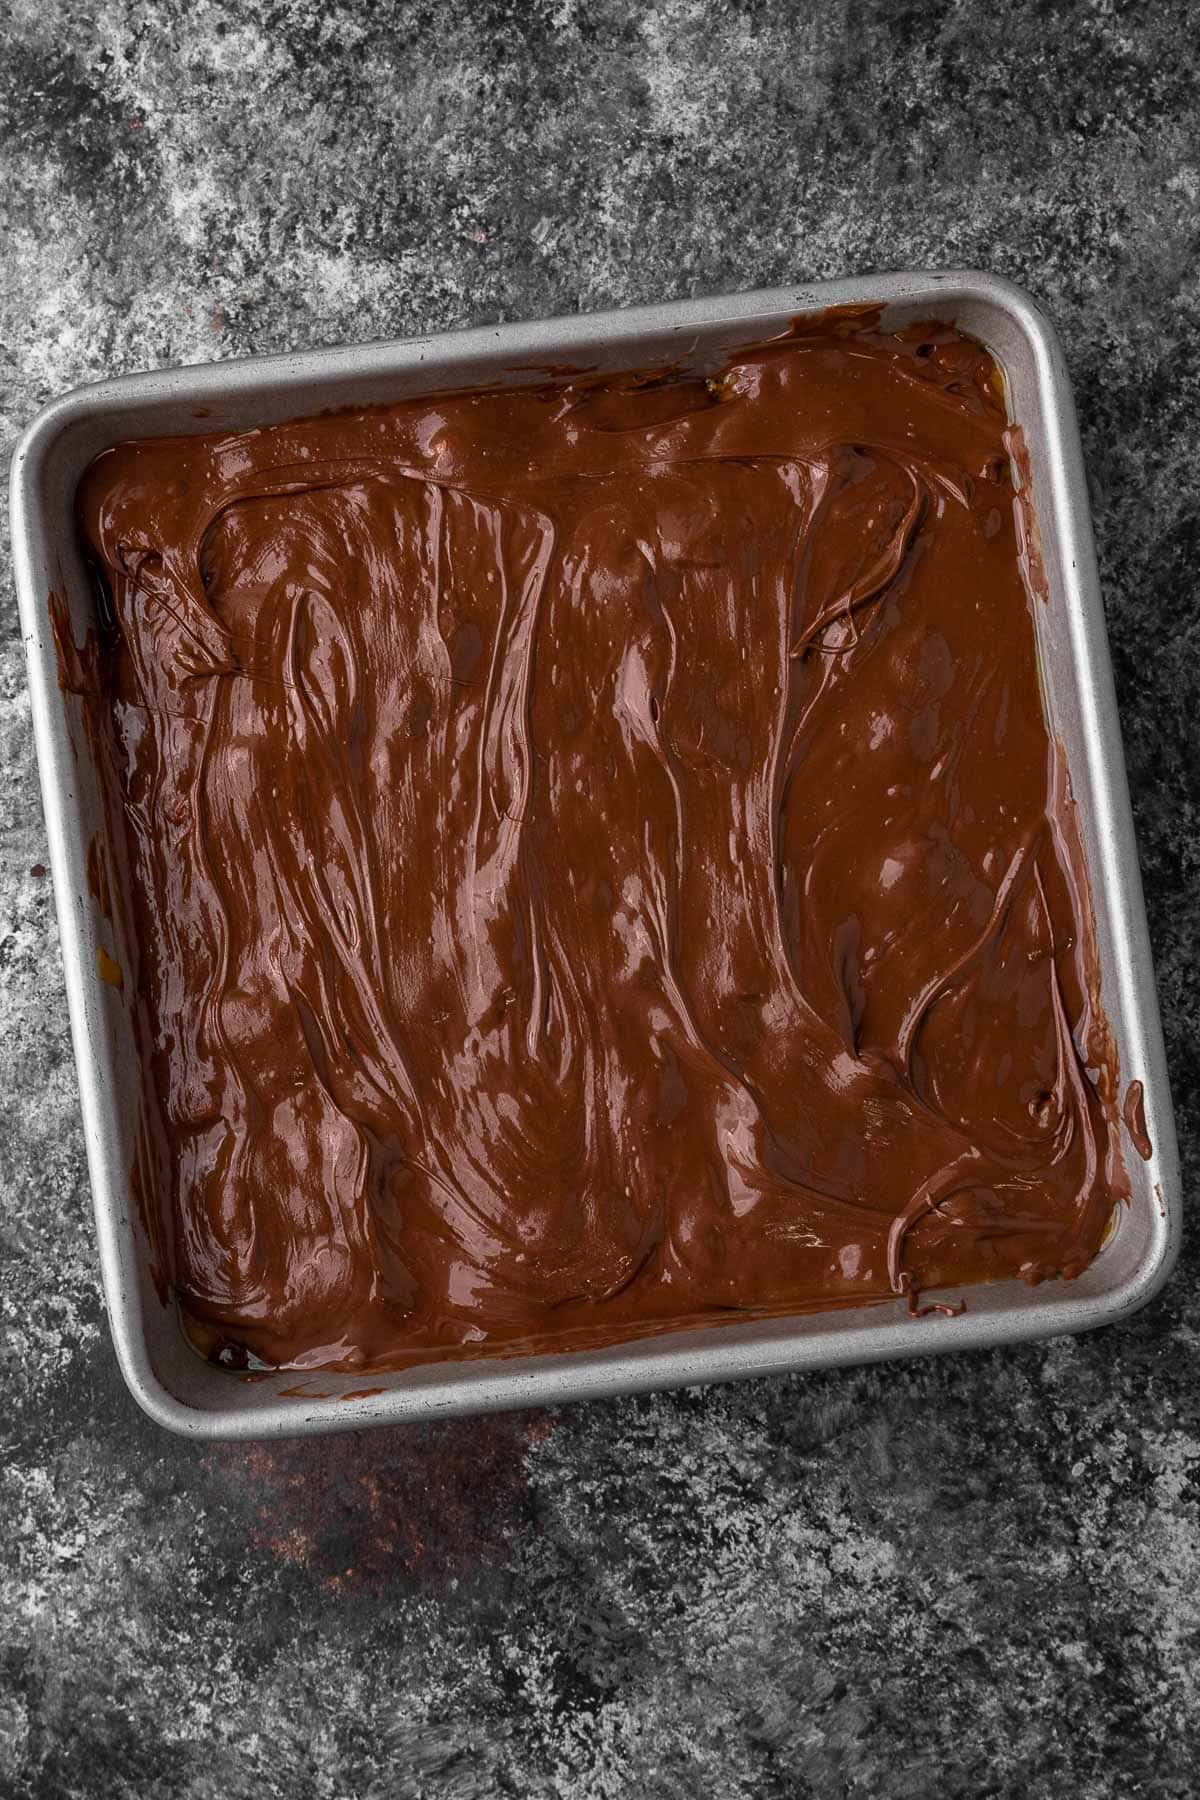
Microwave chocolate chips on high for 30 seconds or until melted. Spread over caramel layer.
- Serve
Chill until firm, then cut into squares to serve.
Nutritional Facts
Recipe Tips & Tricks
Enjoy amazing homemade Candy Fudge made quick and easy by following these helpful tips.
- Easily Remove Fudge from the Pan
- Add parchment paper to the baking pan. It makes lifting the fudge out so much easier when you’re ready to cut it into squares.
- Have Your Bowls Ready
- Before you start melting your layers in the microwave, make sure to have all the ingredients measured and ready because once you start, you’ll just be juggling bowls in and out of the microwave until you’re finished. It just makes the whole process easier.
What to Pair With Candy Bar Fudge
Candy Bar Fudge would be a special dessert after a holiday dinner like Baked Ham, Prime Rib, or Roast Leg of Lamb. You can serve it at any holiday like Thanksgiving, Christmas, Easter, or New Years Eve. It would make a great treat on Mother’s Day or Father’s day, especially to celebrate candy-loving parents or grandparents. Considering how rich the fudge is, it could easily follow a lighter dinner like Grilled Chicken or Pork Chops, and at the same time make the whole evening feel special.
How to Store Candy Bar Fudge
- Serve: Don’t leave Candy Bar Fudge out at room temperature for longer than 2 hours.
- Store: Store Candy Bar Fudge in an airtight container in the refrigerator for up to 2 weeks.
- Freeze: You can freeze the whole thing or cut it up into individualized serving size pieces. Wrap the fudge in plastic wrap and then in tinfoil to prevent moisture from getting to it. It will last in the freezer for up to 3 months.
Ideas to Serve Candy Bar Fudge
Make a lovely holiday treat platter filled with a versatile mix of goodies like Christmas Pinwheel Cookies, Christmas Wreath Cookies, Gingerbread Dipped Biscotti, White Chocolate Fruit and Nut Clusters, Peppermint Patties, and some Candy Bar Fudge. You can also make a fudge tin filled with different flavors like Oreo Fudge, Peppermint Fudge, Gingerbread Fudge, Eggnog Fudge, and of course this Candy Fudge. This Fudge is also worthy of standing alone as the star for dessert. Place some on a pretty platter to enjoy after dinner. Bring the Candy Fudge to a potluck and it will not last for long.
FAQ for Candy Bar Fudge
You do not have to refrigerate every layer after it is spread. It will set a little bit while you’re prepping the next layer, and each layer will be easy to pour and spread without disrupting the layer below it too much. Layering them without refrigerating will also allow the layers to stick together well for the finished sliced fudge pieces.
Melting disks are really easy to work with and you can use them instead of chocolate chips for the top layer of your fudge. Just melt the disks in the microwave in 30-second increments, and then pour it over the second layer as your topping.
Recipe Card


Ingredients
- 1/2 cup butter
- 1/3 cup unsweetened cocoa powder
- 1/4 cup brown sugar , packed
- 1/4 cup whole milk
- 3 1/2 cups powdered sugar
- 1 teaspoon vanilla extract
- 30 caramels , unwrapped
- 1 tablespoon water
- 2 cups salted peanuts
- 1/2 cup semisweet chocolate chips
- 1/2 cup milk chocolate chips
Instructions
- In a microwave-safe bowl, combine the butter, cocoa, brown sugar and milk.
- Microwave on high until mixture boils, about 2 minutes.
- Stir in powdered sugar and vanilla.
- Pour into a greased 8-inch square dish.
- In another microwave-safe bowl, heat caramels and water on high for 1.5 minutes or until melted.
- Stir in peanuts; spread over chocolate layer.
- Microwave chocolate chips on high for 30 seconds or until melted; spread over caramel layer.
- Chill until firm.
Notes
Nutrition
Candy Bar Fudge Variations
- Add-Ins: Sprinkle marshmallows and push them into the top layer before it sets, add peanut butter to the nougat layer for an extra peanut buttery flavor. You can also add in other nuts like pecans or cashews, or replace the peanuts altogether.
- Nut-Free: If you have loved ones with a nut-allergy or are taking this to a large group and want to play it safe for allergies, you can make this recipe nut-free. Just use the caramel as the second layer by itself. You could also mix in seeds instead of nuts like pumpkin seeds for a nice crunch in the Candy Fudge.
- Gluten-Free: This recipe is naturally Gluten-Free, though you should check the labels on the chocolate chips because some brands have cross-contamination and might contain gluten.
- Vegan: To make this recipe vegan, you’ll need to substitute a few ingredients. Make sure to use Vegan Butter, ensure all of your sugars are labeled as “Organic” and use non-dairy milk and non-dairy chocolate chips. You can either make your own vegan caramel or buy it from the store.
Related Recipes
More Holiday Candy
